Upgrading your W214’s dashboard with a starlight panel is one of the most impactful aesthetic enhancements available — but not all panels deliver the same experience. Below is a clear, real-world comparison between two mainstream approaches: genuine OEM panels and high-grade aftermarket alternatives.
Option 1: Genuine OEM Starlight Panel (SA 331)
Best for buyers who prioritize authenticity, seamless integration, and long-term peace of mind.
- Perfectly synchronized ambient lighting: brightness, color temperature, and gradient transitions match factory settings exactly
- Flawless fit and finish: identical gap tolerances, tactile feedback, and surface texture to original equipment
- Fully compatible with MBUX ambient lighting profiles and dynamic themes
️ Trade-off: Higher cost — typically 2–3× the price of premium aftermarket units.
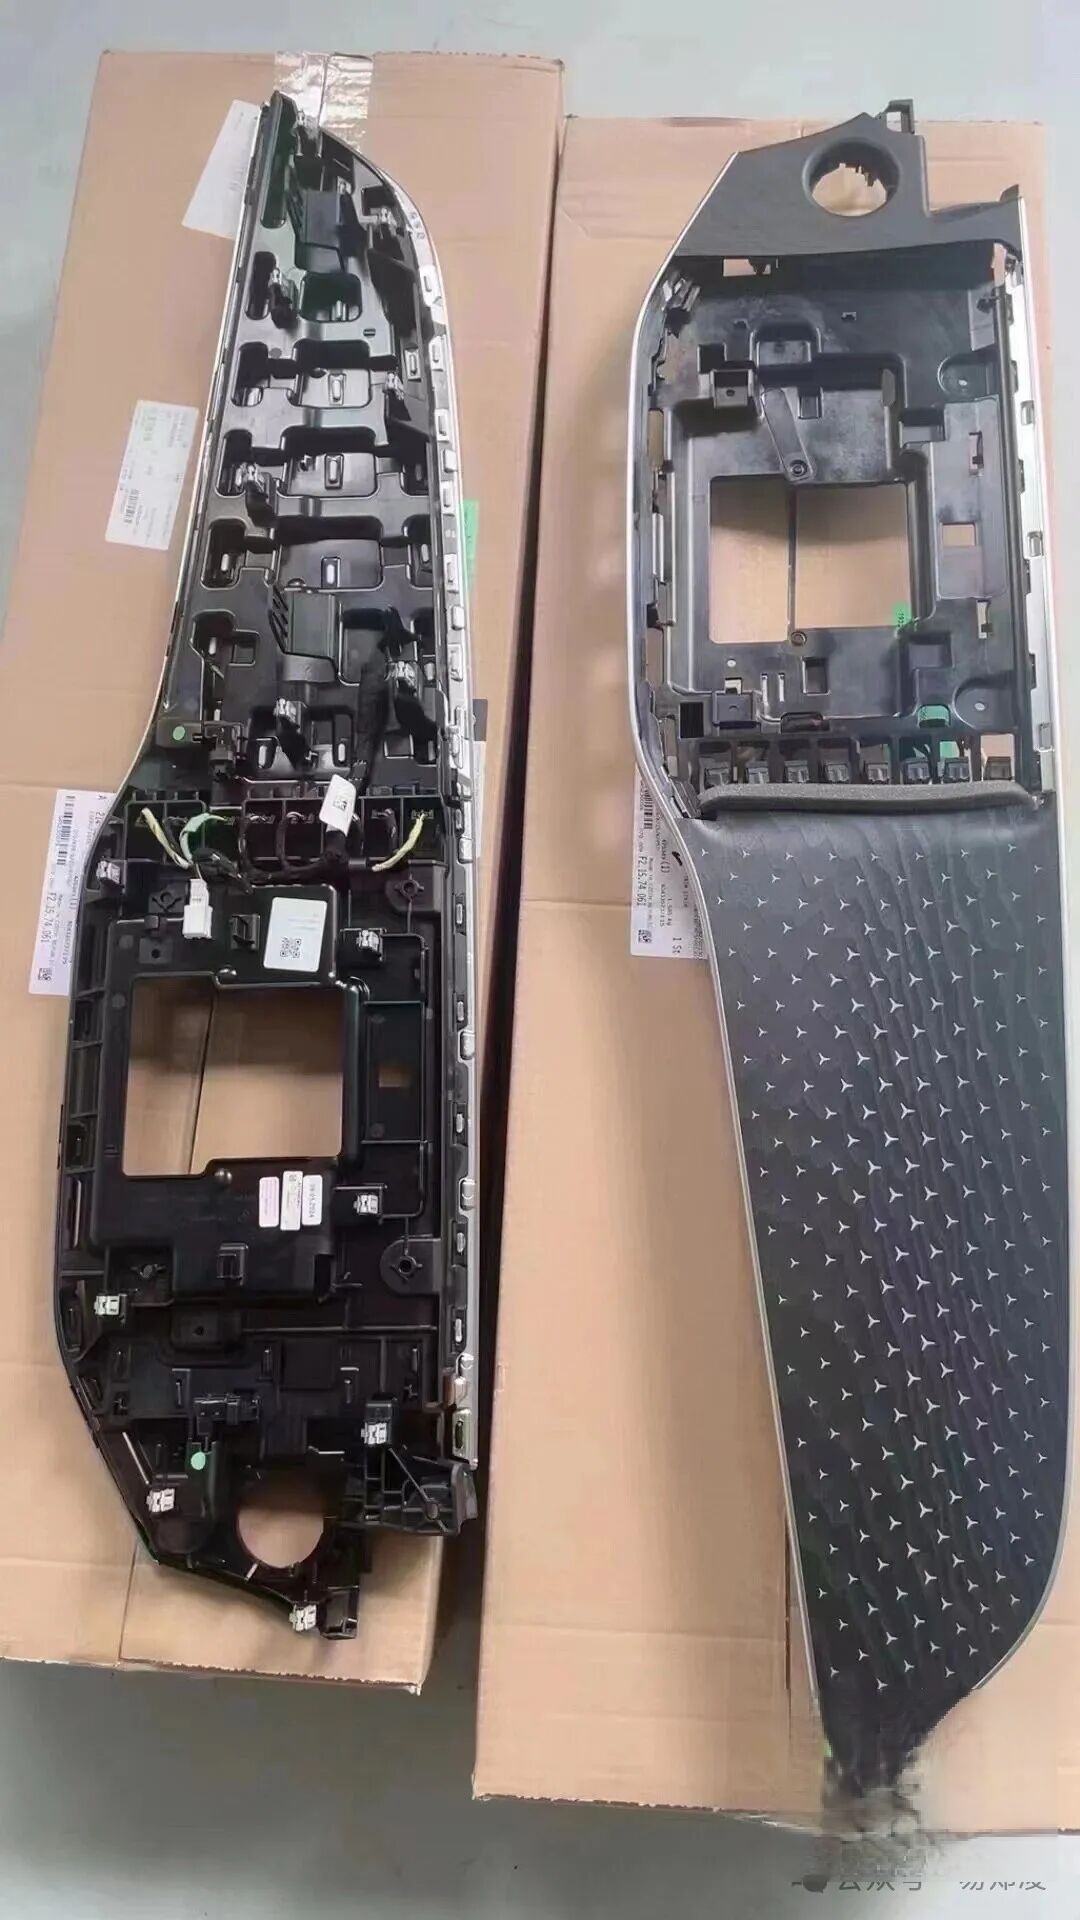
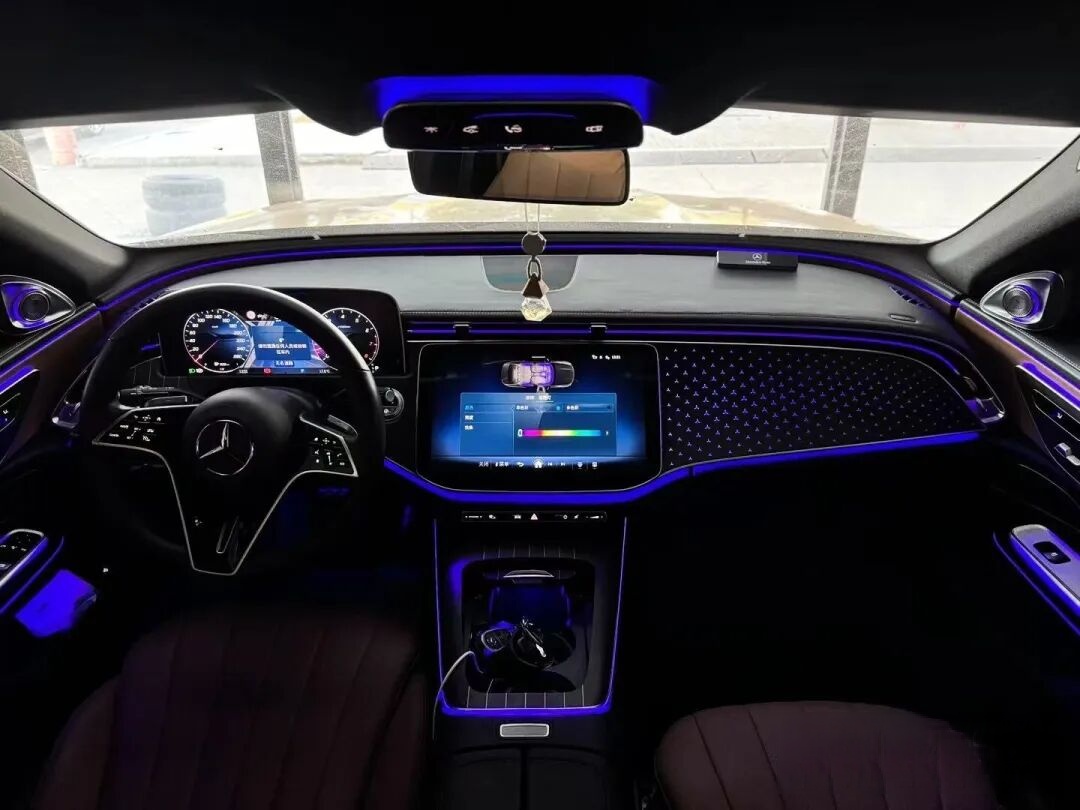
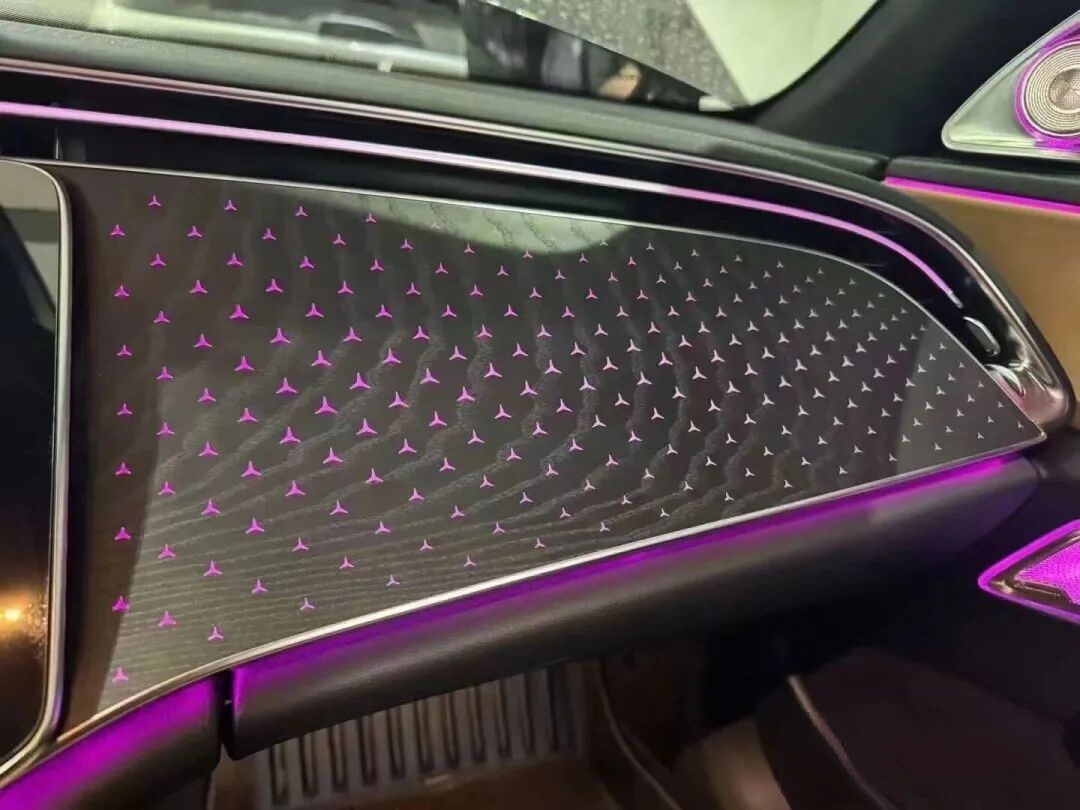
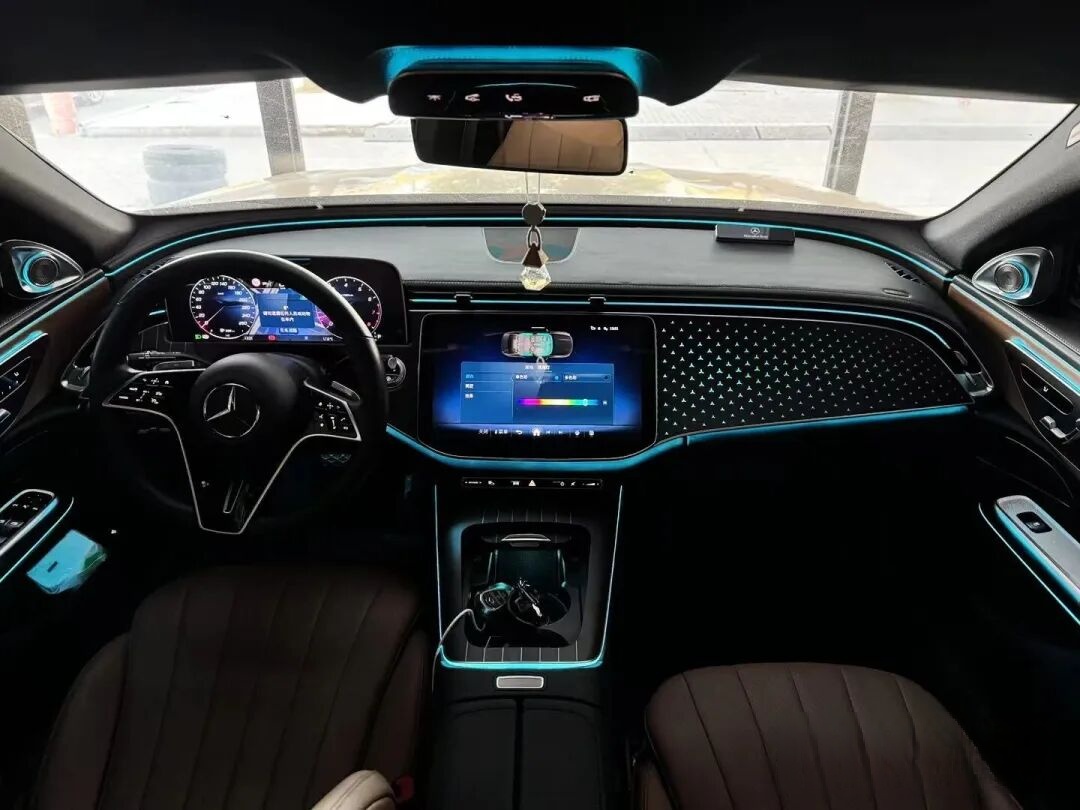
Detail view: seamless integration with surrounding trim and consistent LED spacing.
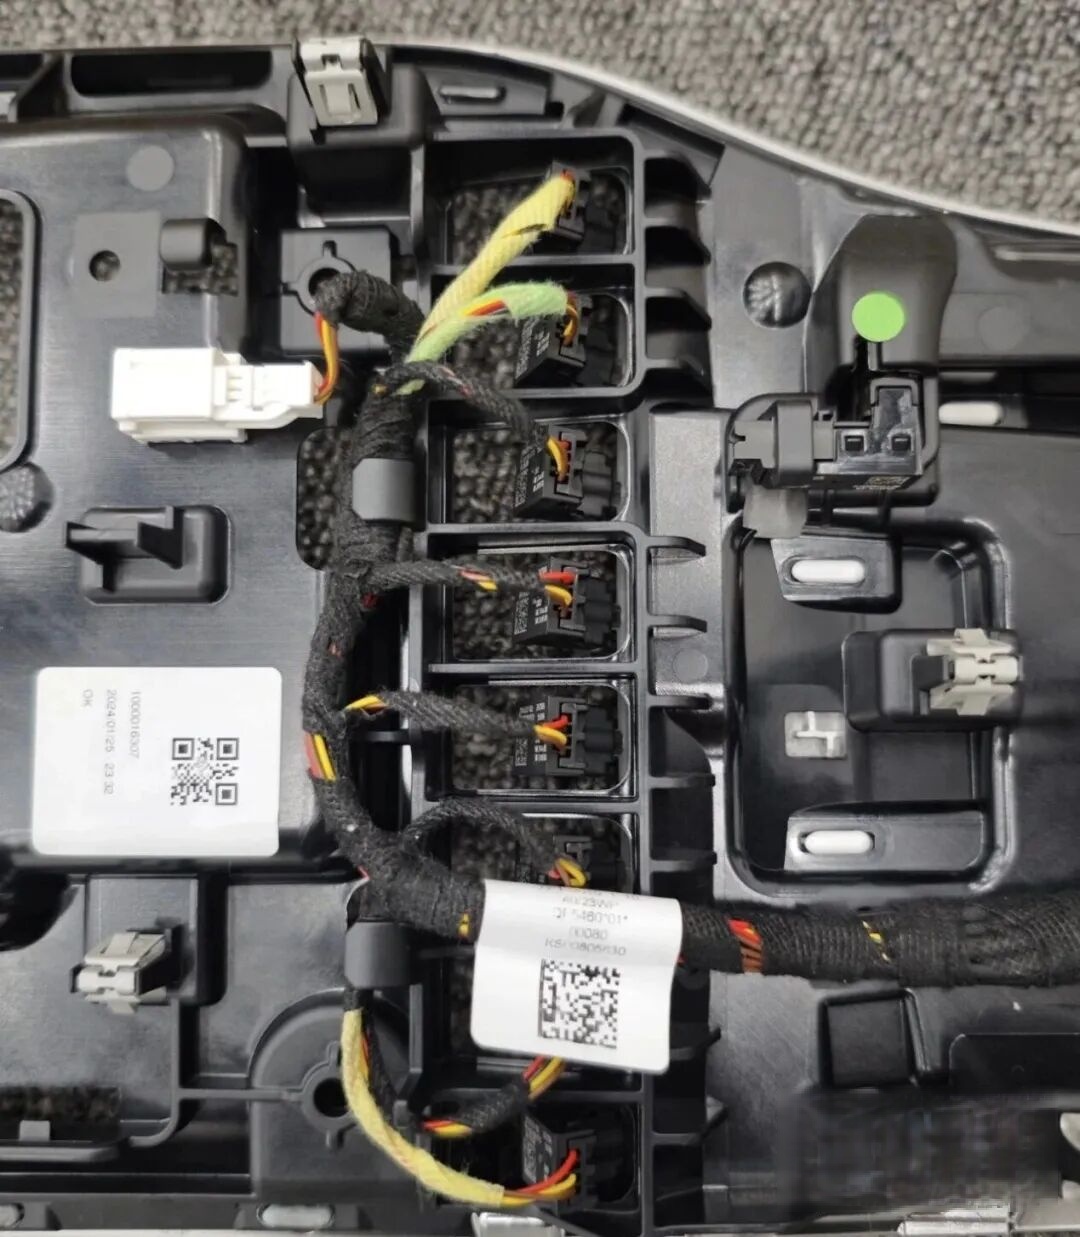
Option 2: Premium Aftermarket Starlight Panel
Ideal for budget-conscious buyers who still demand strong visual fidelity and reliable function.
- Typically priced at ⅓ to ½ the cost of the OEM unit
- Near-identical daytime appearance: clean layout, uniform star density, and well-matched bezel color
- Designed for direct plug-and-play installation (no coding required on most units)
️ Minor compromises:
- Slight color shift under certain lighting conditions (especially at low brightness)
- Marginally wider gaps or less refined edge finishing on some batches
- May not fully replicate dynamic ambient lighting behavior (e.g., pulse effects or scene-linked dimming)
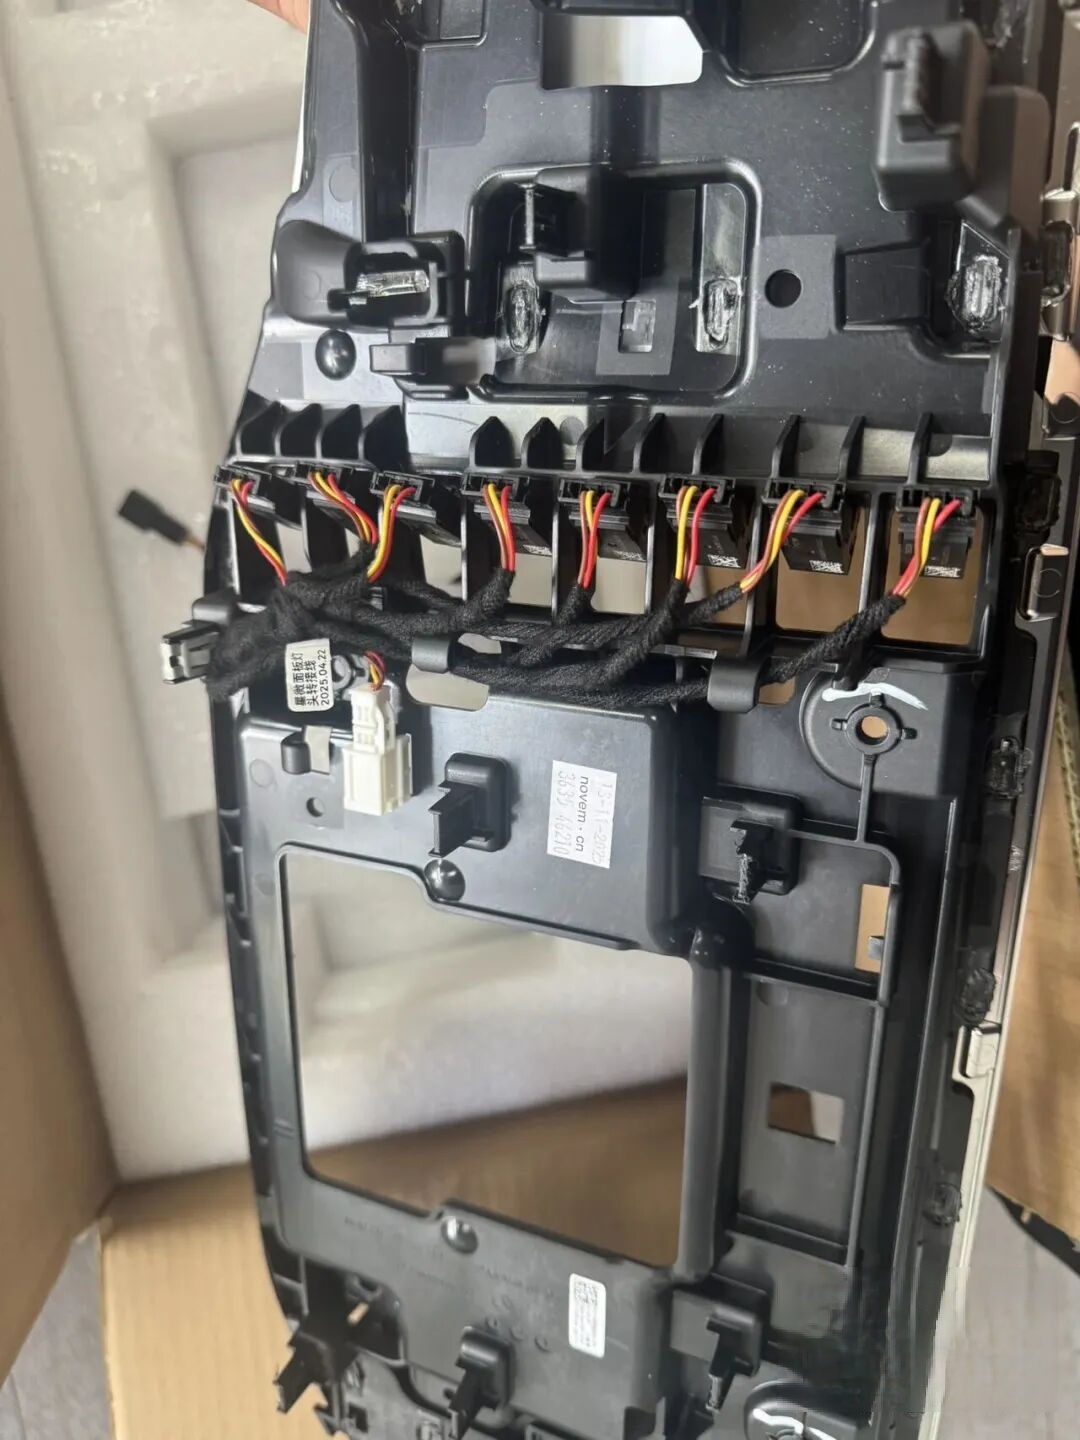
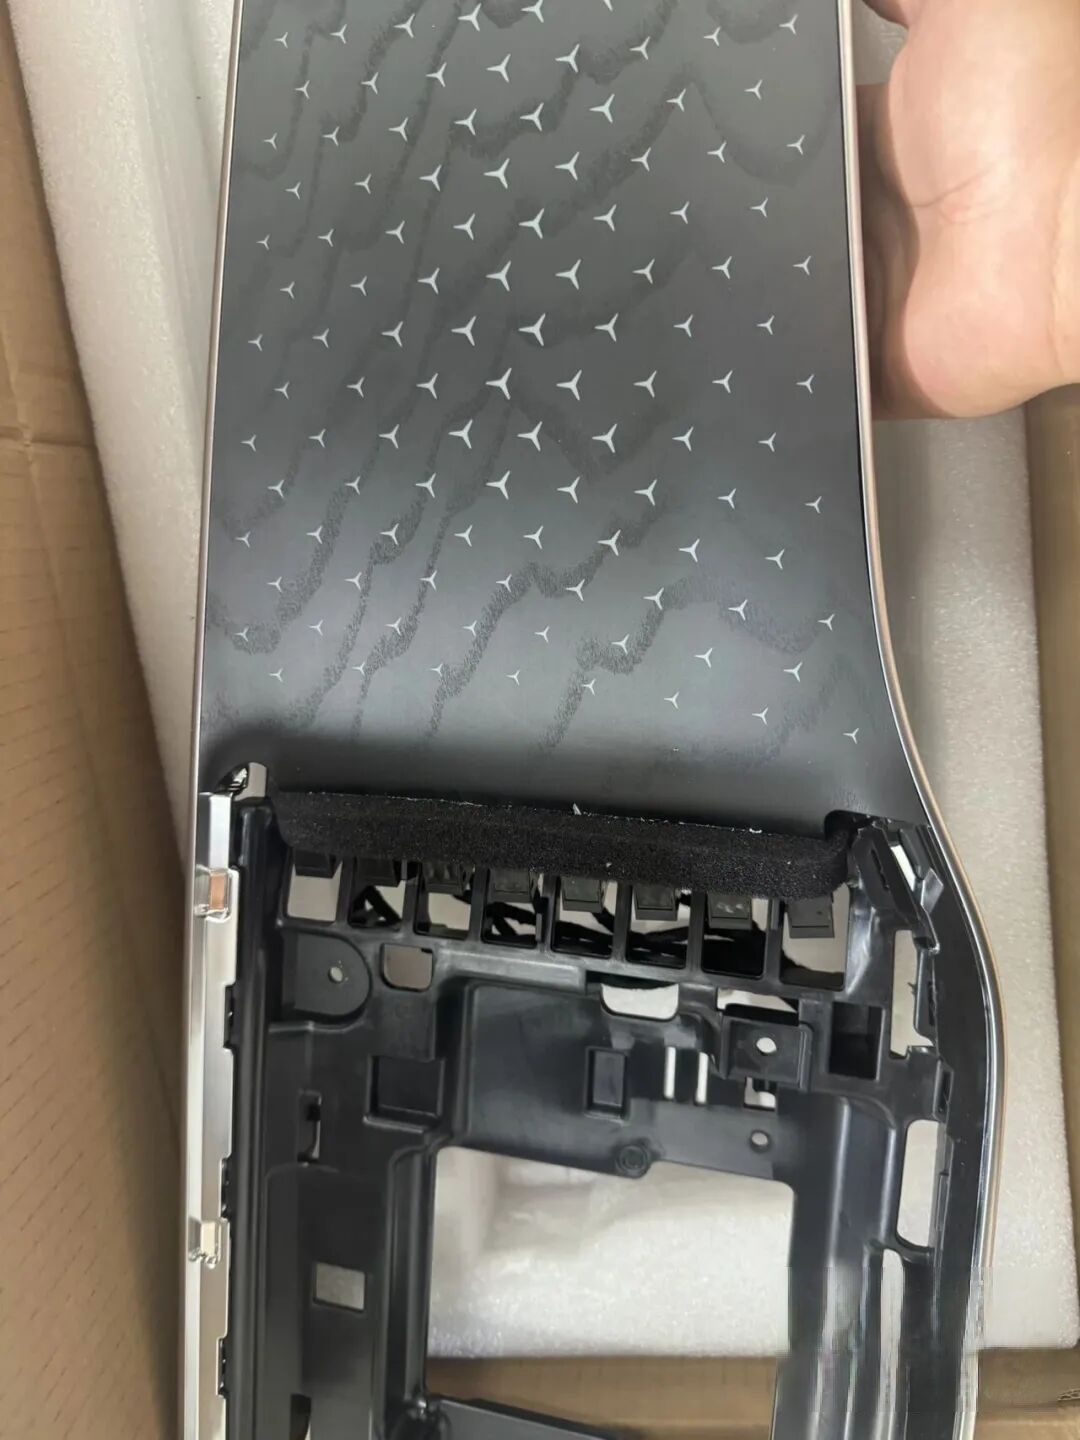
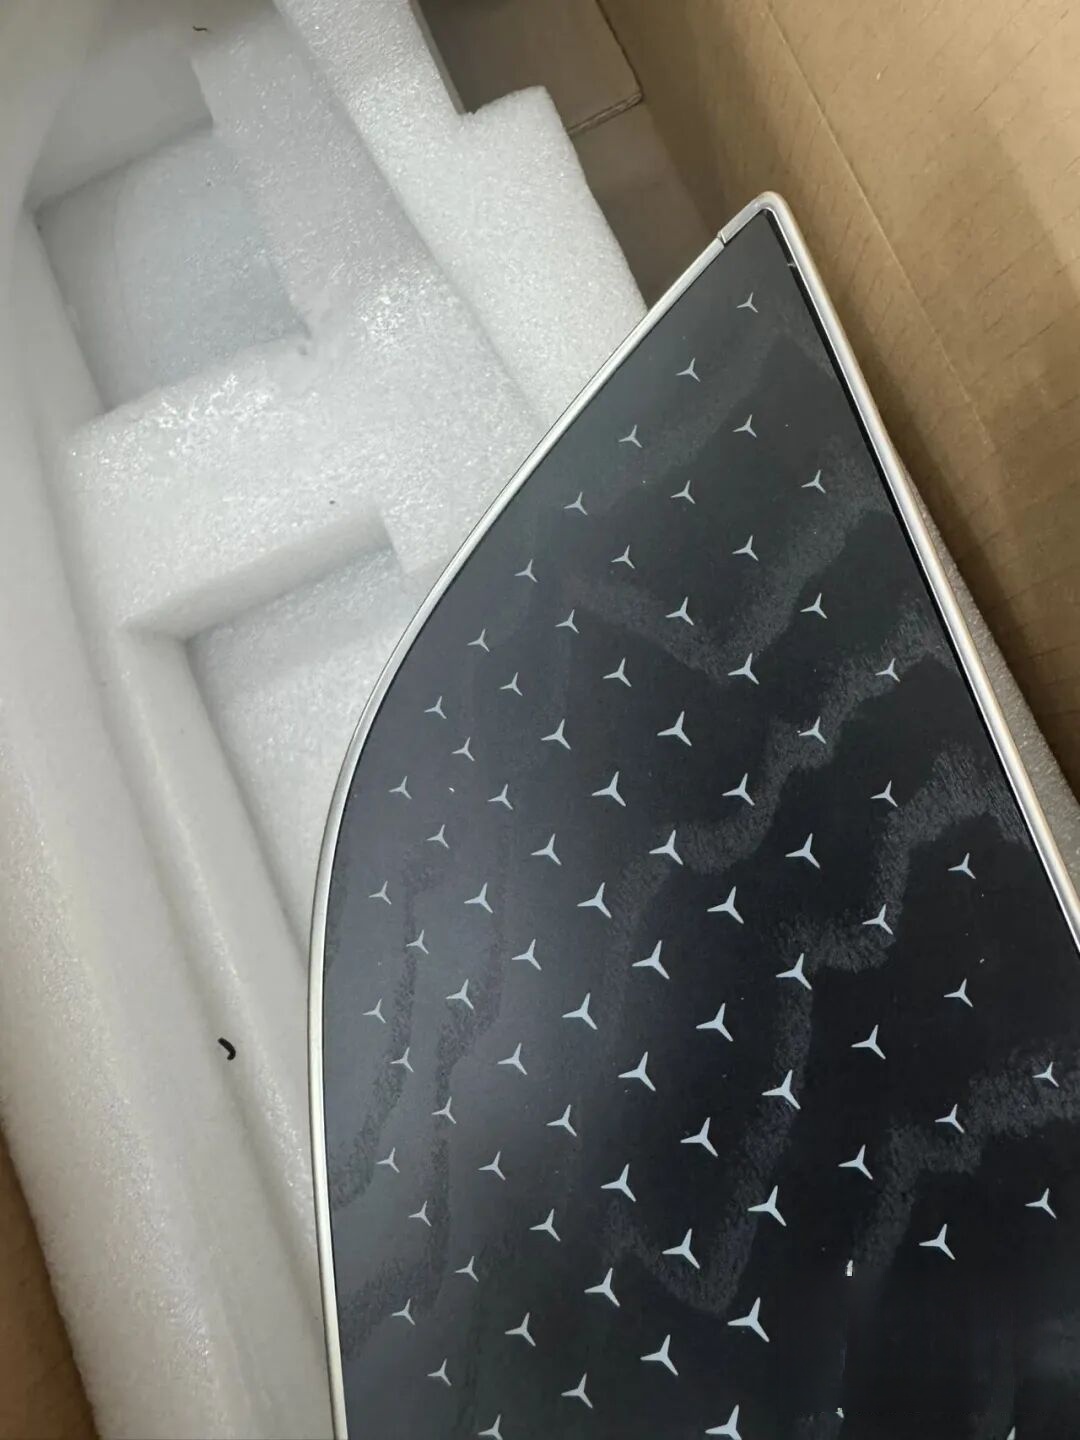
OEM Part Reference: SA 331
The official Mercedes-Benz part number for the genuine starlight panel is A214 680 02 02, commonly referenced as SA 331 in tuning communities. Always verify this number when ordering from authorized dealers or certified suppliers.
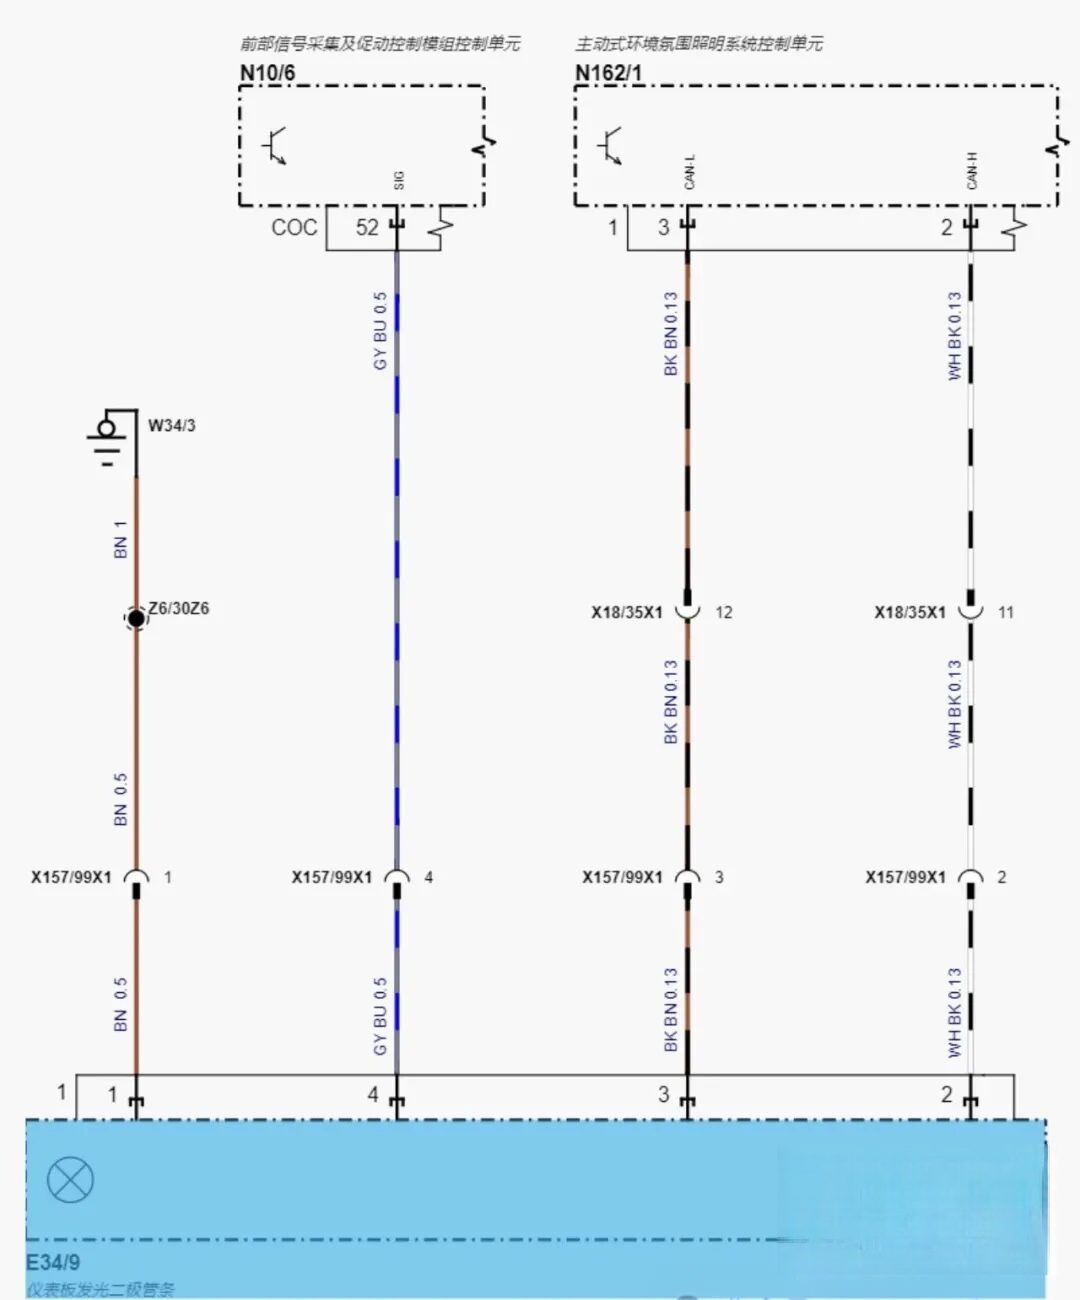
Two Popular W214 Interior Upgrade Paths
When upgrading a base-spec W214, owners often choose between:
- Starlight Panel Retrofit — subtle, elegant, and deeply integrated
- Full Digital Instrument Cluster + MBUX Large Display Retrofit — bold, tech-forward, and feature-rich
Both are valid — your choice depends on priorities: ambiance vs. functionality, simplicity vs. scope.
How to Spot Quality (and Avoid Counterfeits)
Before purchasing, inspect these six critical details:
- Solder joints — clean, consistent, and fully covered (no exposed copper or cold joints)
- Surface finish — smooth, scratch-resistant coating with uniform gloss level
- Gap tolerances — ≤ 0.3 mm around all edges; no visible light bleed or misalignment
- LED placement precision — evenly spaced stars, no clustering or dead zones
- Lens clarity & diffusion — no clouding, yellowing, or uneven light scatter
- Color consistency — true warm white (≈3000K), no green or pink tint under dimmed conditions
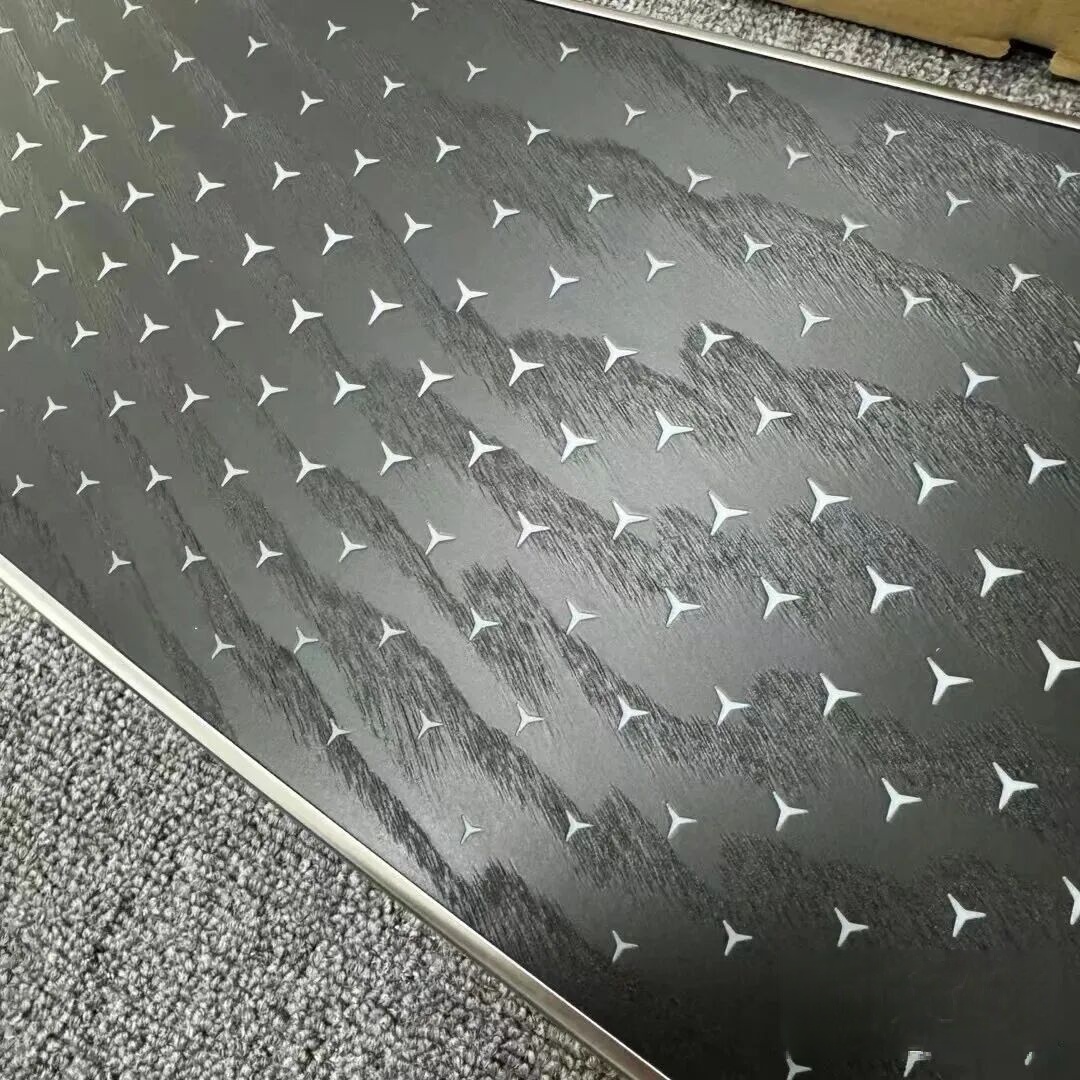
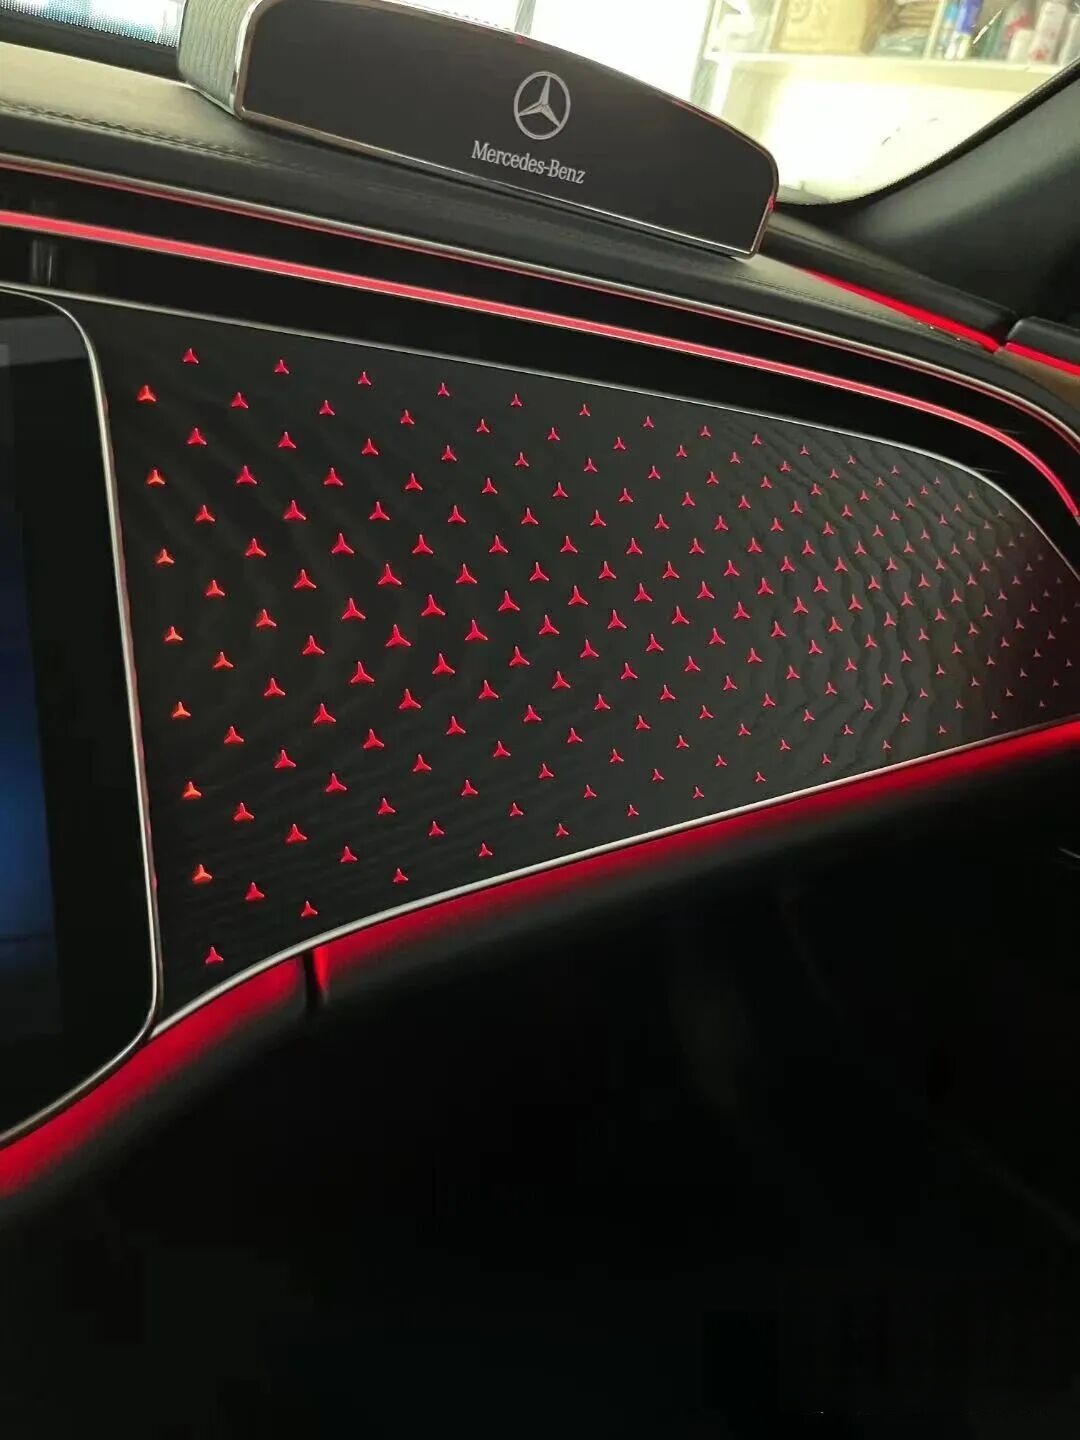

️ Final Tip: Never pay OEM pricing for non-OEM hardware. If a “genuine” panel is listed significantly below dealer MSRP — verify sourcing, request batch photos, and confirm SA 331 compliance before purchase.