This guide documents a full retrofit of a genuine AMG Performance Steering Wheel—including the AMG Drive Unit (DRVU N145/1), dynamic rotary controllers, aluminum shift paddles, and full software activation—on a non-AMG 2022 Mercedes-Benz CLS (W213 platform).
Unlike vehicles originally equipped with the “dragonfly”-style steering wheel (e.g., certain AMG Line trims), this CLS came with a standard three-spoke wheel lacking AMG hardware interfaces. Therefore, this is a full replacement retrofit, not a simple button or controller upgrade.
⚠️ Critical Requirement: Non-AMG CLS models require the AMG Drive Unit (N145/1) to be installed and properly wired. Without it, the dynamic rotary controllers, AMG drive modes, suspension settings, exhaust control, and other functions will remain inactive—even if the physical wheel is installed.
Why This Upgrade Matters
The AMG Performance Steering Wheel transforms both aesthetics and functionality:
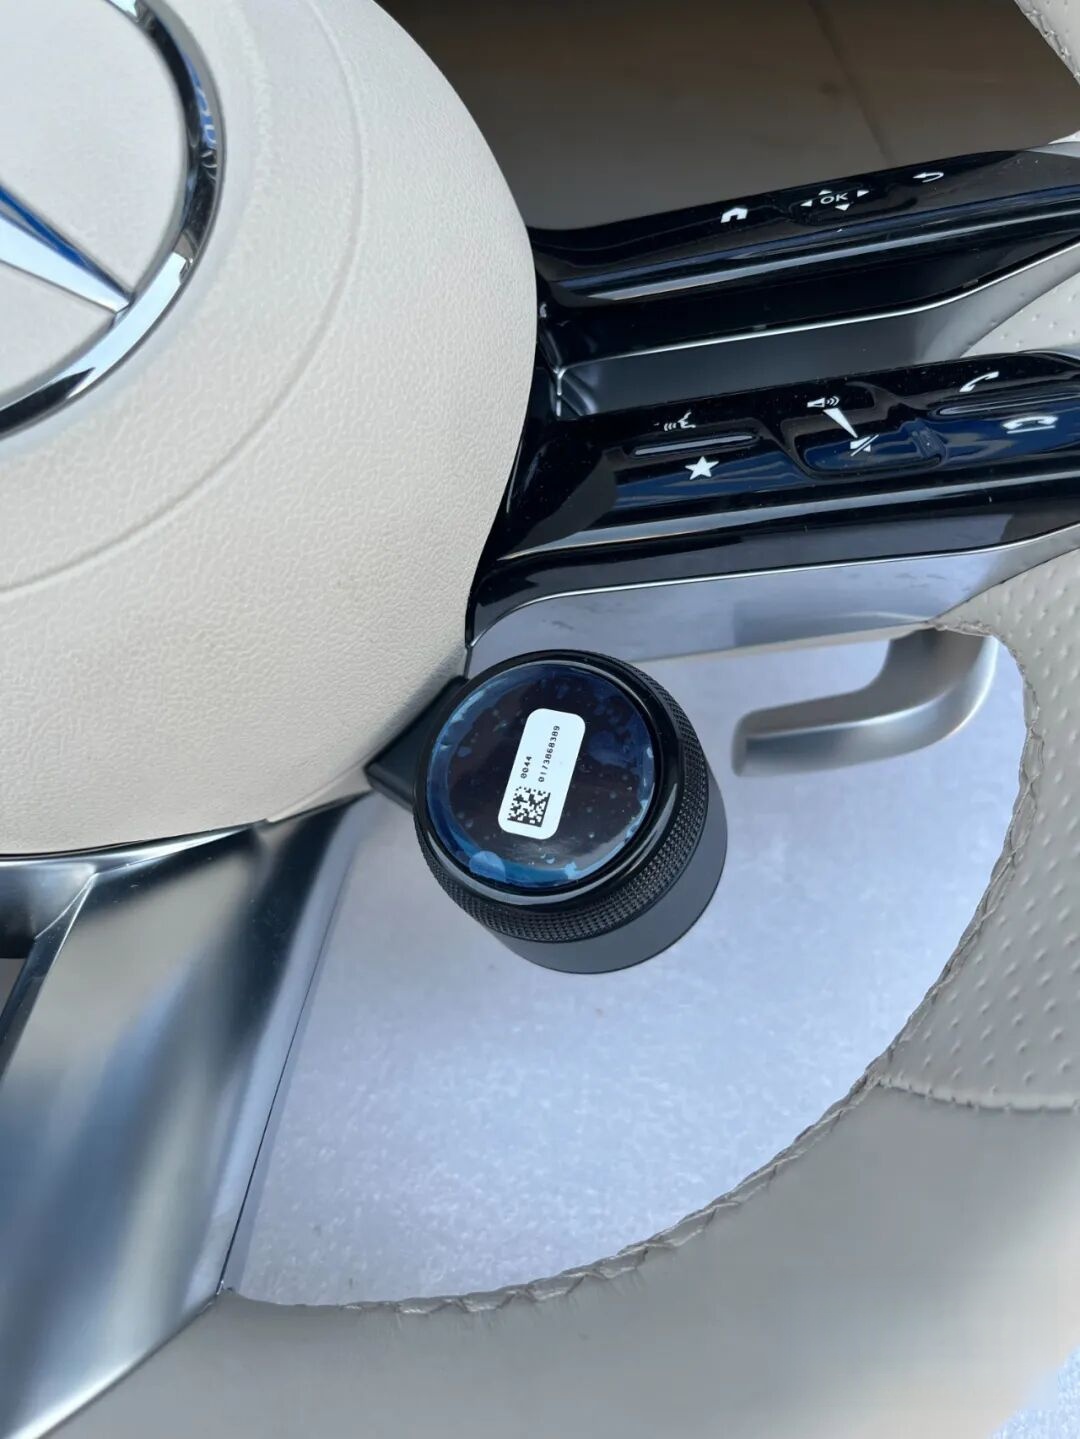
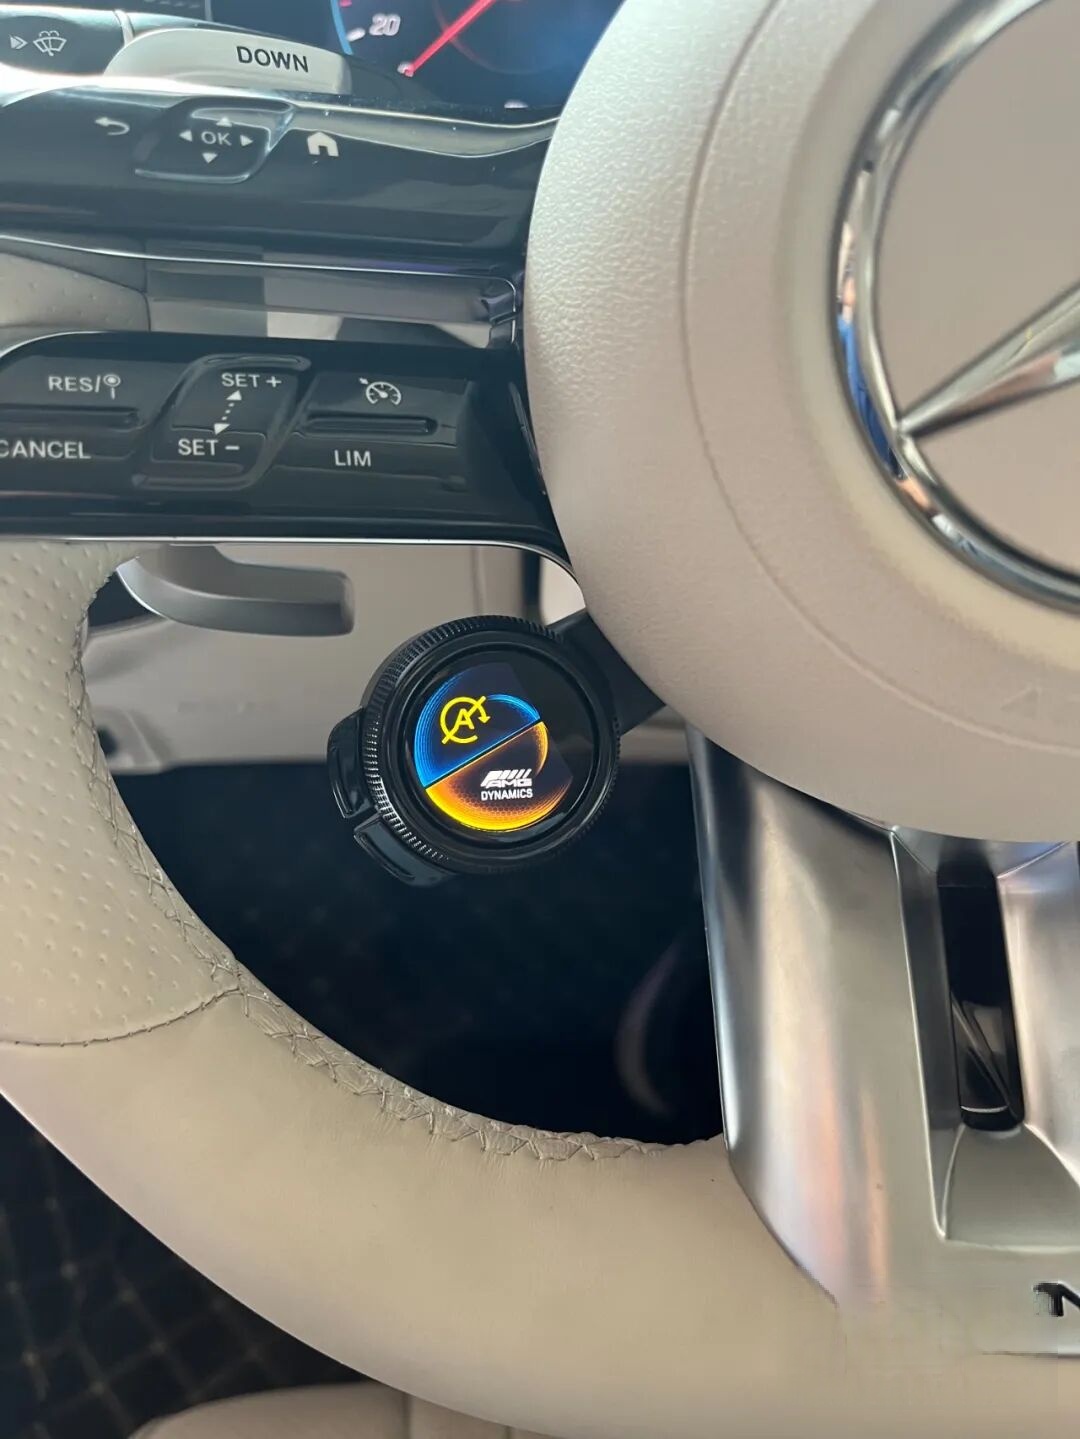
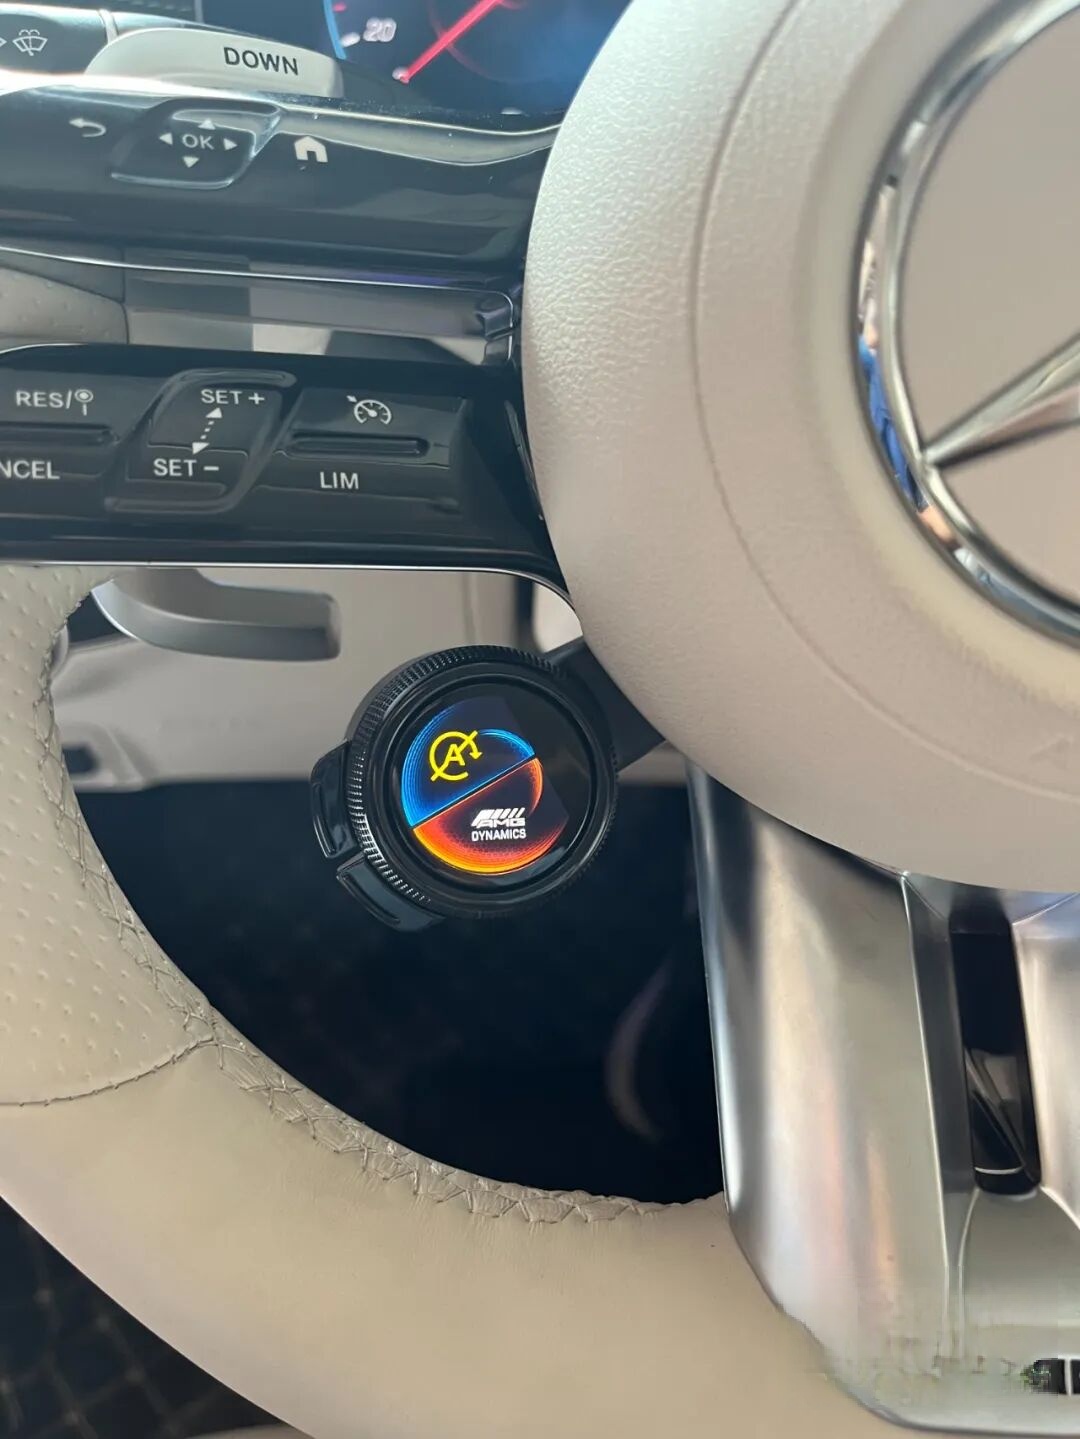
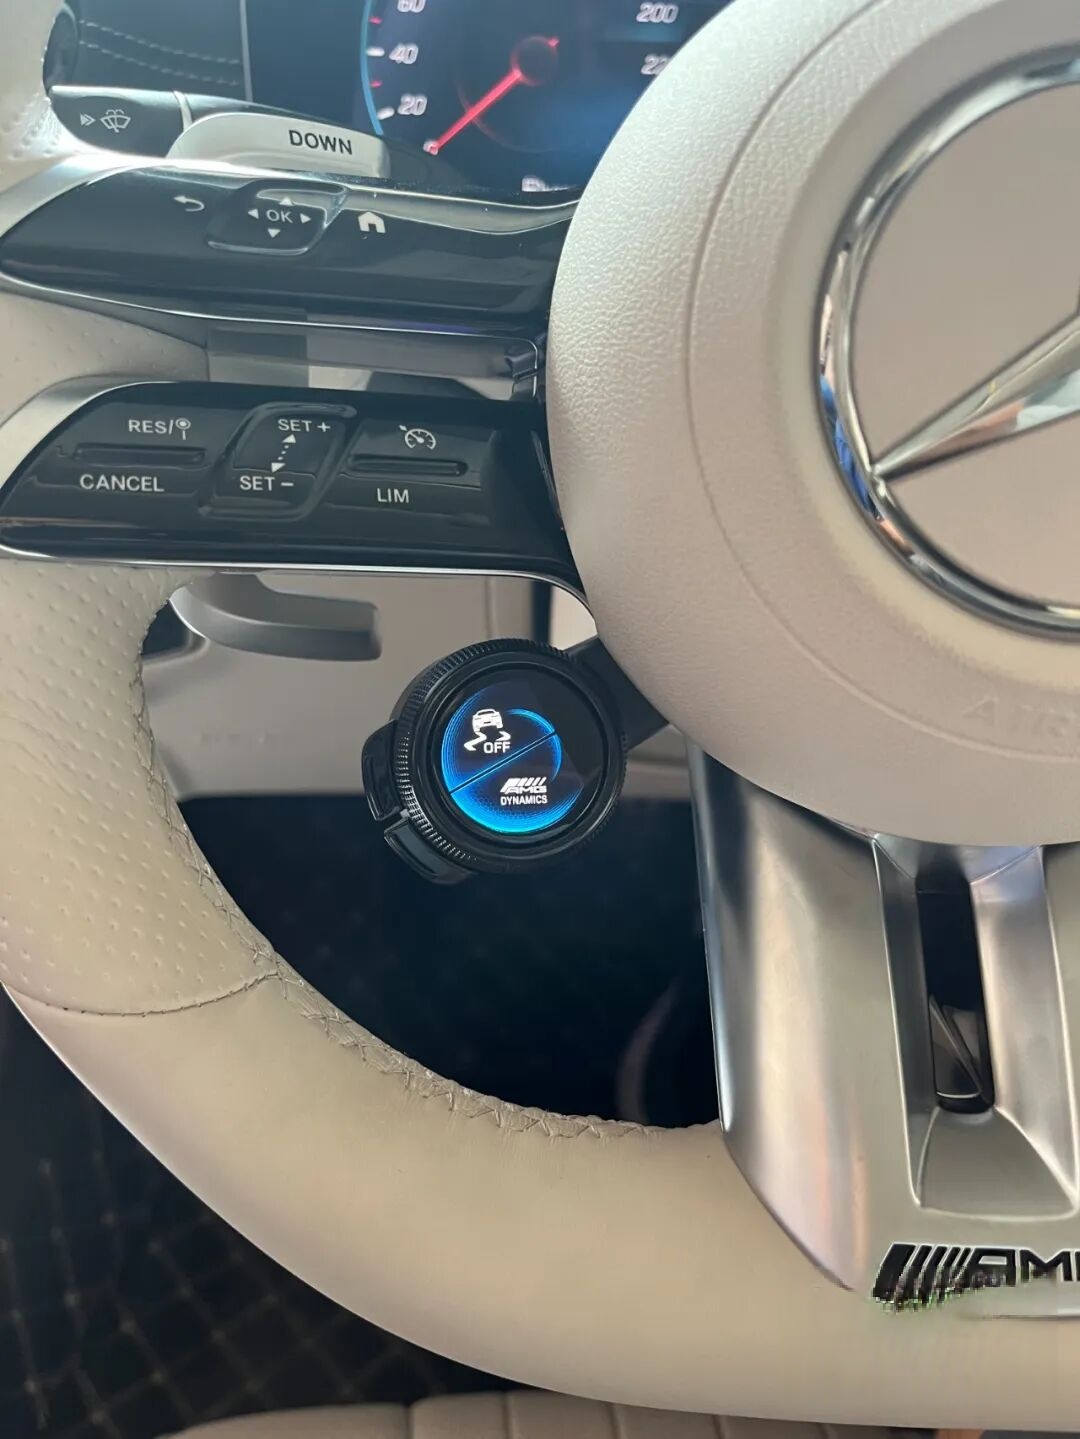
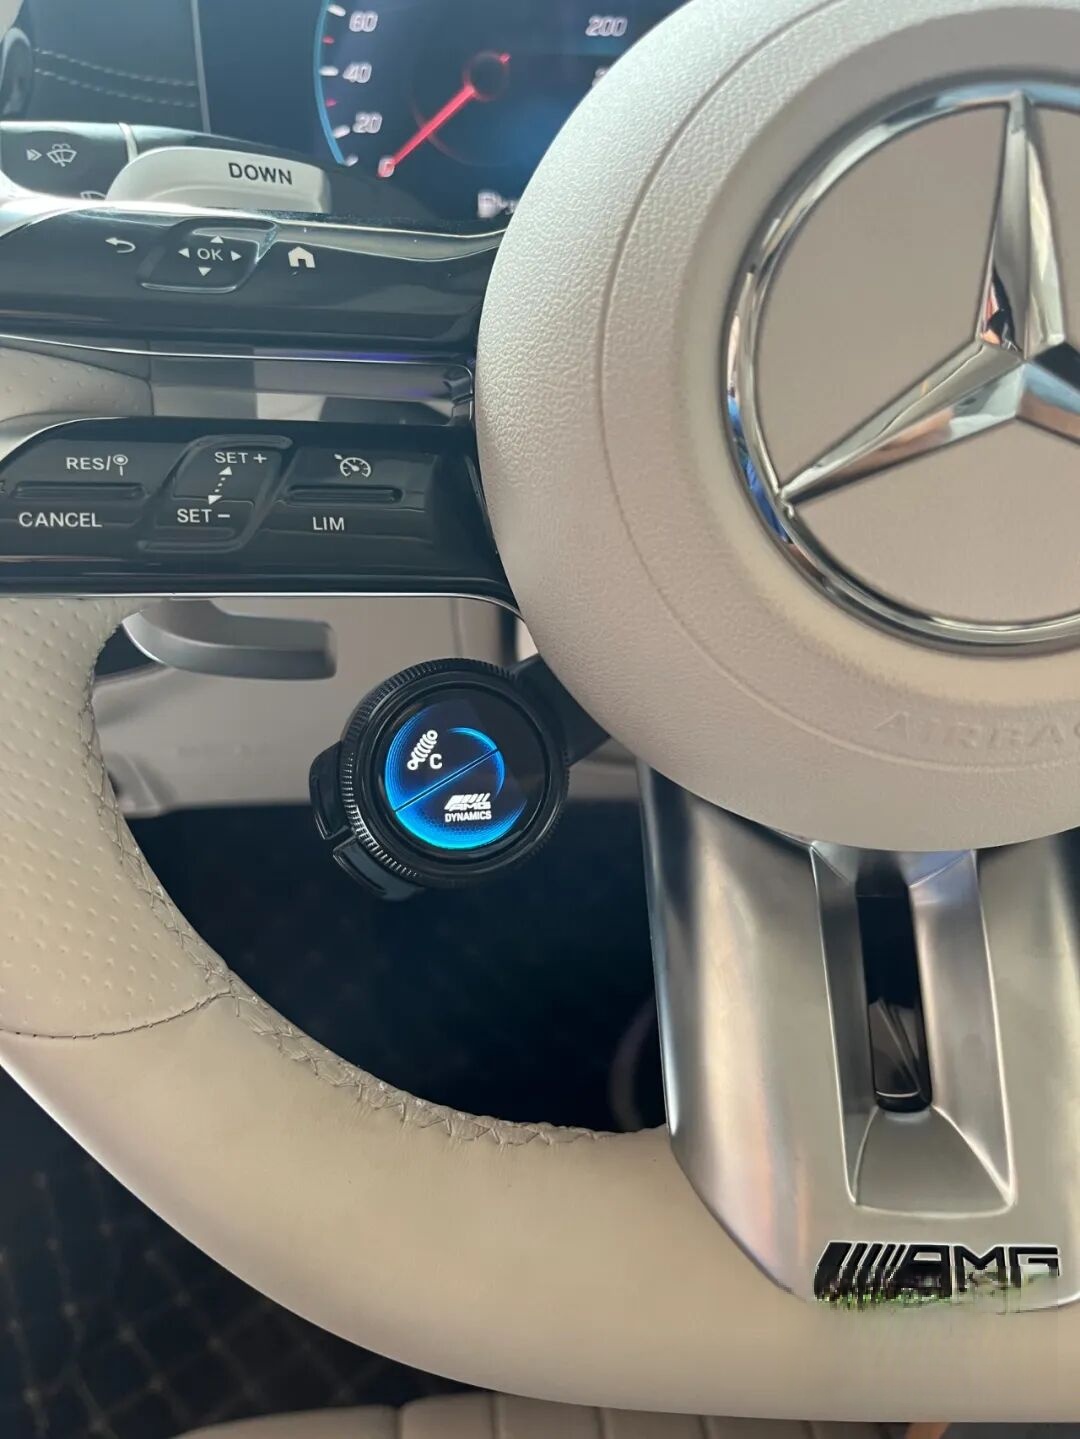
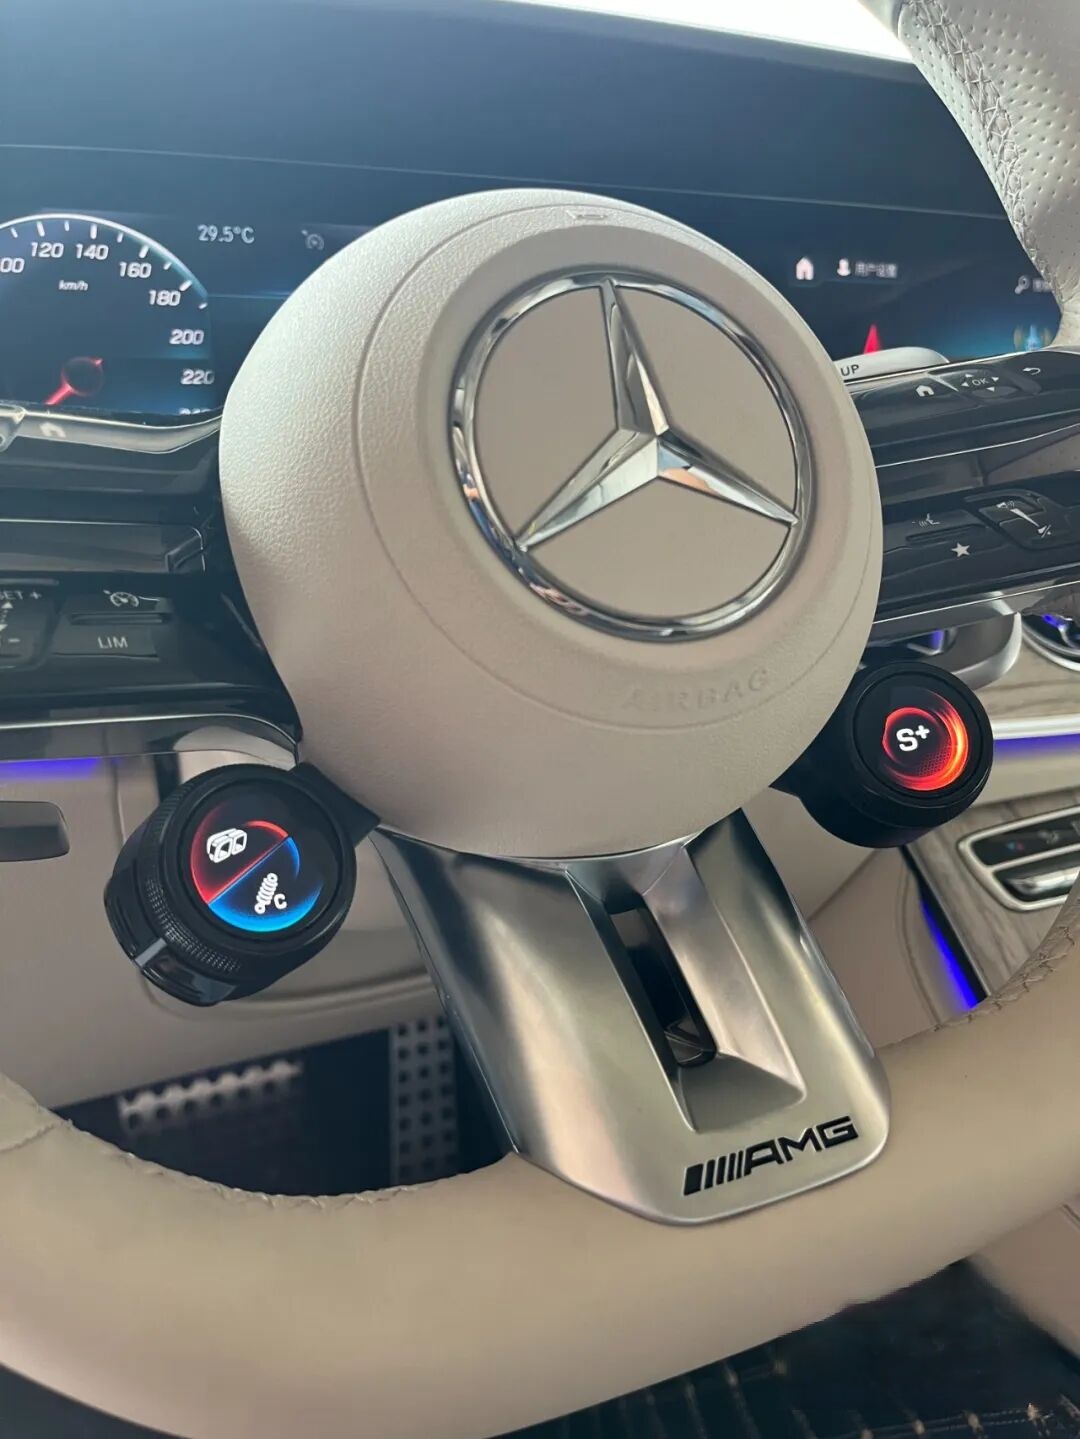
- Dynamic Rotary Controller (DRC): High-resolution TFT display with intuitive menu navigation and tactile feedback
- Dual-Side Functionality: Right-side knob for drive mode selection; left-side knob for customizable vehicle settings (e.g., suspension, exhaust, traction control)
- Factory-Matched Build Quality: Genuine MB part numbers, correct airbag integration, and OEM-grade materials
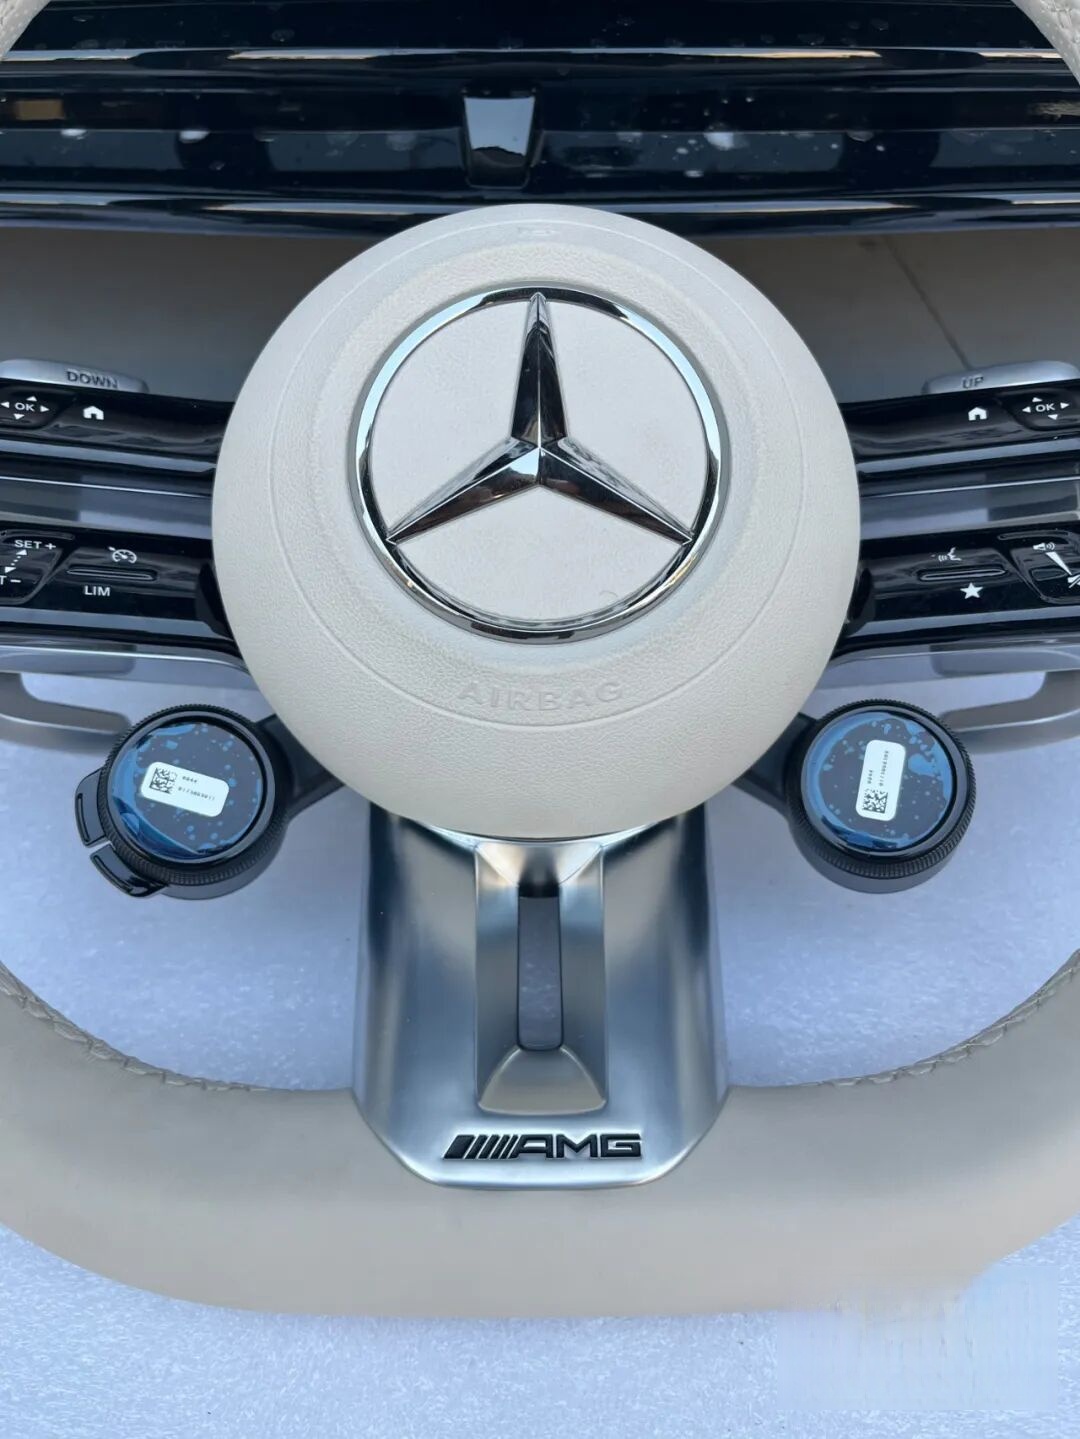
- Rarity Note: Genuine beige AMG steering wheel assemblies (including airbag, clockspring, and harness) are extremely scarce—fewer than ten verified units exist in mainland China.
Key Hardware Components
1. AMG Performance Steering Wheel (Beige/Black)
- Full OEM assembly including airbag, clockspring, and integrated wiring harness
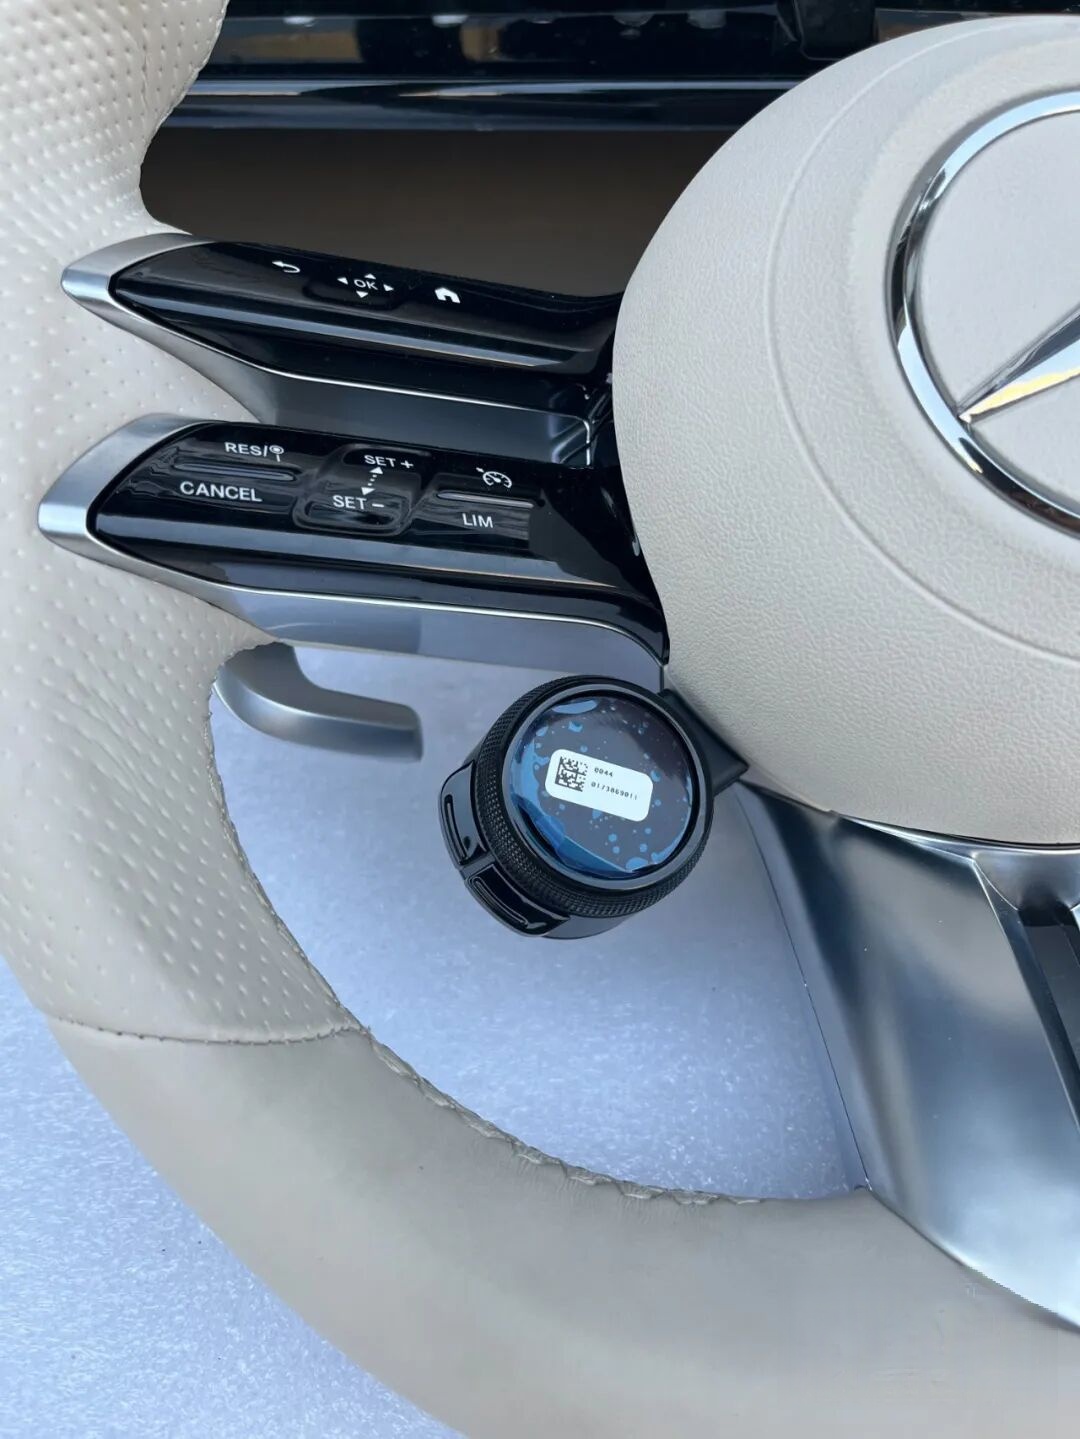
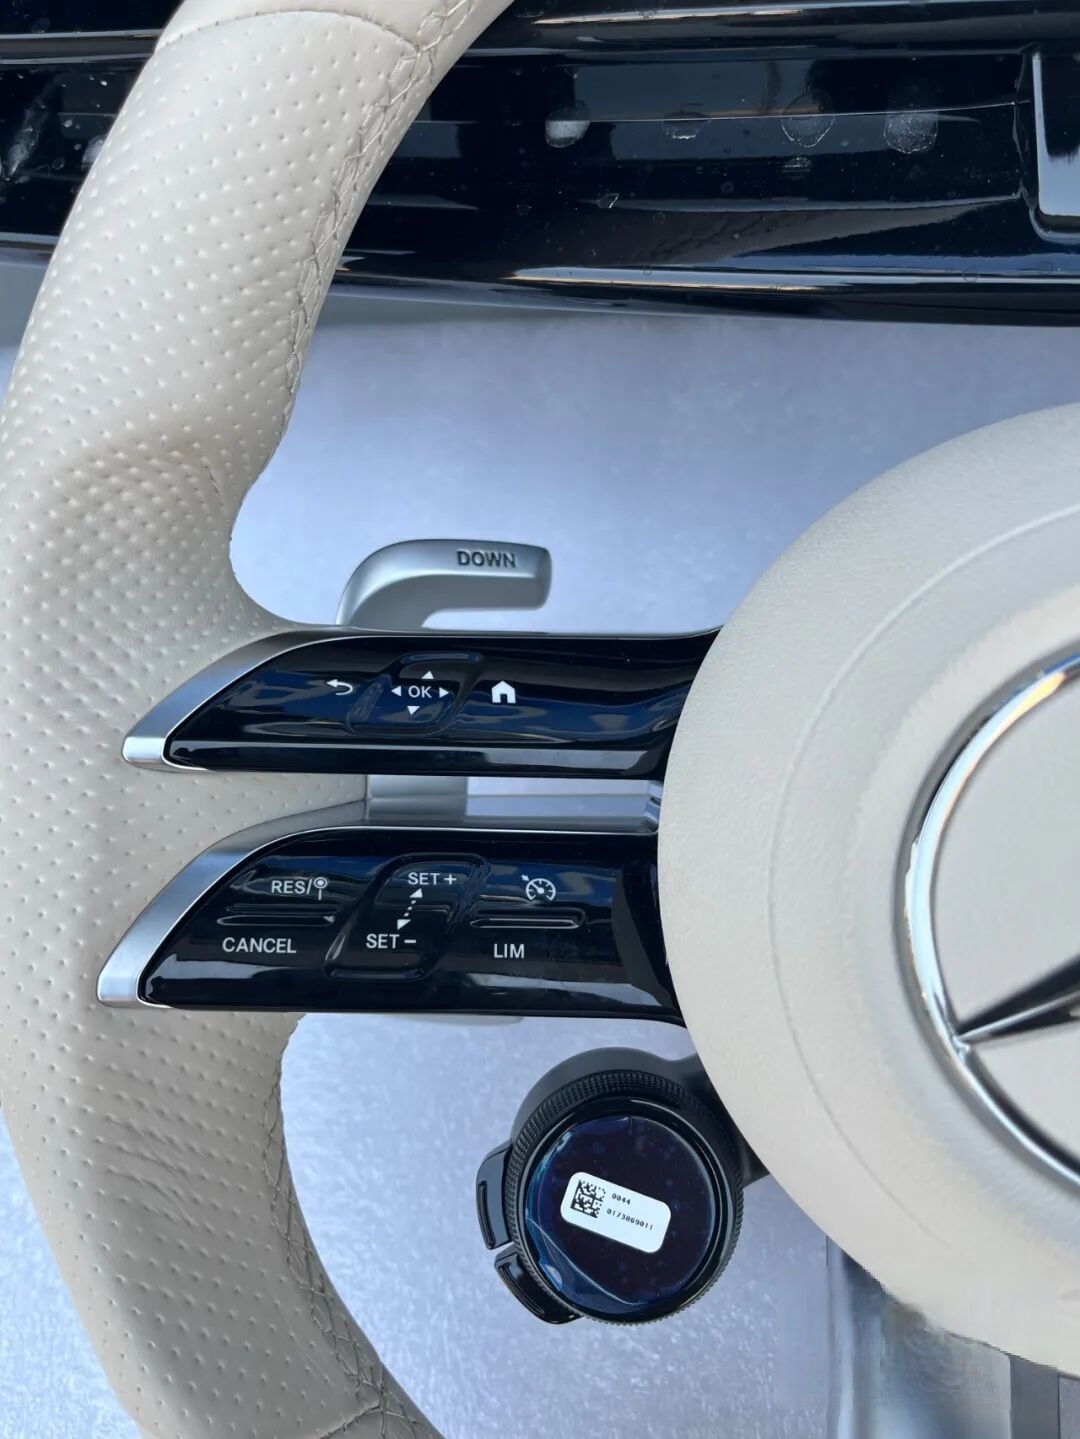
- Features backlit AMG logo, perforated Nappa leather, and aluminum paddle shifters
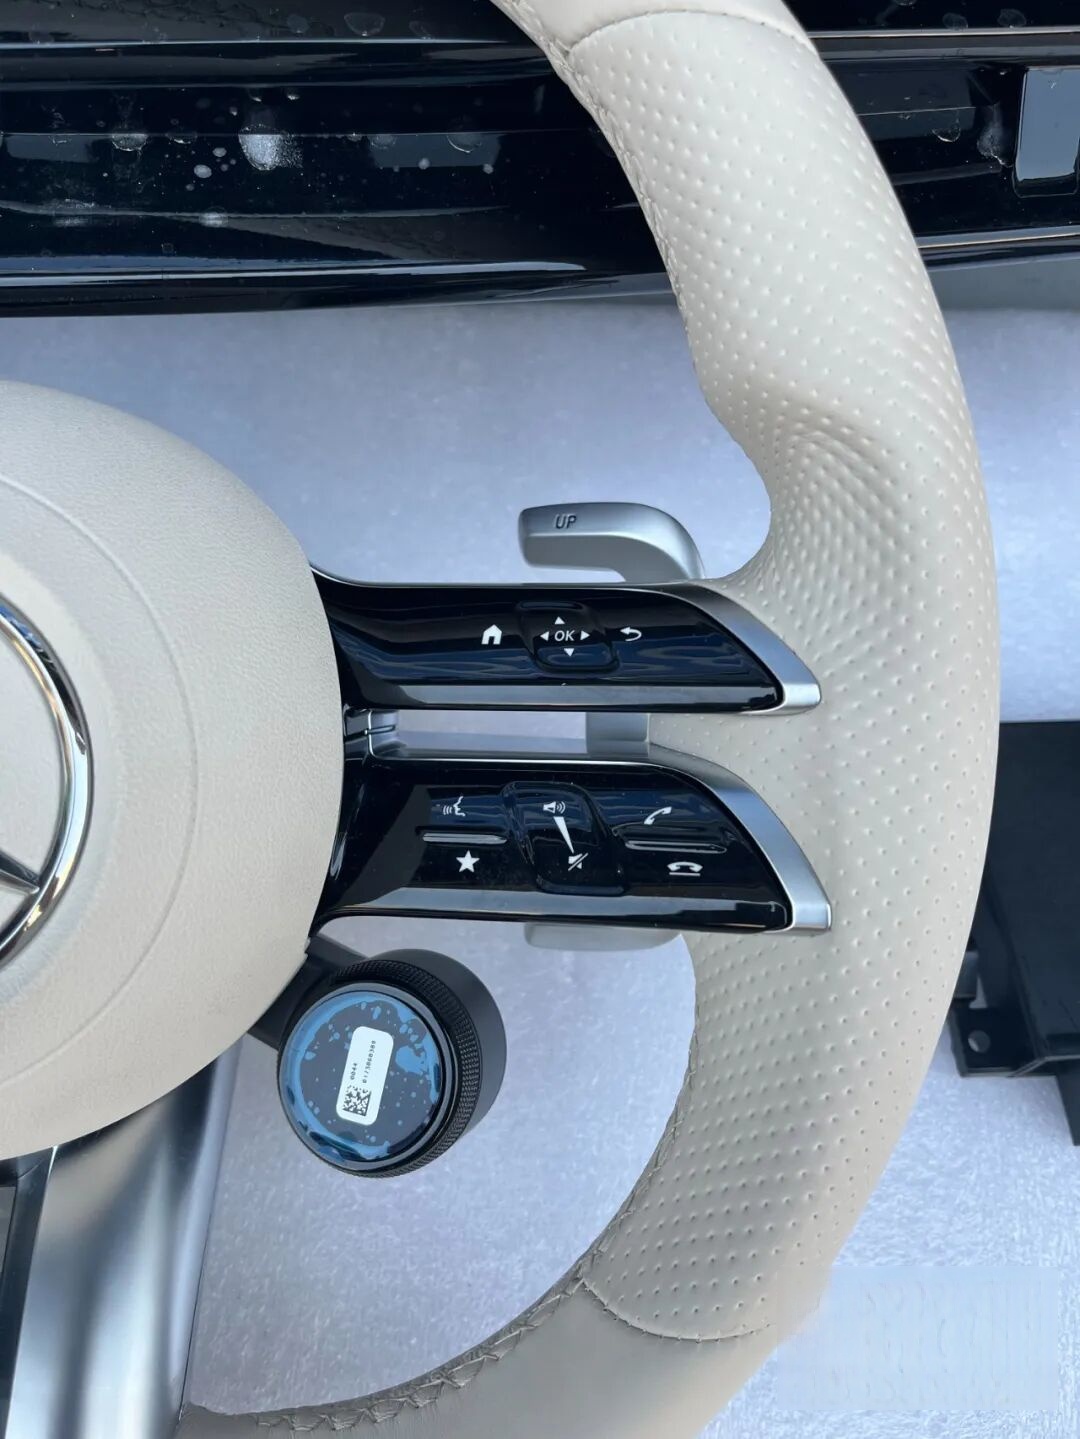
2. AMG Drive Unit (N145/1)
- The central control module enabling all AMG-specific functions
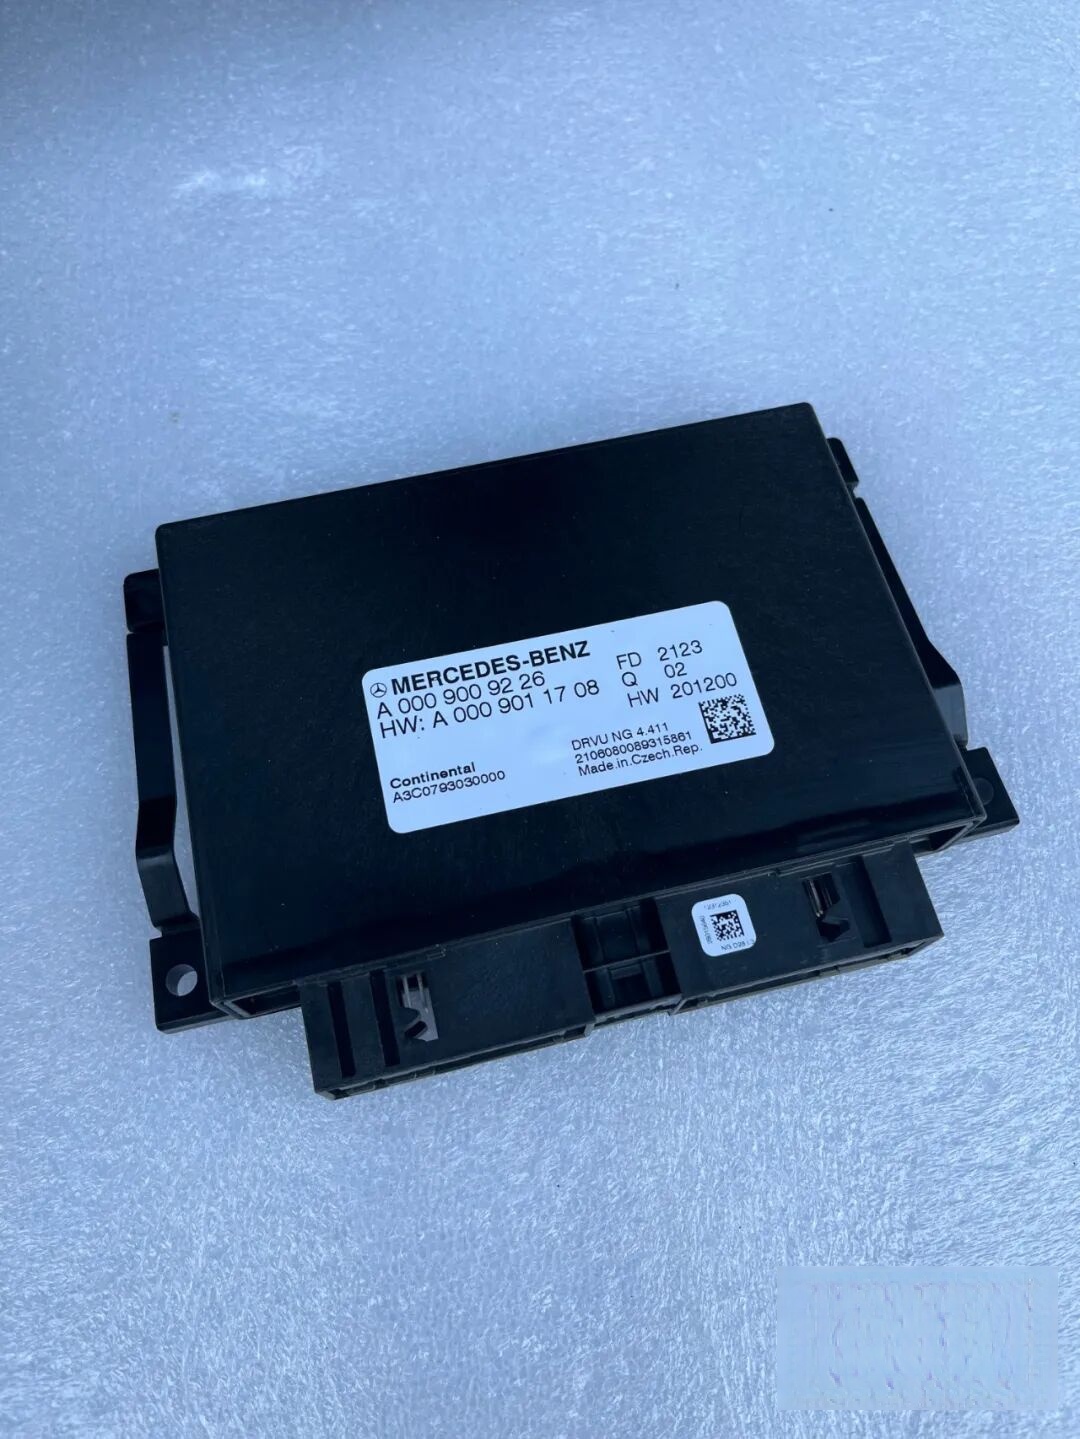
- Must be sourced from a donor AMG vehicle (e.g., C63, E63, or AMG GT) — not a generic “AMG-style” module
3. Wiring & Integration Kit
- Custom CAN bus extension harness
- Seat carpet removal tools (for under-dash access)
- OEM-compatible connectors and pinout-matched terminals
Installation Overview
The retrofit involves three major phases:
- Steering Wheel Replacement
- AMG Drive Unit Installation & Wiring
- XENTRY Coding & Functional Validation
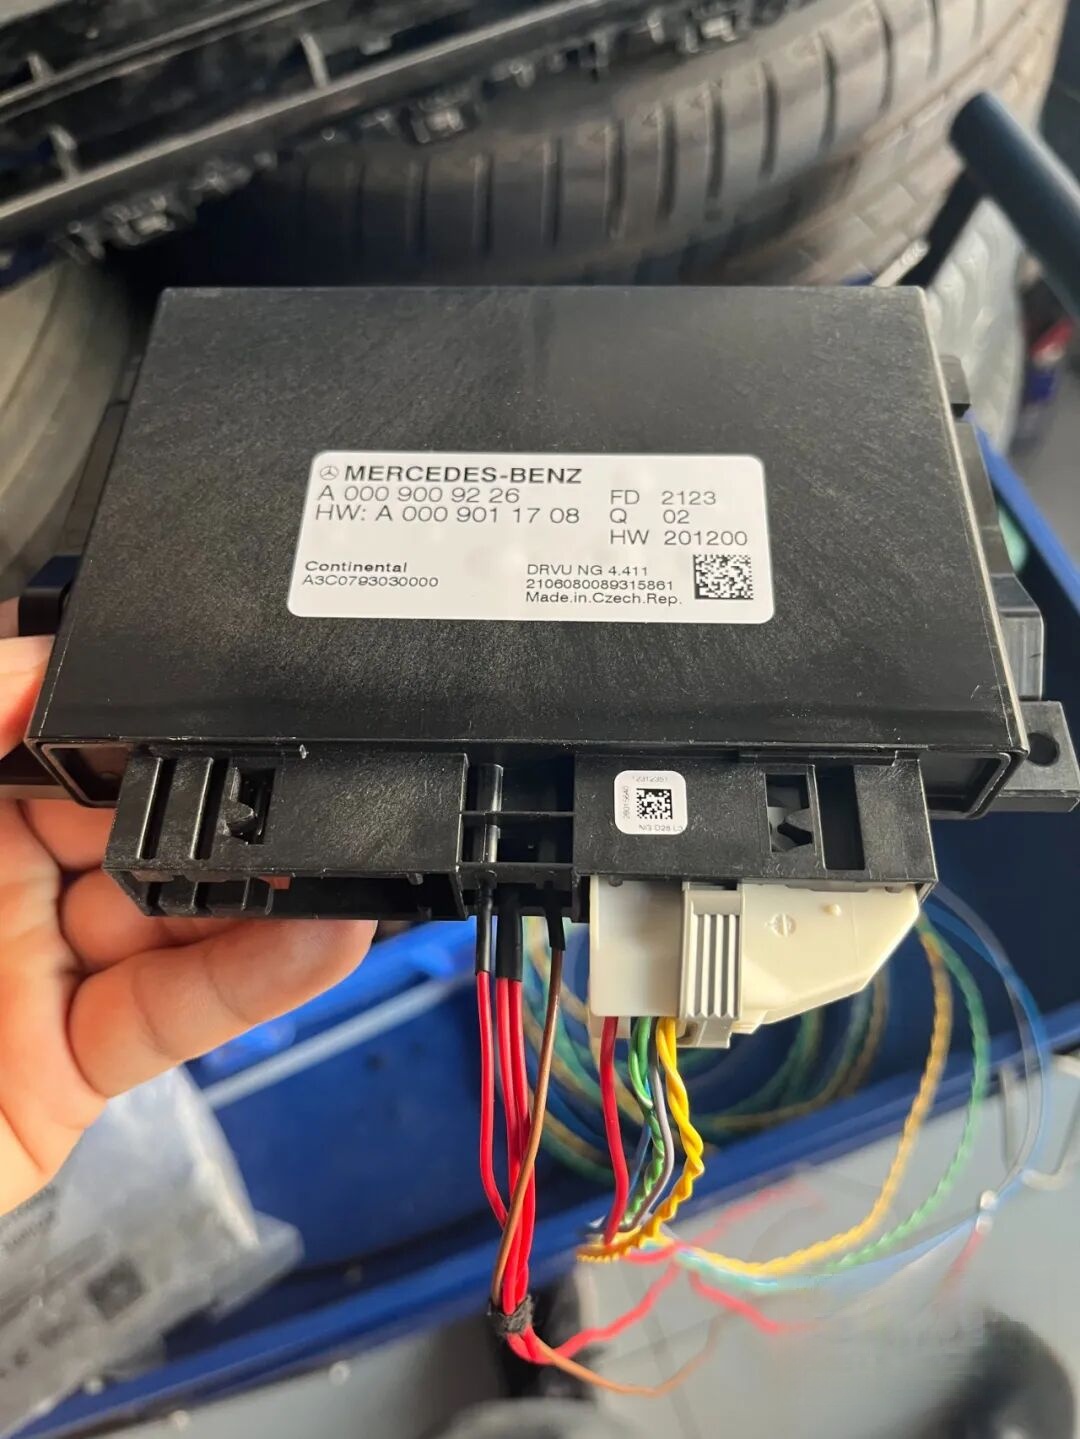
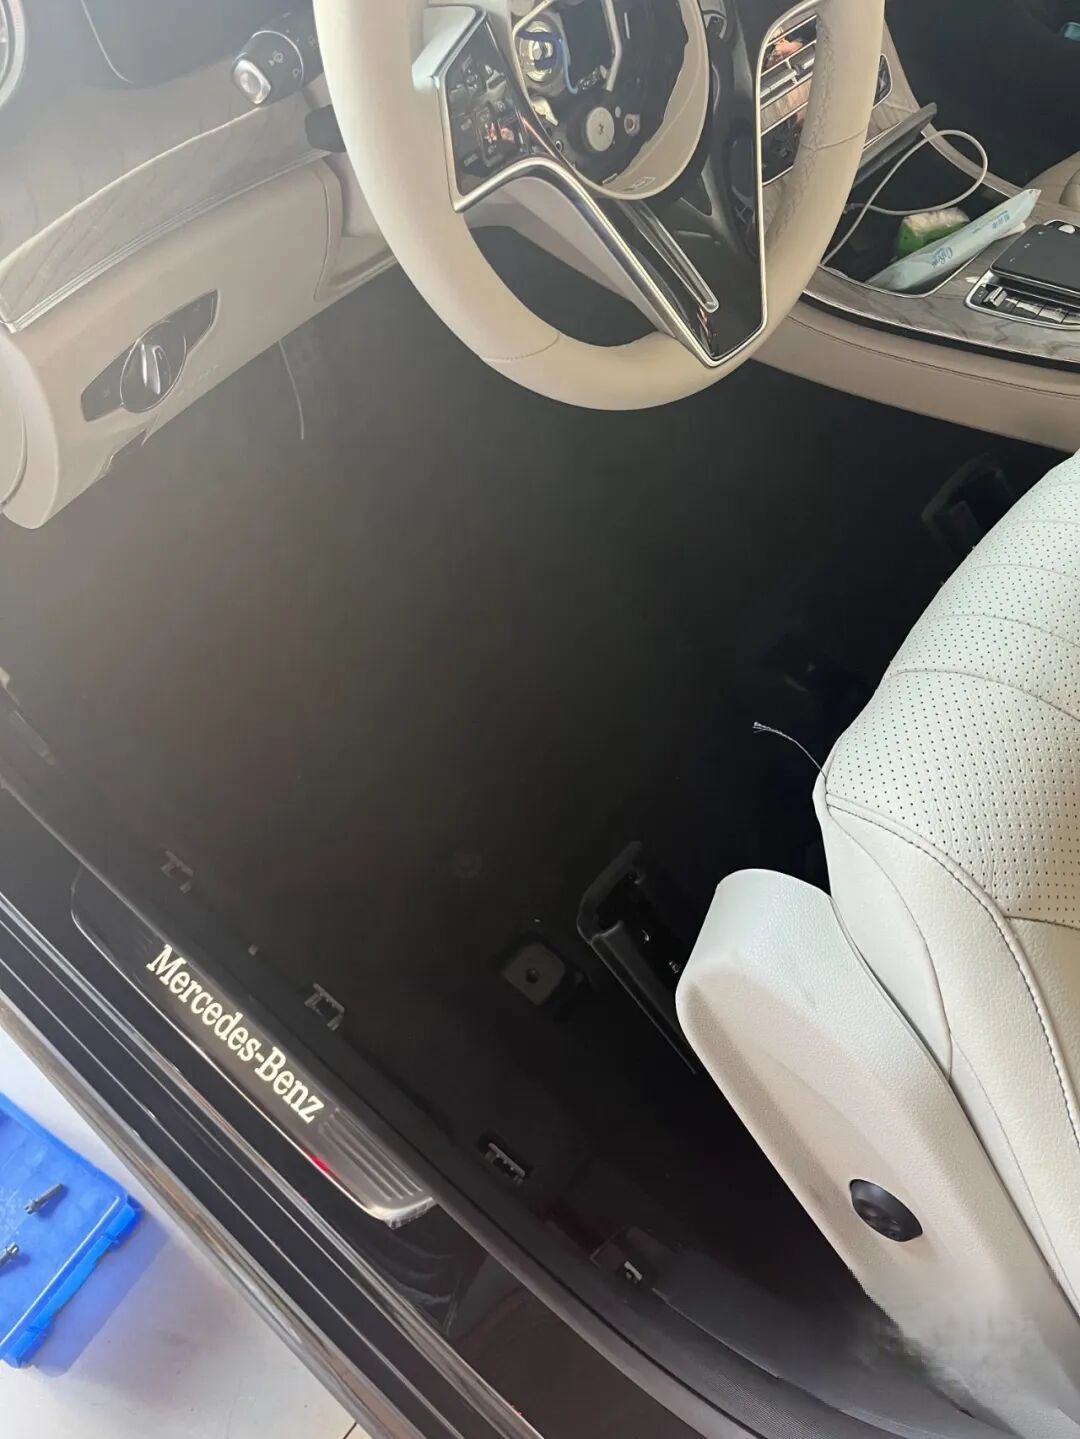
Total hands-on time: ~3 hours (excluding diagnostic setup and coding).
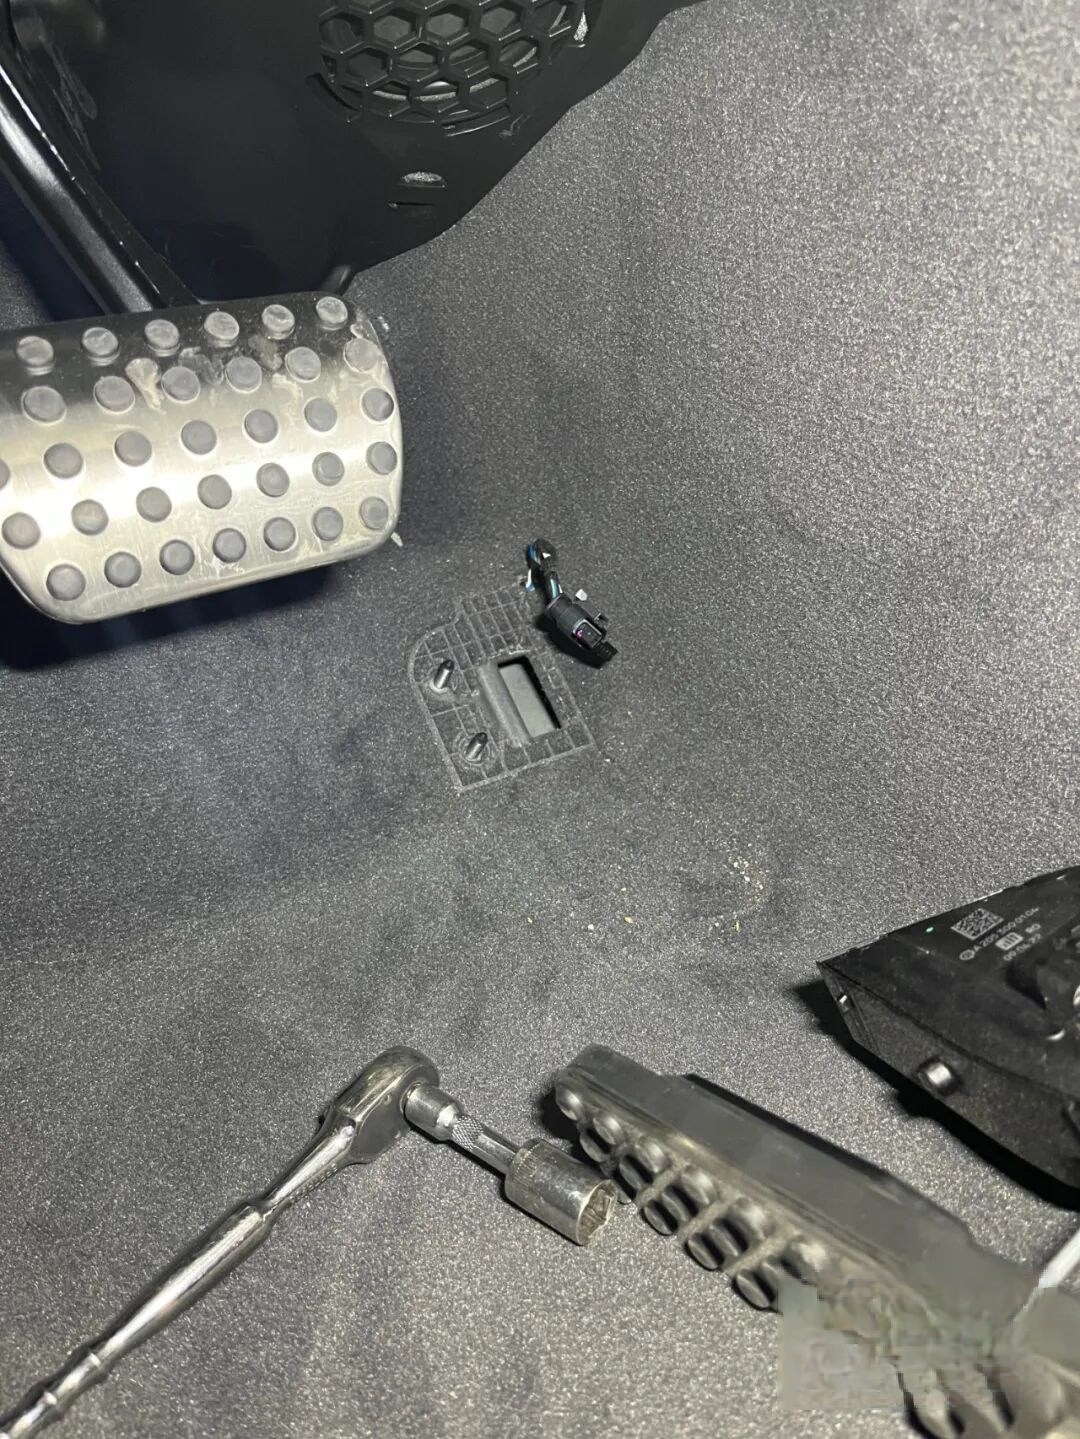
Phase 1: Steering Wheel Replacement
Step 1: Safely Remove the Factory Steering Wheel
⚠️ Always disconnect the 12V battery and wait ≥15 minutes before handling airbag components.
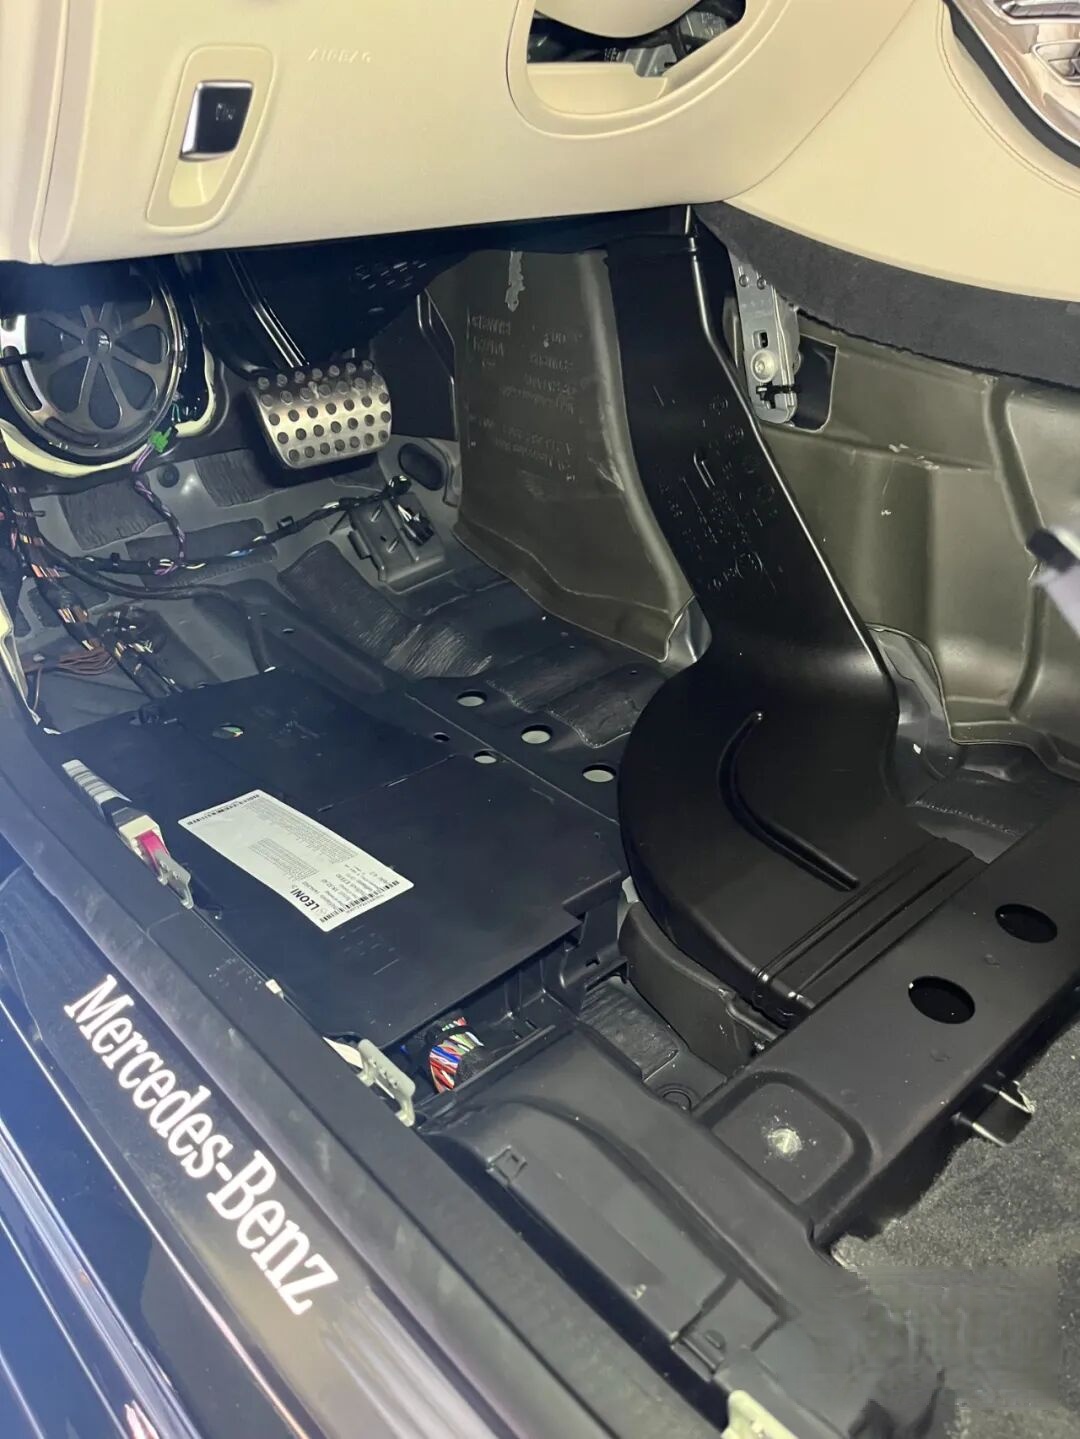
Standard 3-spoke wheel removal — note clockspring alignment marks.
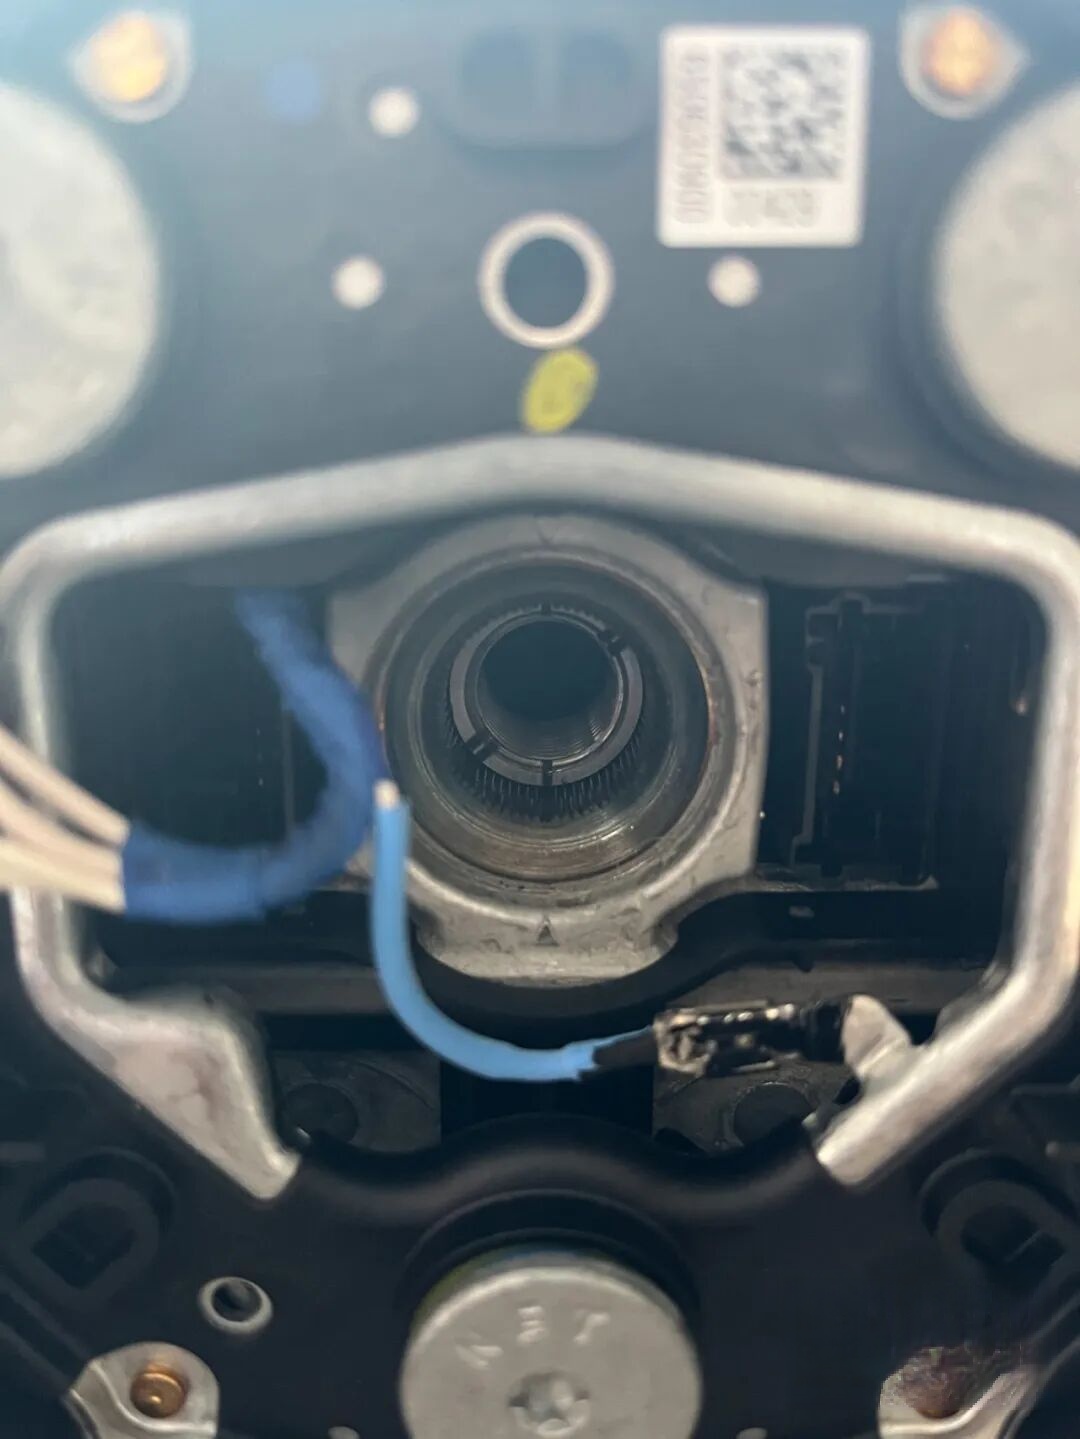
Clockspring orientation and airbag plug identification.
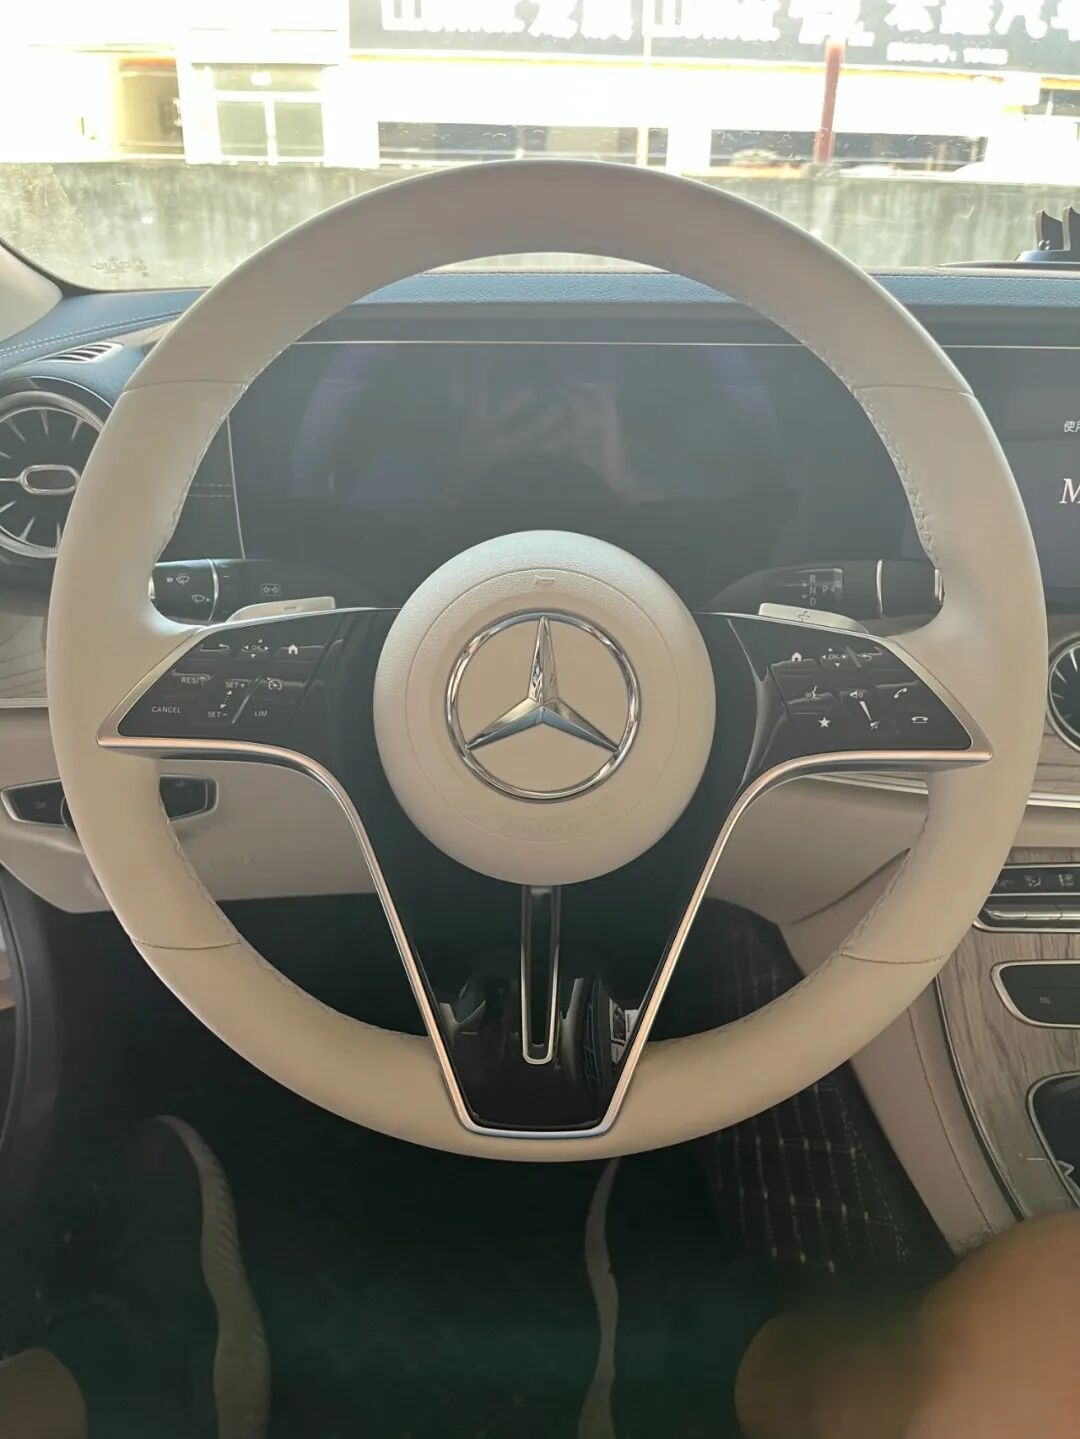
Step 2: Install the AMG Wheel
- Mount the new wheel using OEM torque specs (35 Nm)
- Reconnect airbag and clockspring harnesses
- Do not reconnect battery yet — wiring phase must complete first.
Buttons remain unlit until coding completes.
All controls are physically present but inactive without N145/1 and coding.
Phase 2: AMG Drive Unit (N145/1) Installation
Access Strategy
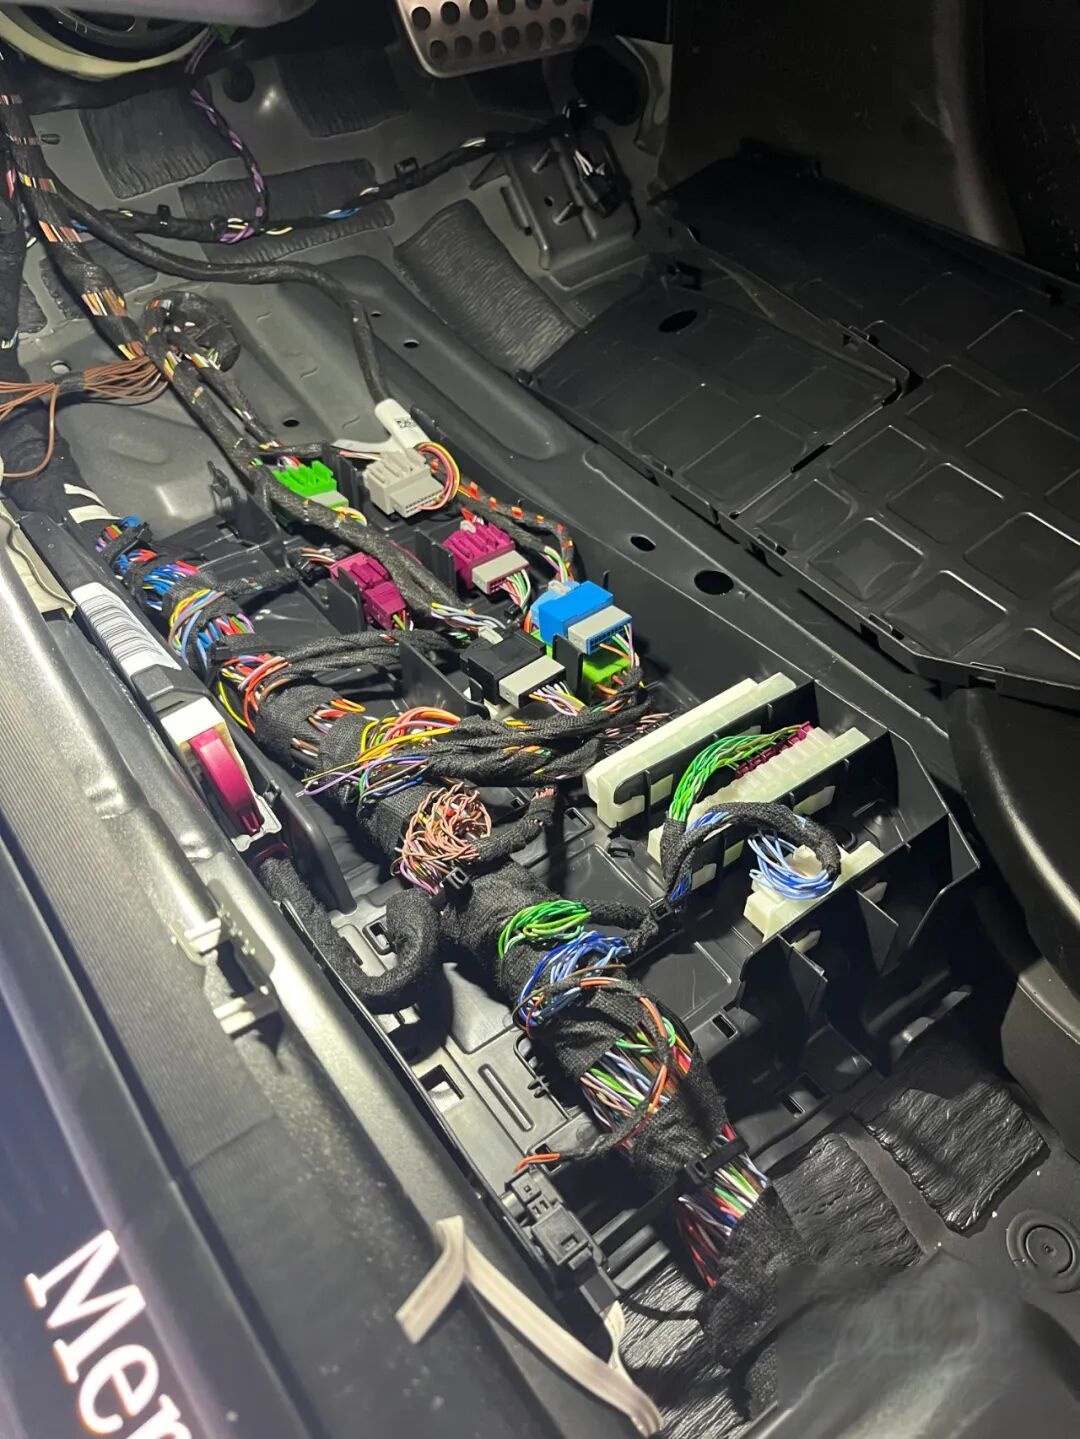
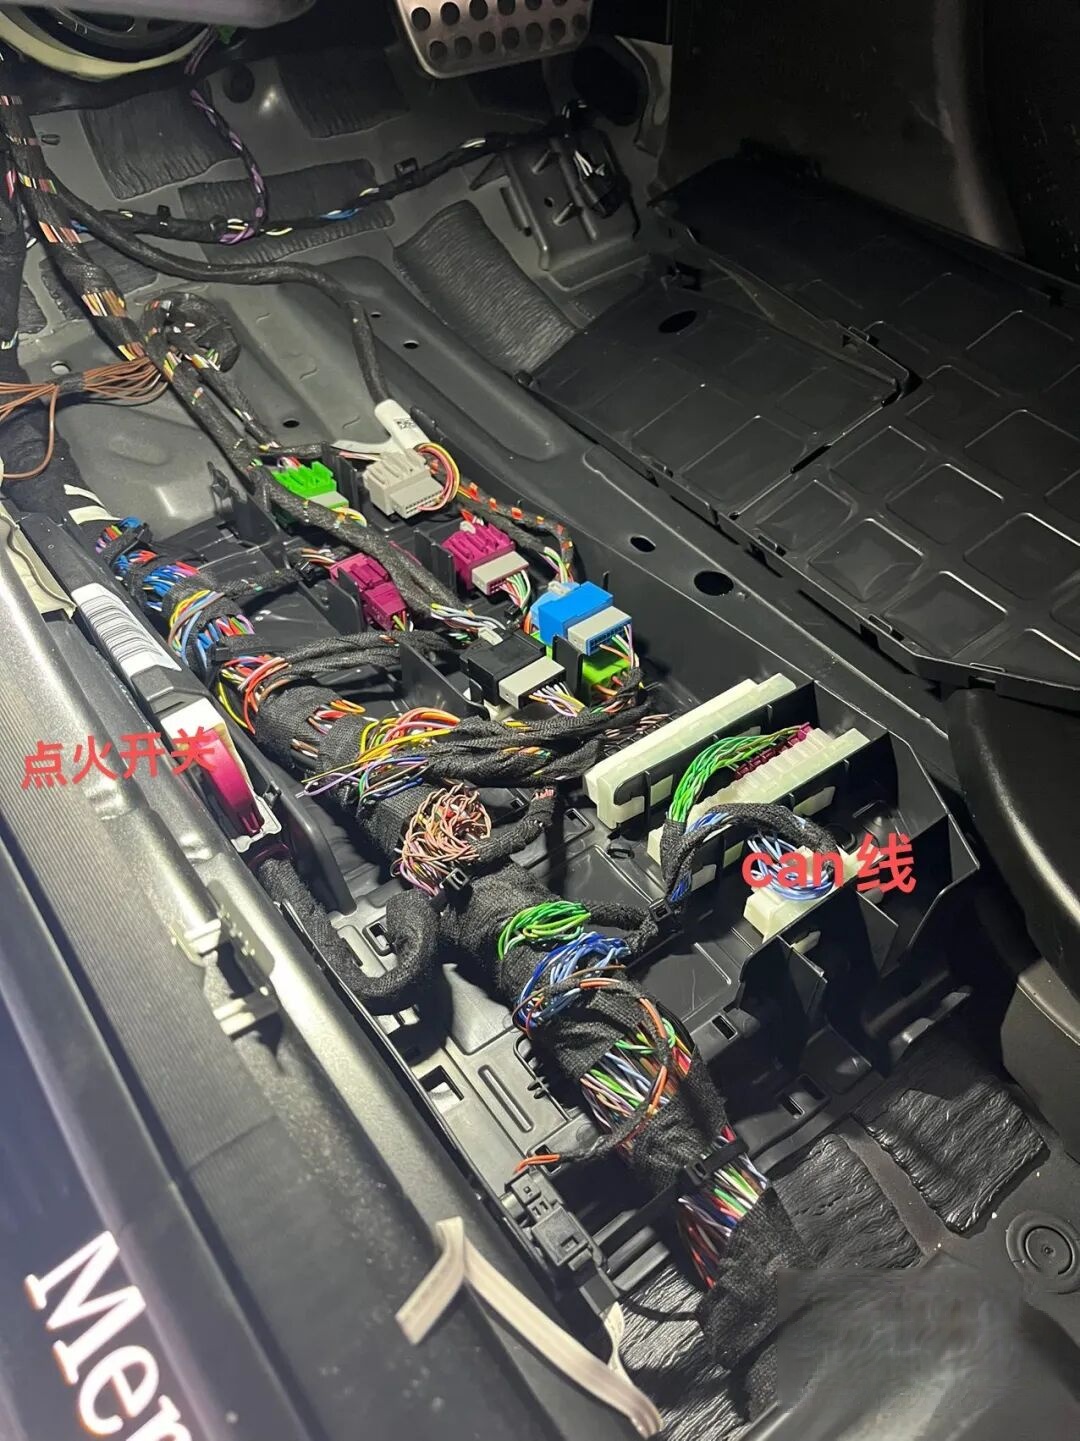
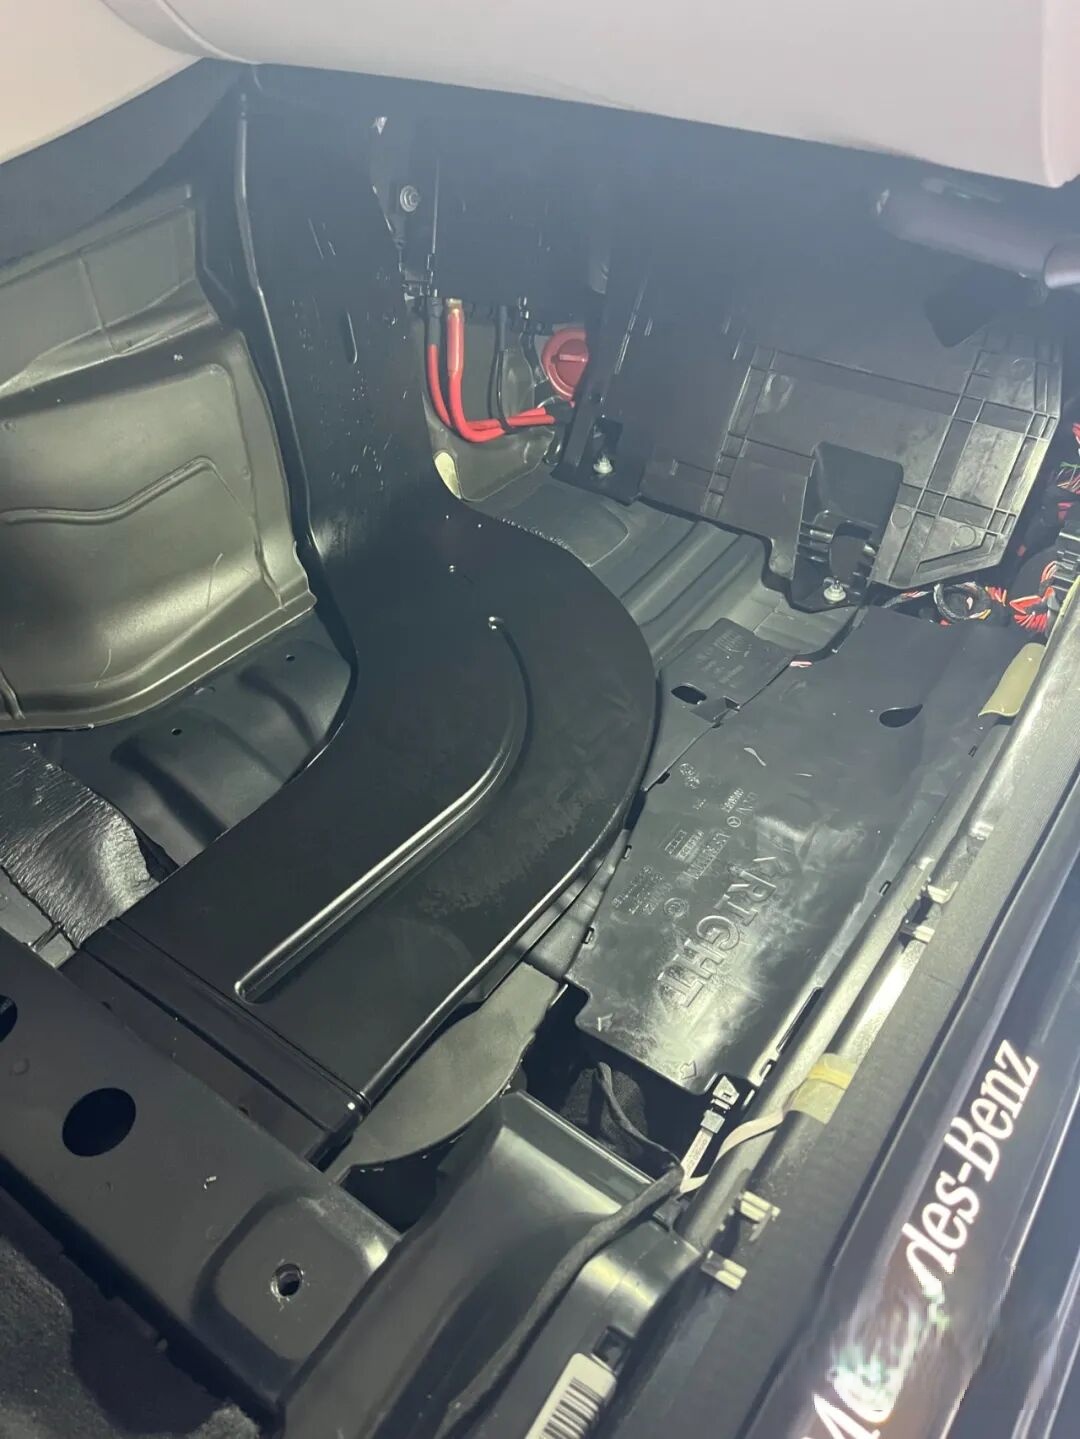
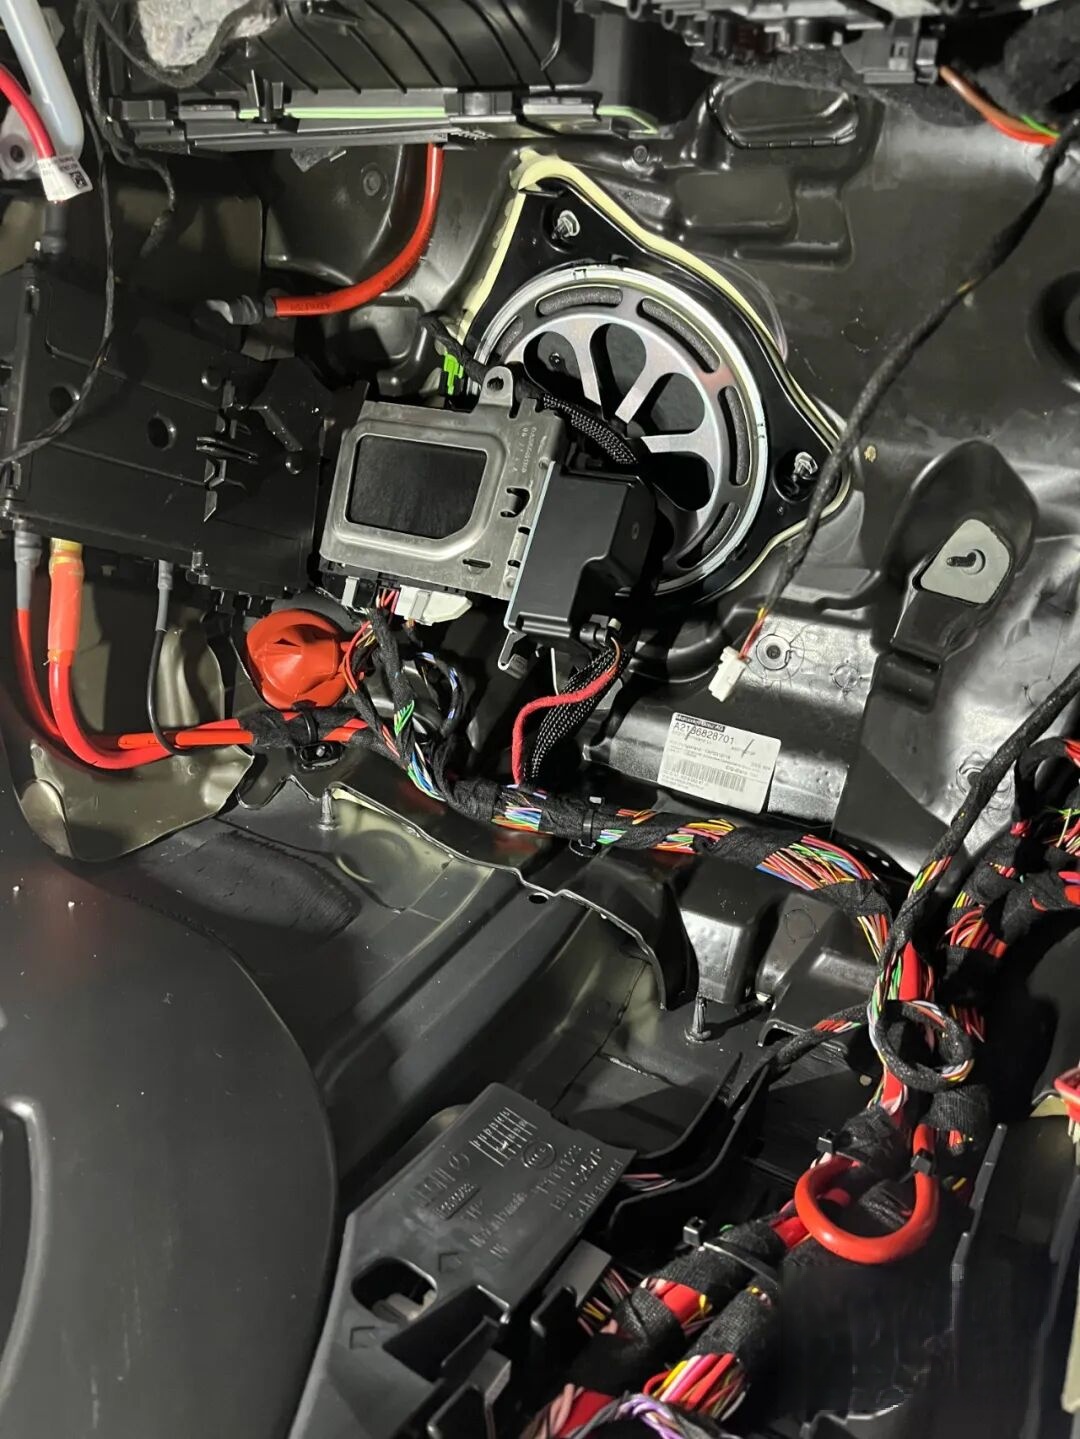
The N145/1 mounts under the driver’s side dashboard, behind the lower knee panel. To reach it:
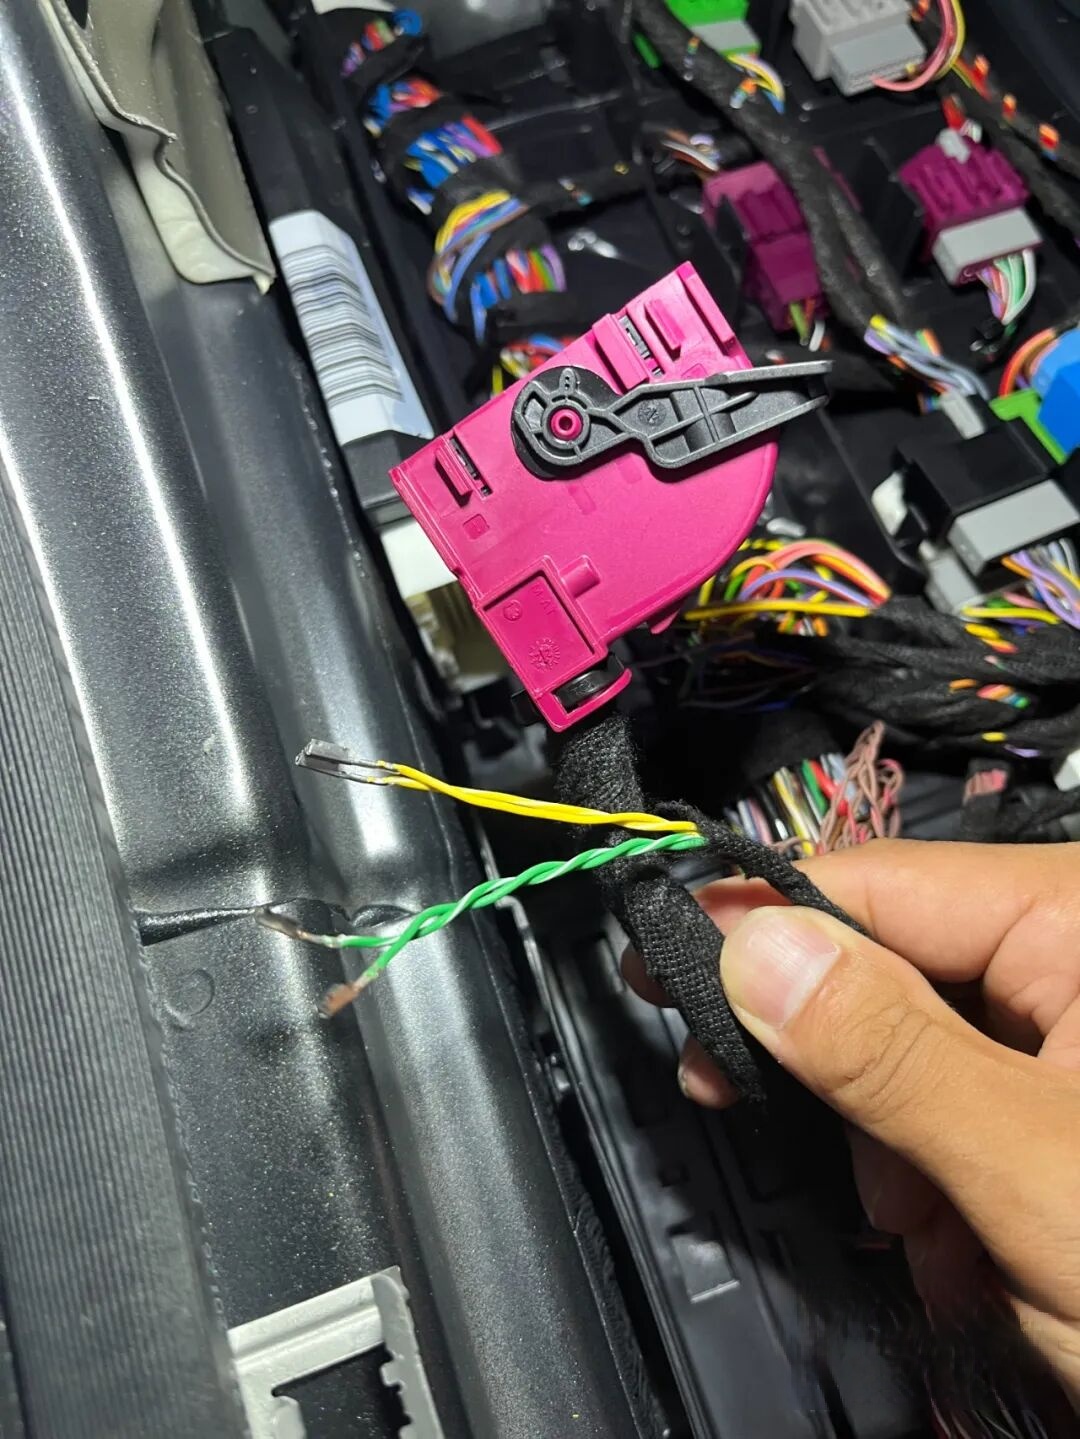
- Remove both front seat carpets (driver + passenger)
- Detach the accelerator pedal assembly
- Remove trim panels and wiring channel covers
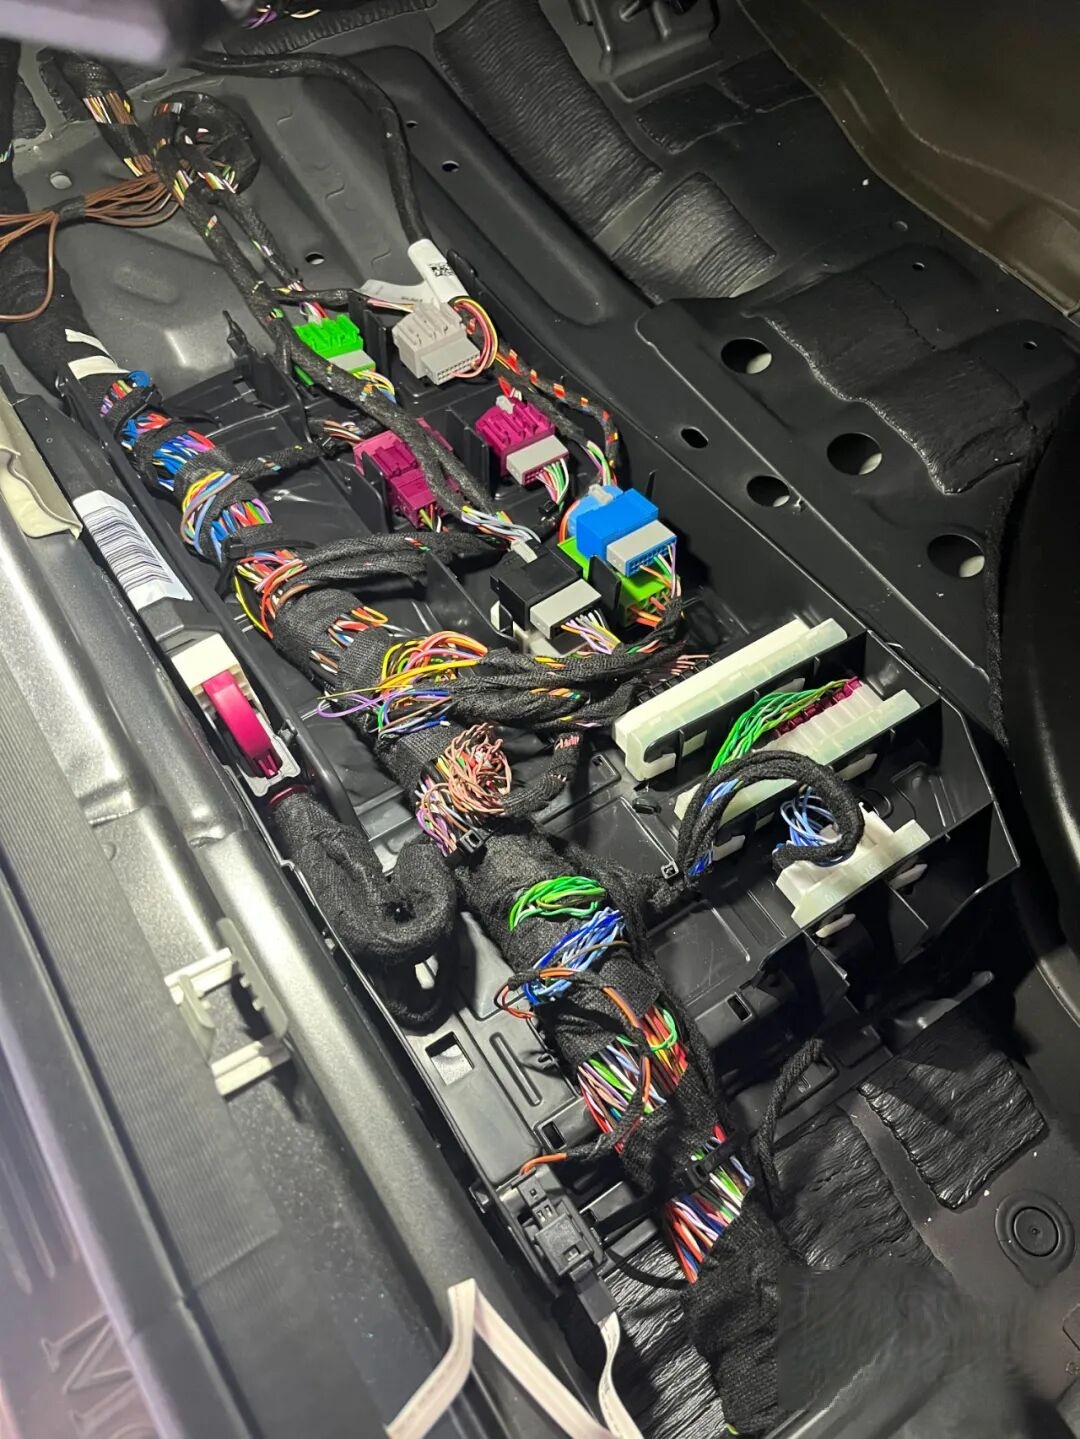
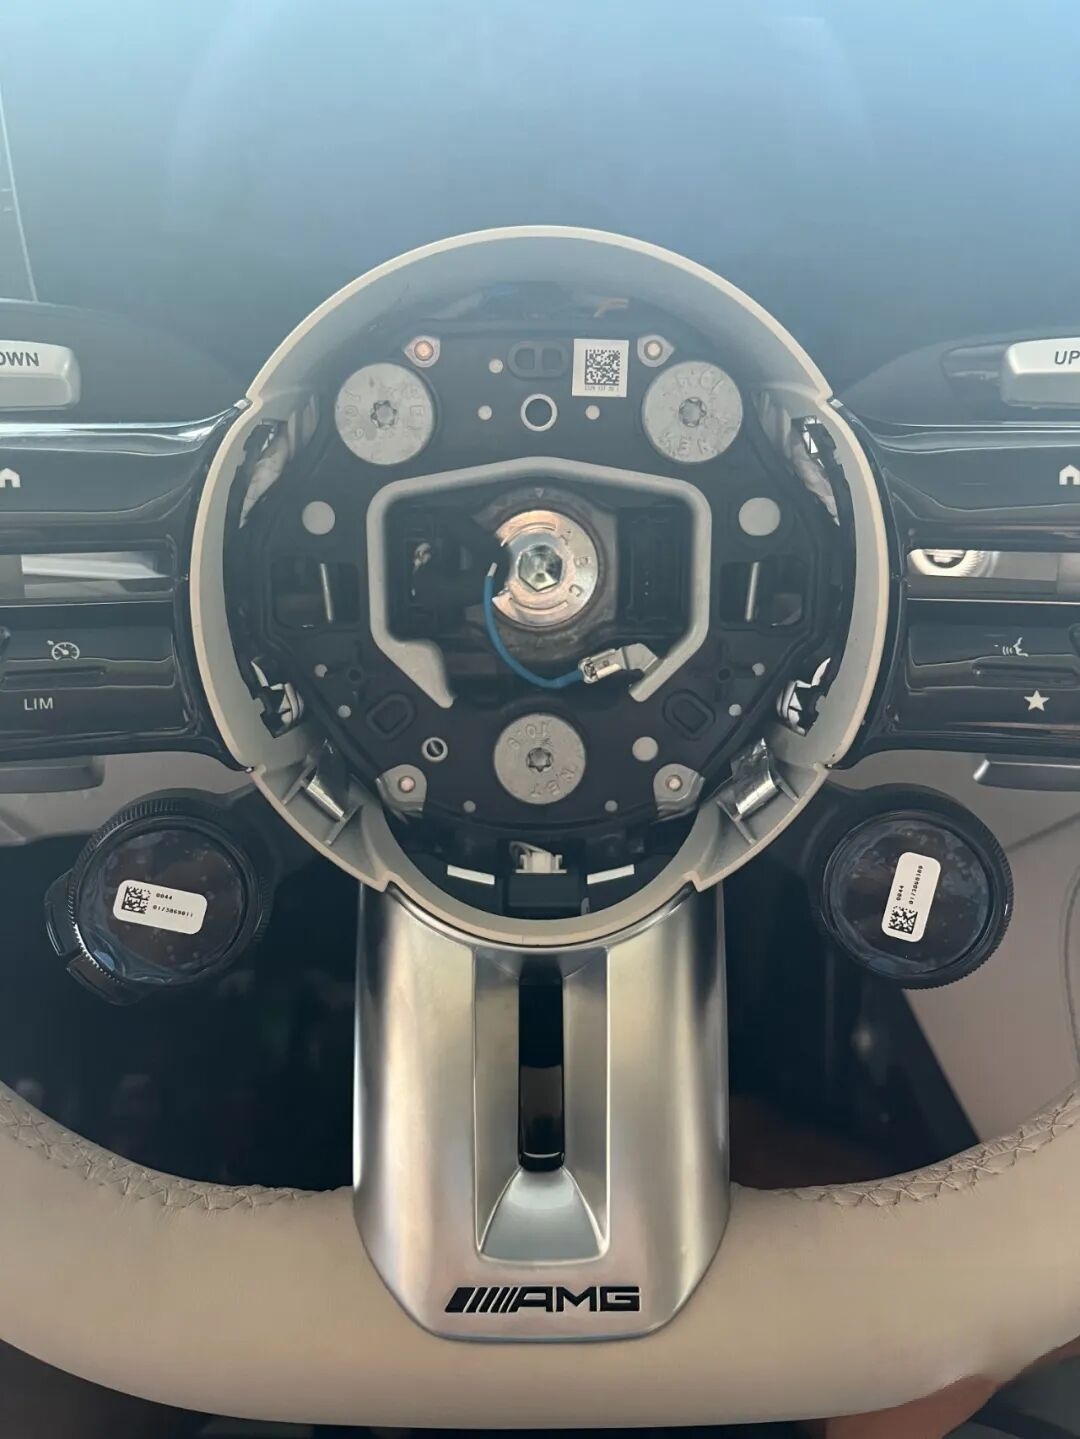
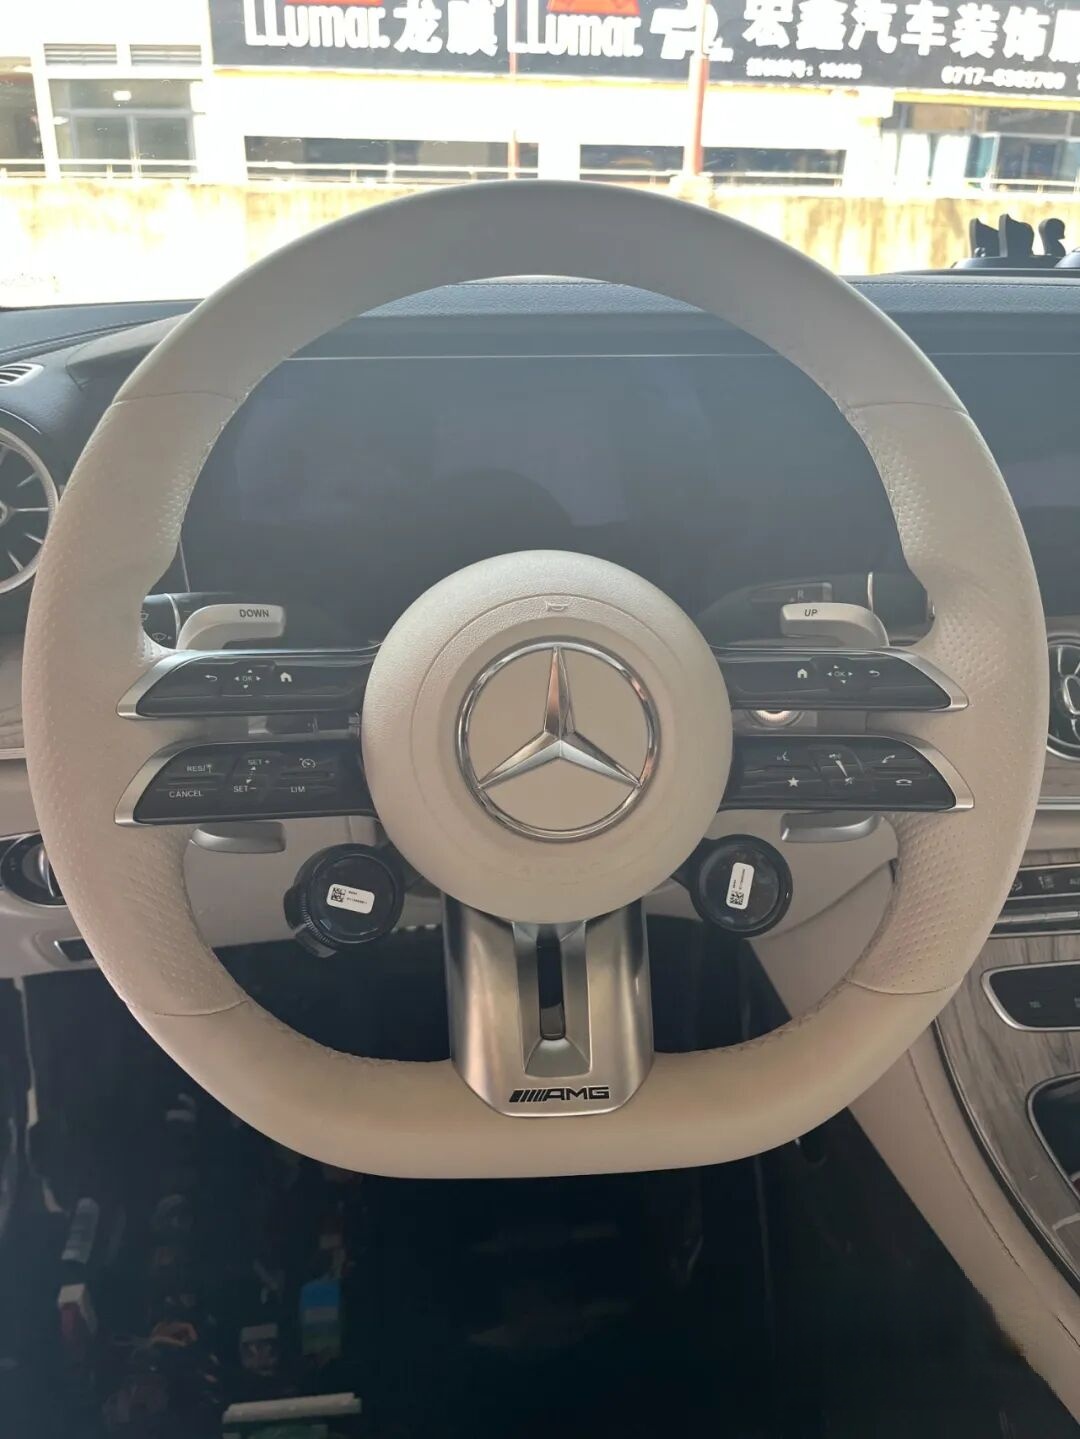
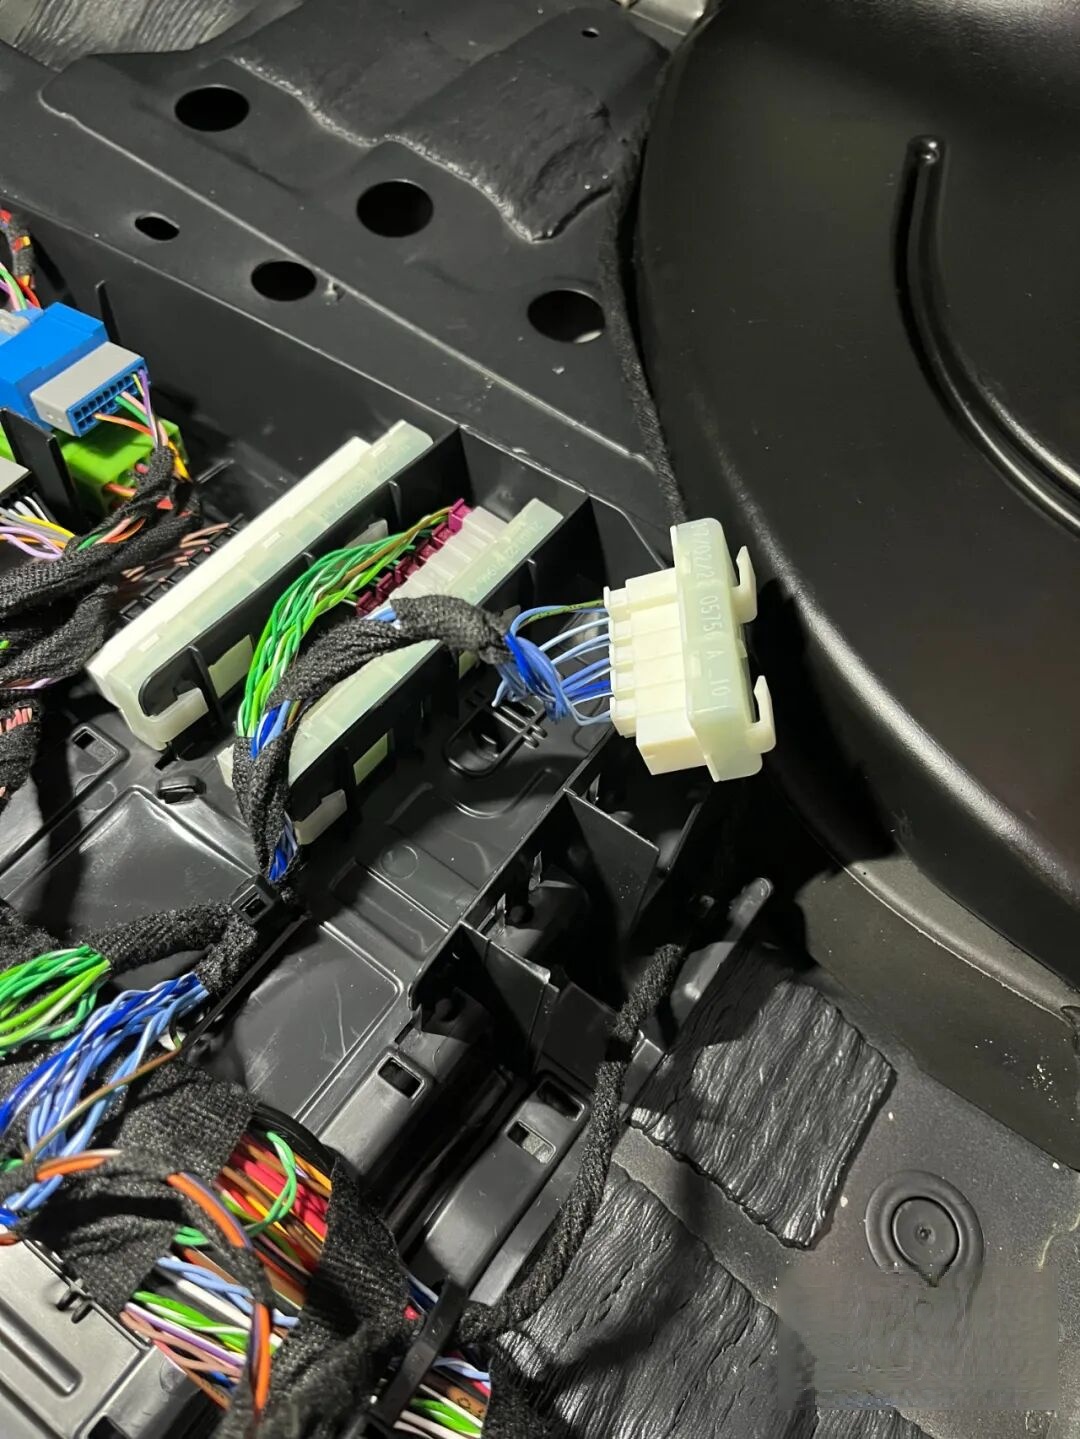
Carpet lifted to expose floor-mounted wiring channels. Pedal assembly detached for clearance. Floor channel opened for CAN bus tap location. Primary CAN-H/CAN-L tap near fuse box — marked and verified.
Wiring Sequence
All connections use OEM-spec pins and crimp tools. Critical junctions:
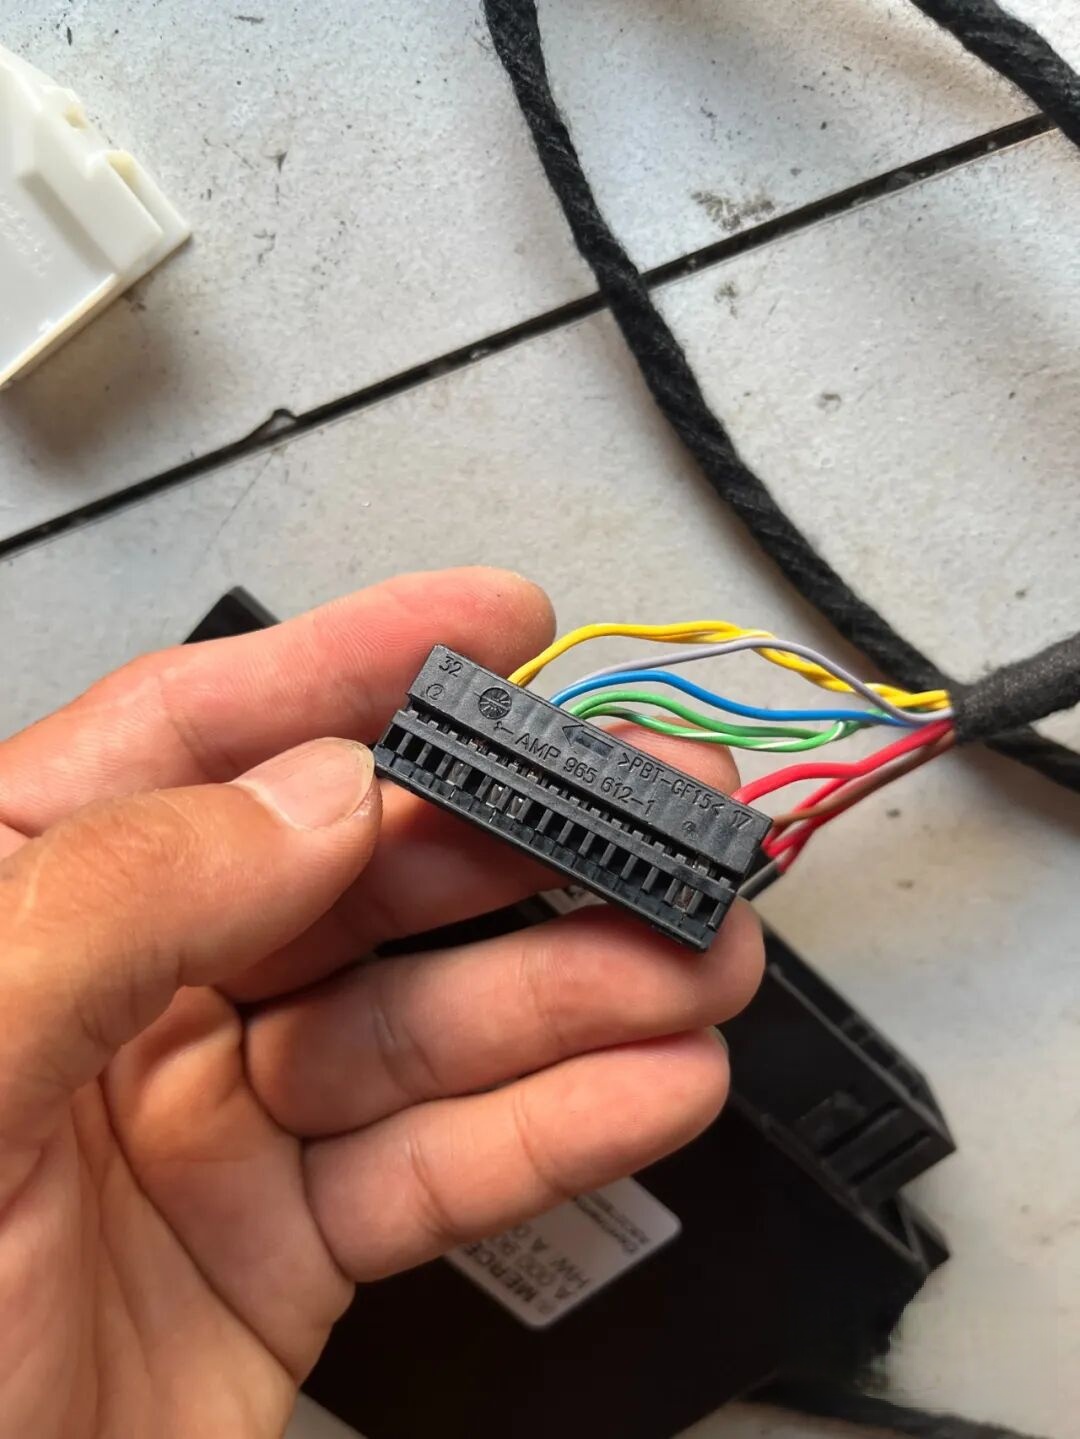
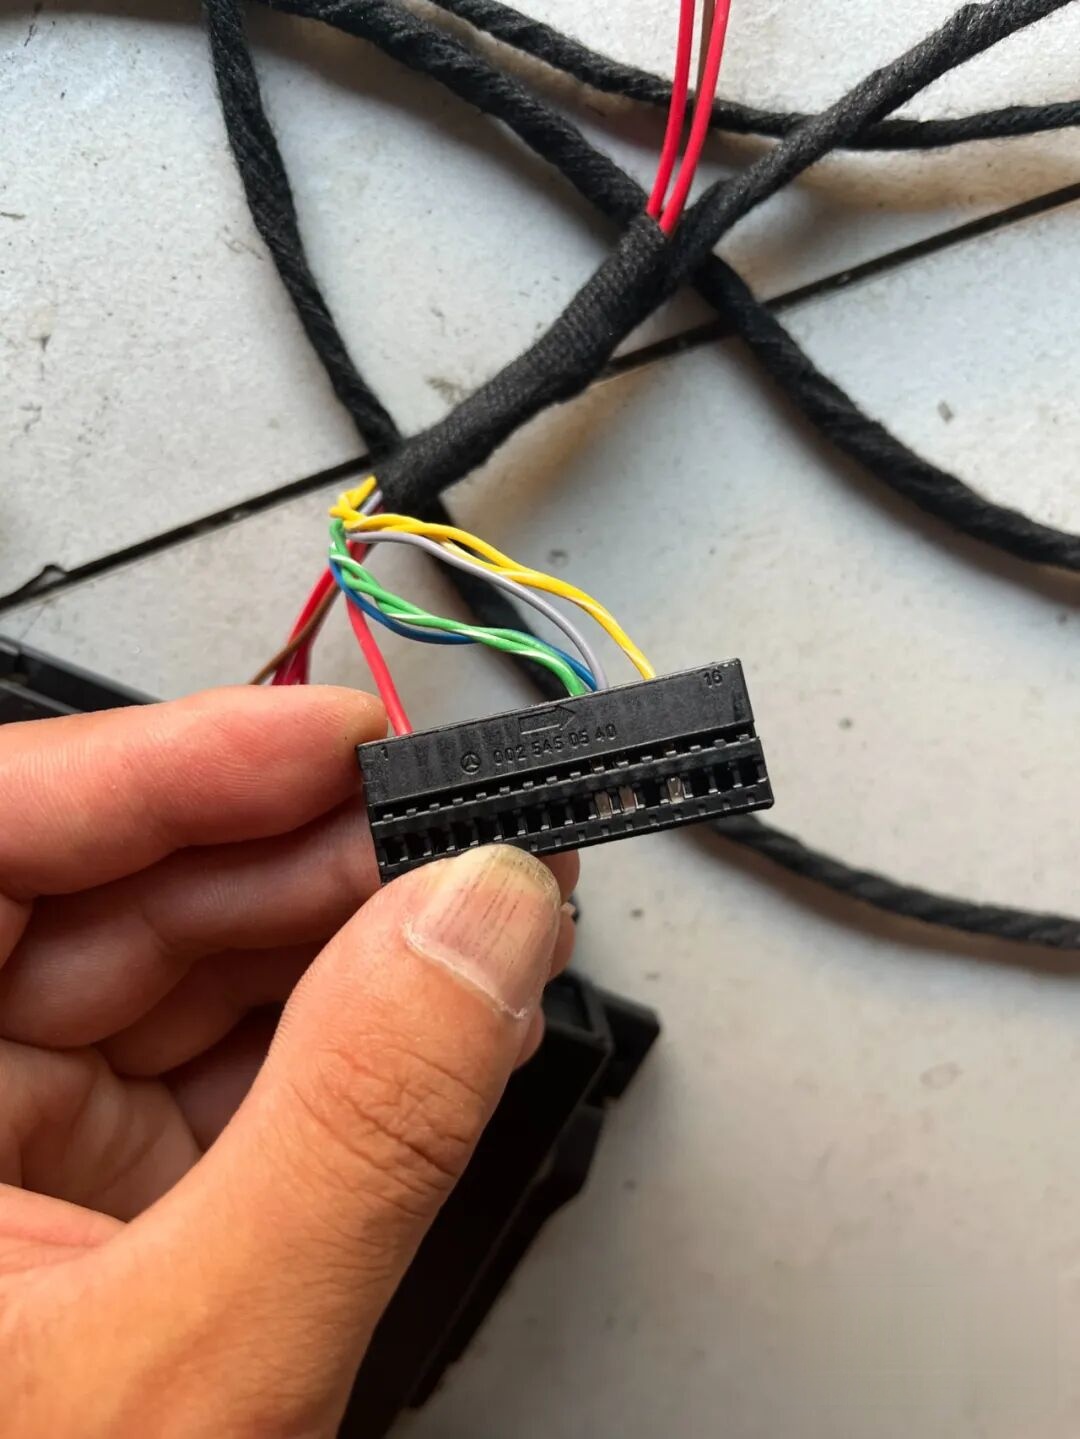
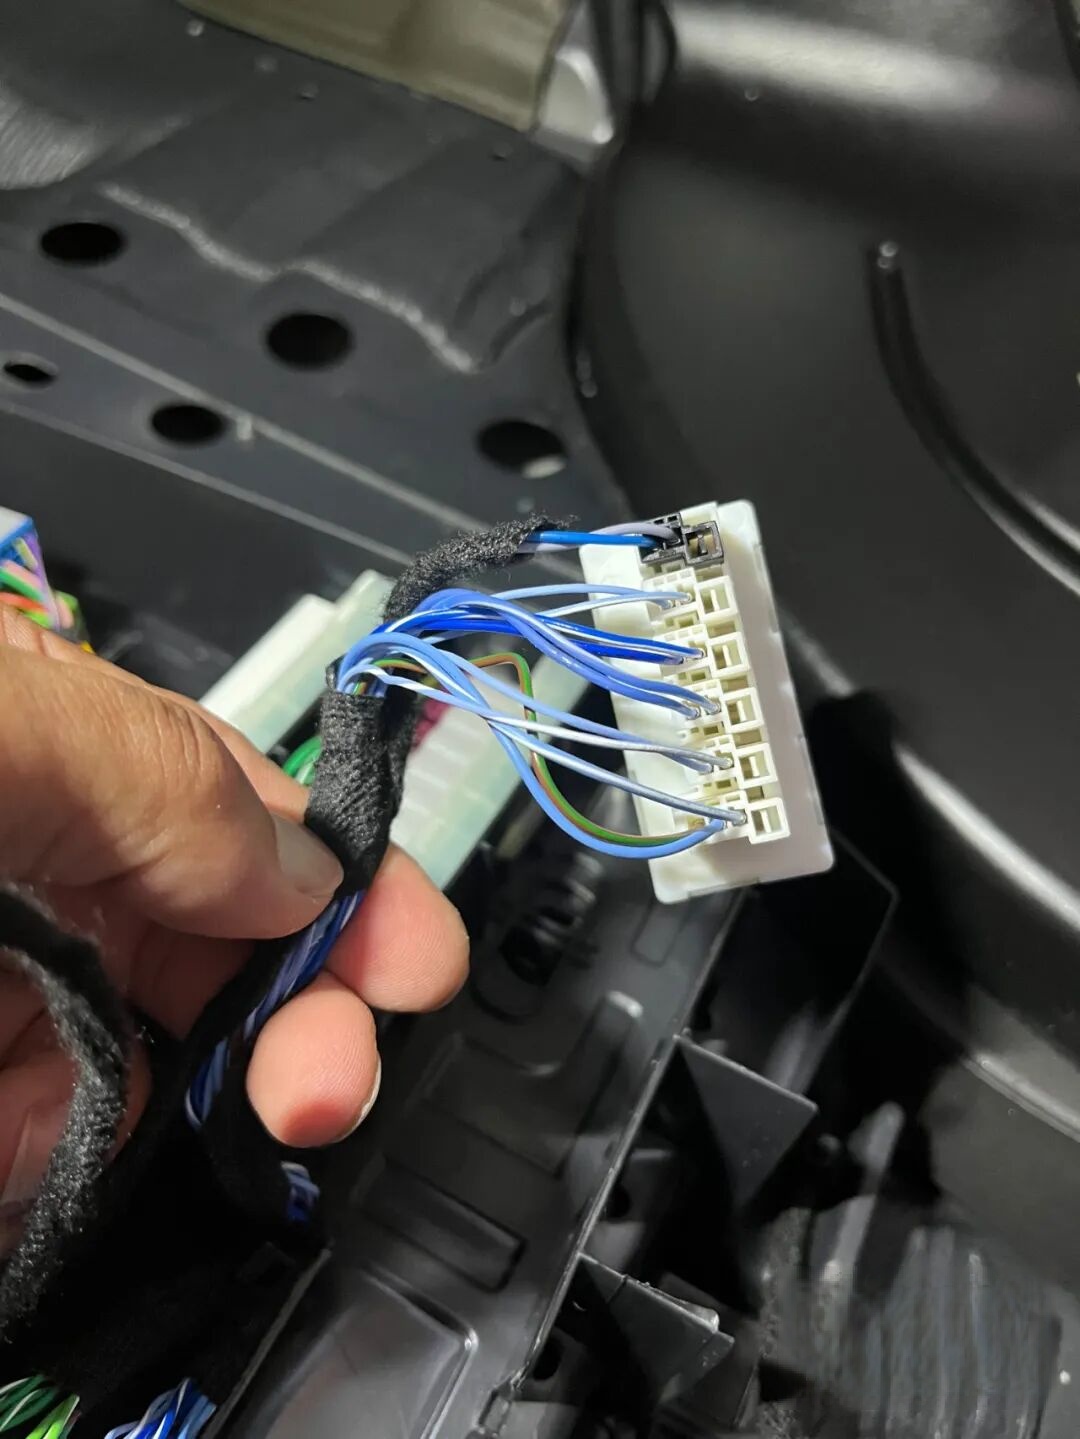
- A-Plug (N145/1 main harness): Connects to the steering column’s CAN bus backbone
- Small auxiliary plug: Powers the DRC display and provides feedback signals
- Pinout verification: Cross-checked against WIS documentation and donor vehicle photos
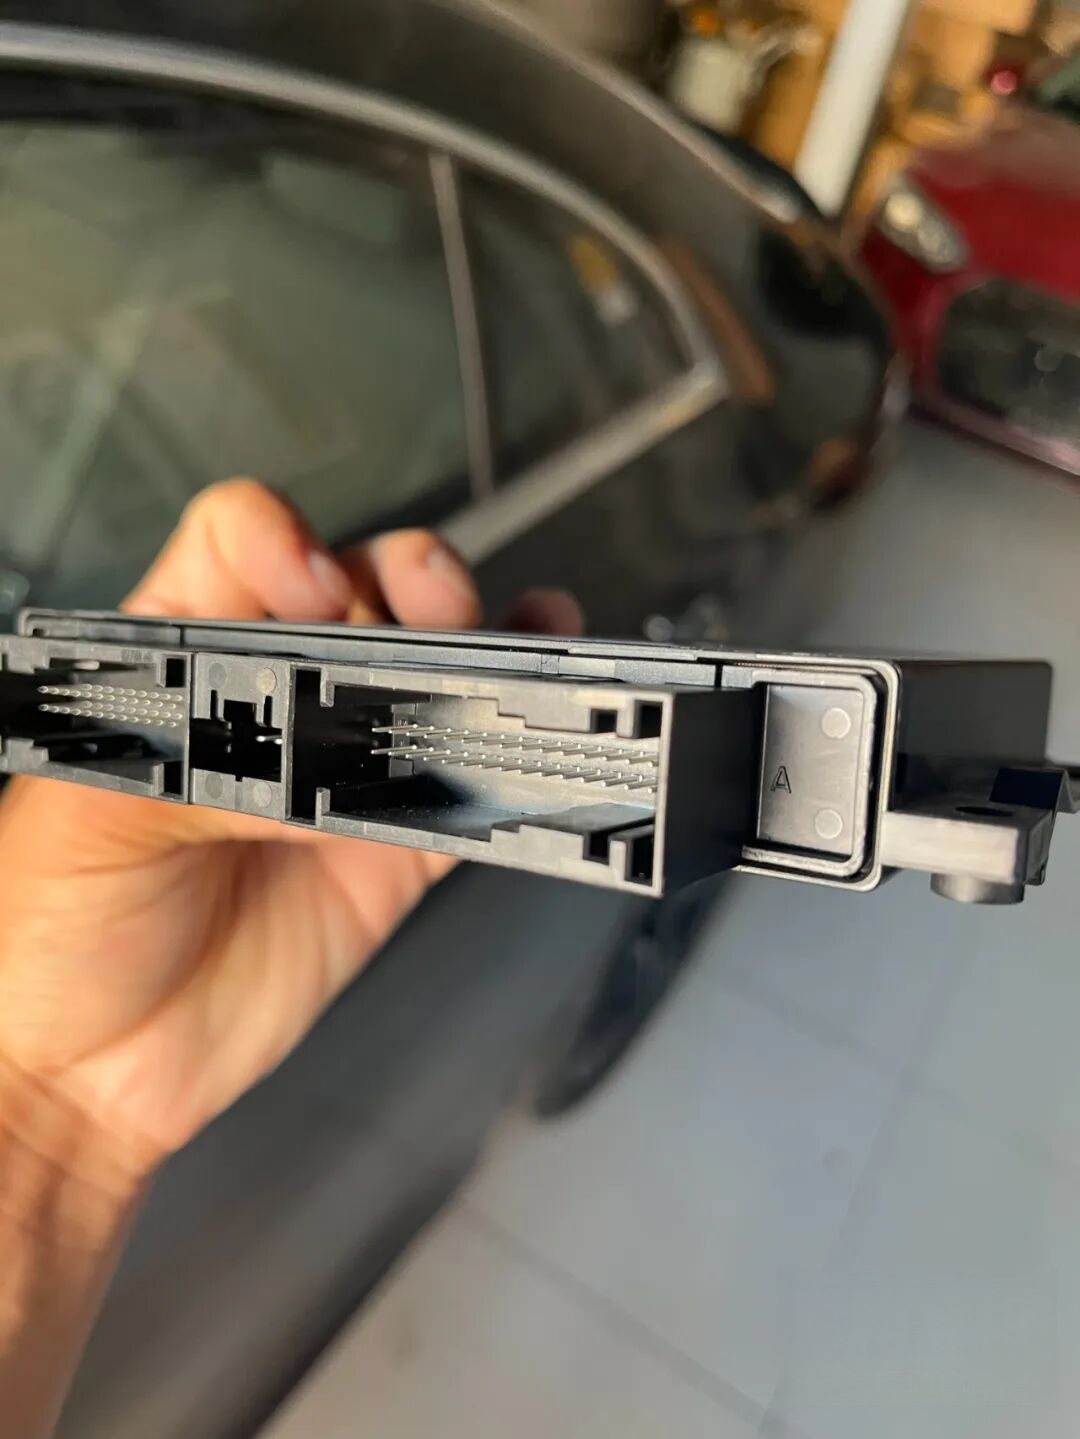
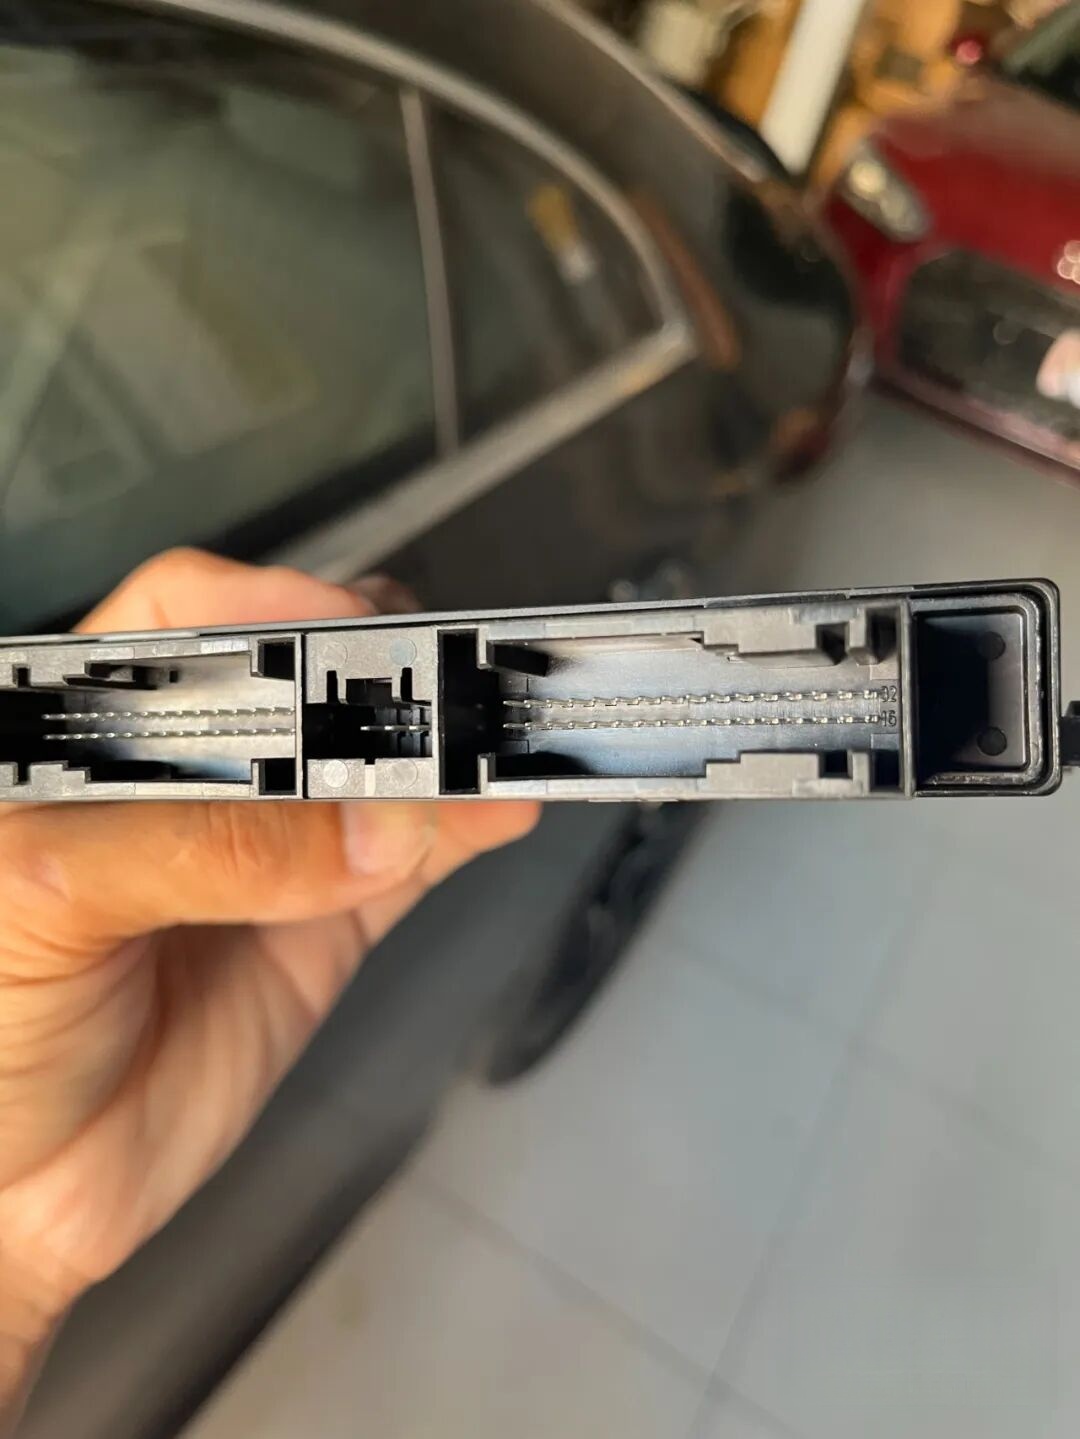
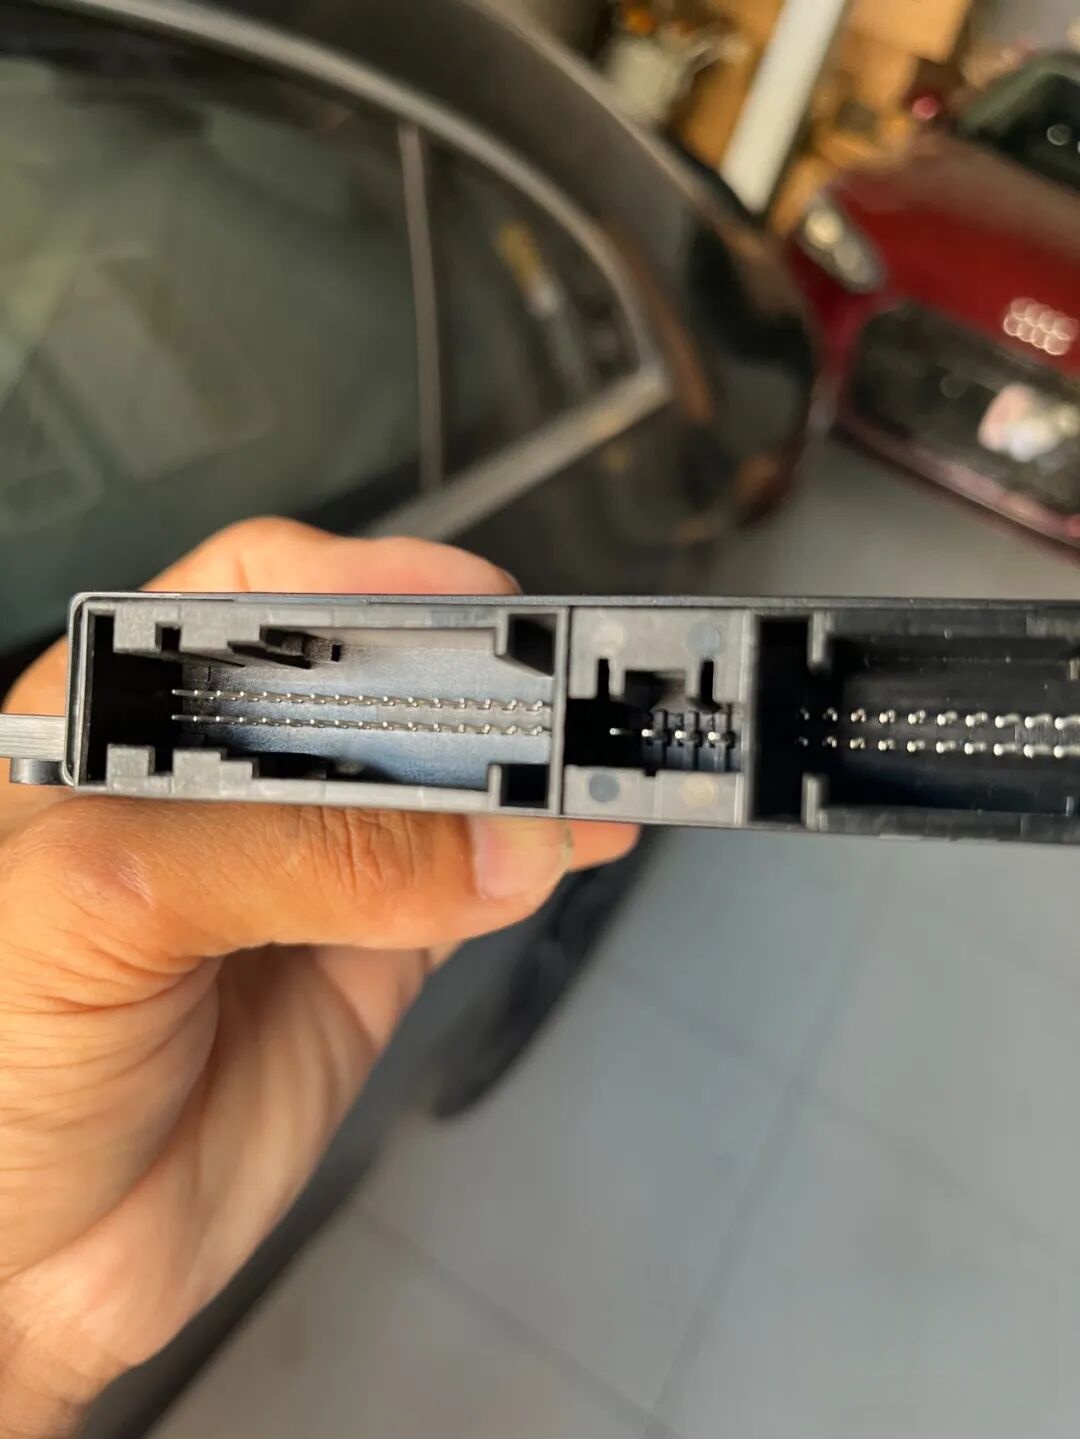
All harnesses secured, strain-relieved, and routed away from moving parts.
Phase 3: XENTRY Coding & Function Validation
Pre-Coding Verification
Before launching XENTRY/DAS:
- Confirm N145/1 is recognized as
AMG DRVU N145/1
- Confirm S163/1 (Multifunction Steering Wheel Control Unit) appears with firmware newer than original vehicle build date
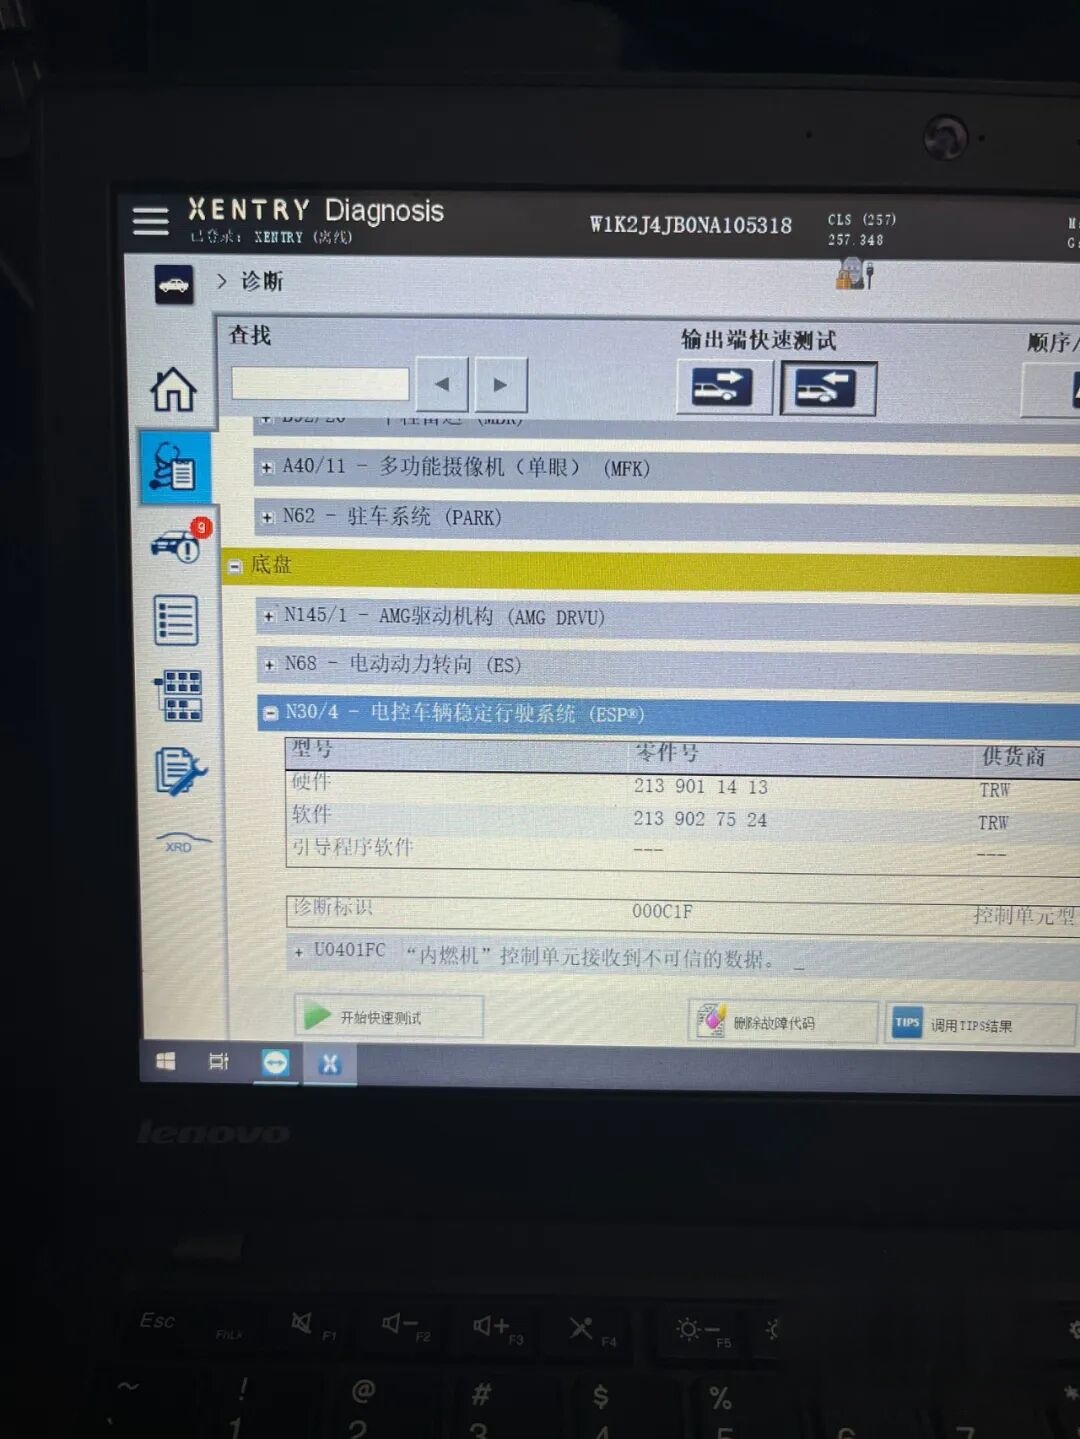
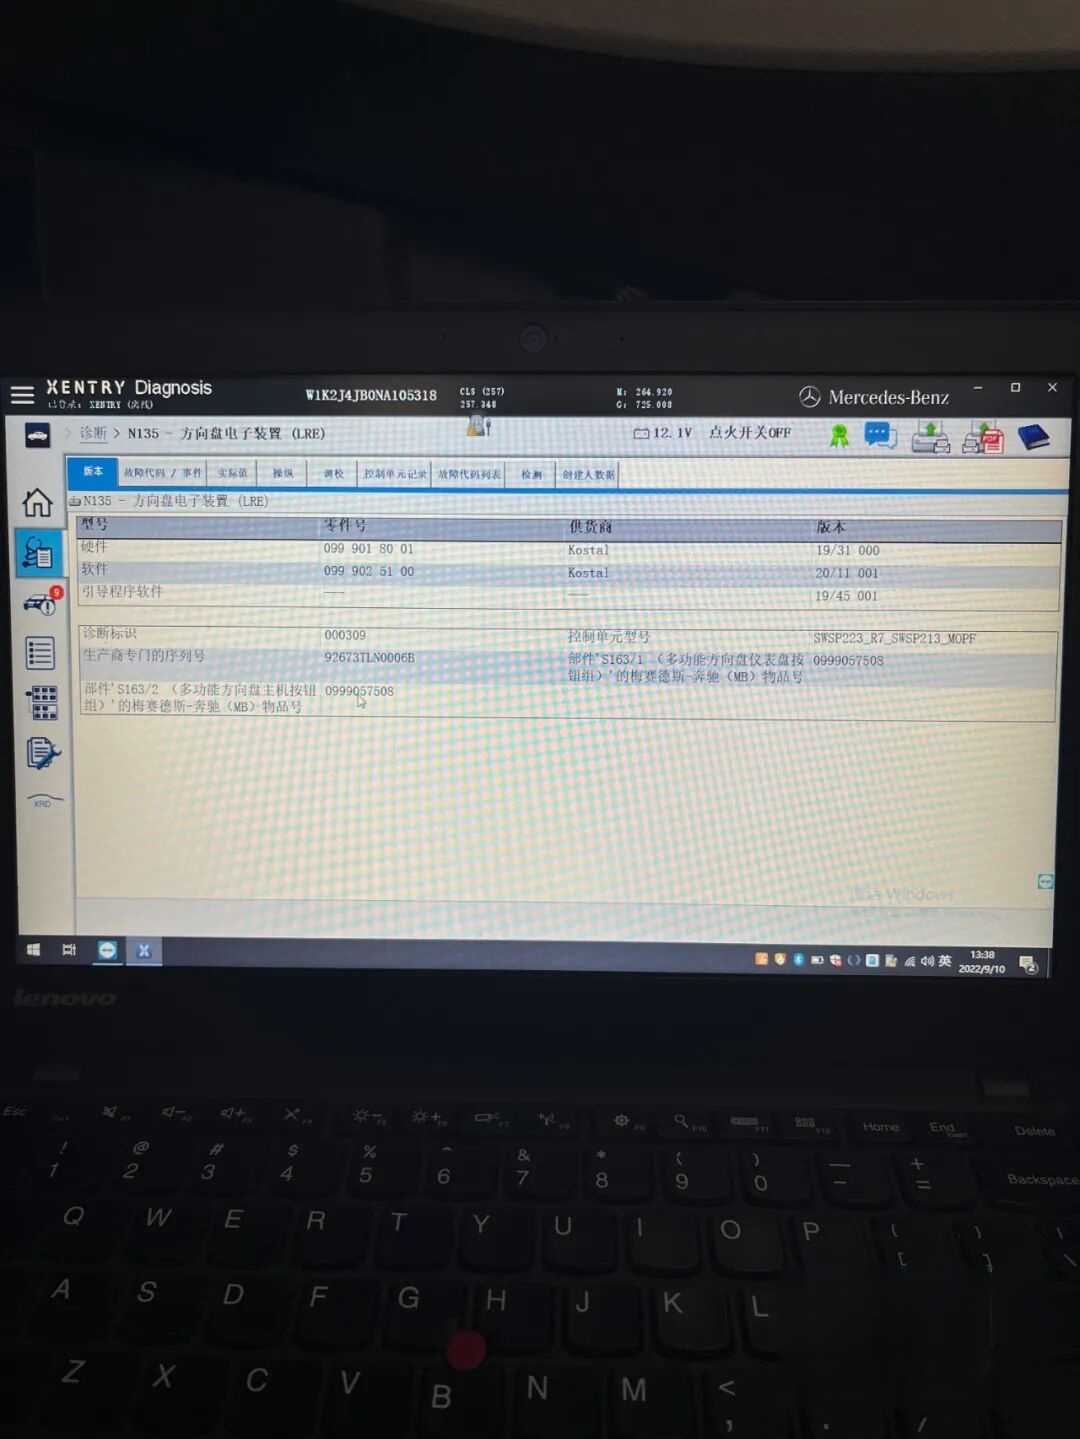
⚠️ Do not proceed to coding unless both modules appear correctly. Incorrect detection indicates wiring or pinout errors.
Post-Coding Behavior
After successful coding:
- All buttons illuminate
- Dynamic Rotary Controller (DRC) TFT screen powers on
- Menu navigation becomes fully functional
- Drive modes, suspension, exhaust, and traction control respond instantly
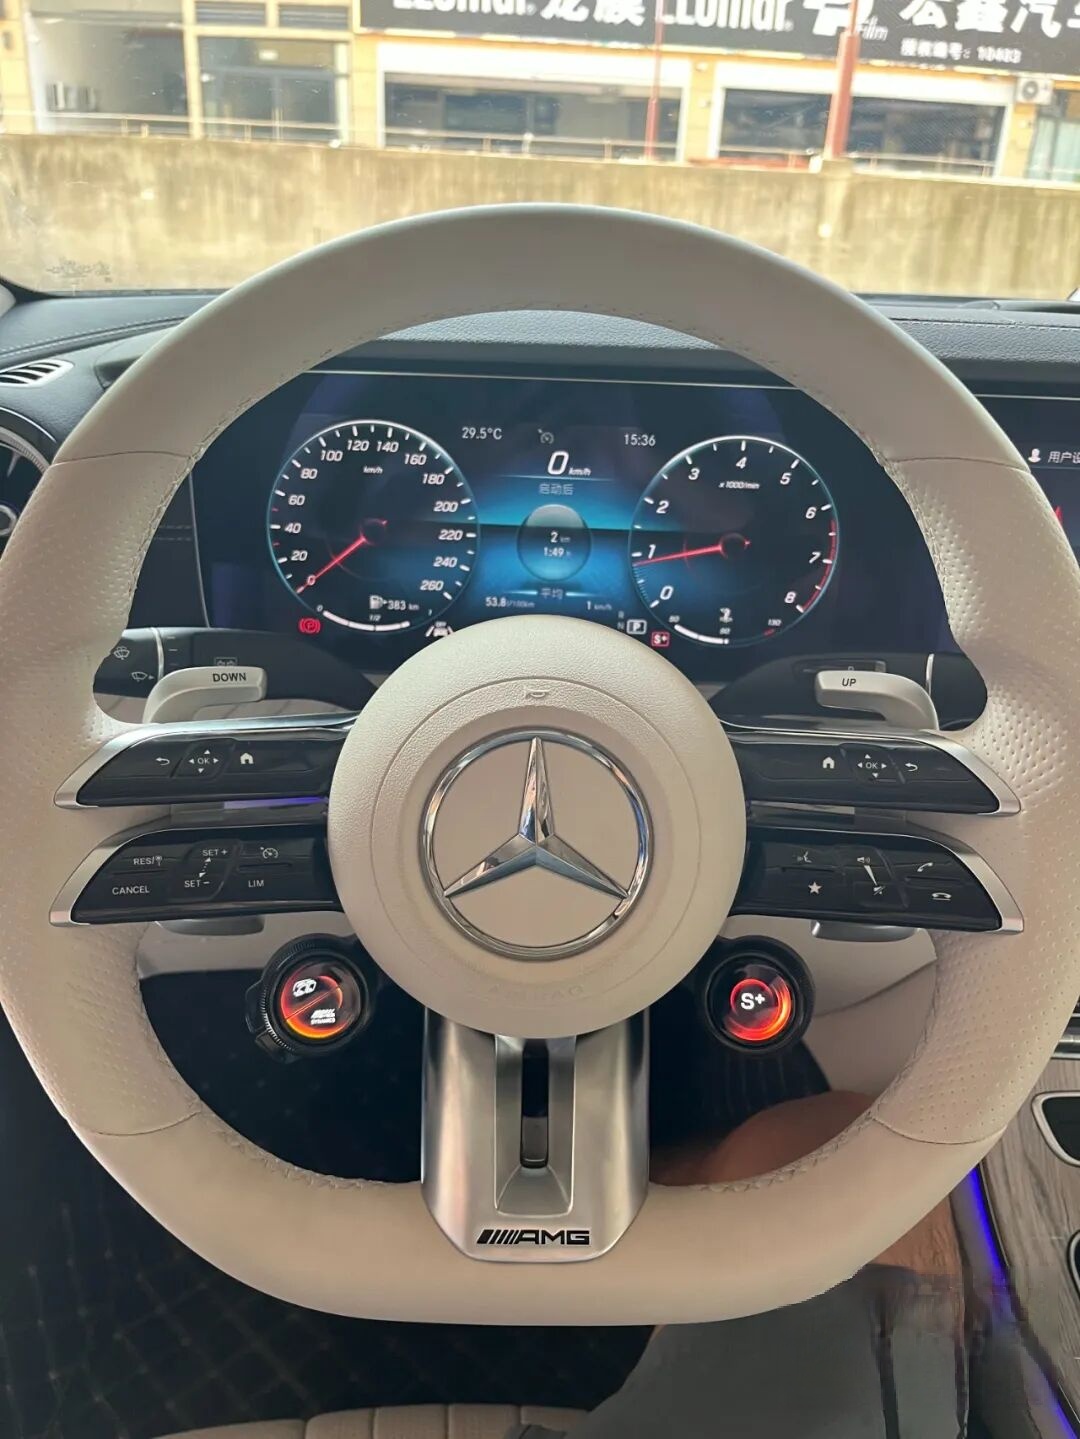
Using the Dynamic Rotary Controller (DRC)
Navigation Logic
- Tap the center of the DRC screen → cycles through available function groups
- Press the left physical button → toggles current setting ON/OFF
- Hold left button → enters deep menu for fine-tuning
Common Function Groups (Displayed on DRC Screen)
| Top Line | Bottom Line | Function |
|---|---|---|
| Auto Start/Stop | AMG Mode: Eco | Disables auto stop/start; sets engine/transmission mapping to Eco |
| Auto Start/Stop | AMG Mode: Sport | Enables aggressive throttle response & shift timing |
| Auto Start/Stop | AMG Mode: Sport+ | Adds active exhaust valve control & maximum suspension firmness |
| Dynamic Traction Control | AMG Mode: Eco | Adjusts ESP intervention thresholds |
| Suspension Mode: Comfort | AMG Mode: Eco | Sets adaptive dampers to softest setting |
⚠️ Important Exhaust Note: AMG dynamic exhaust valve control is only active in Sport+ mode, even if manually selected elsewhere. This is a hard-coded behavior in the N145/1 firmware.
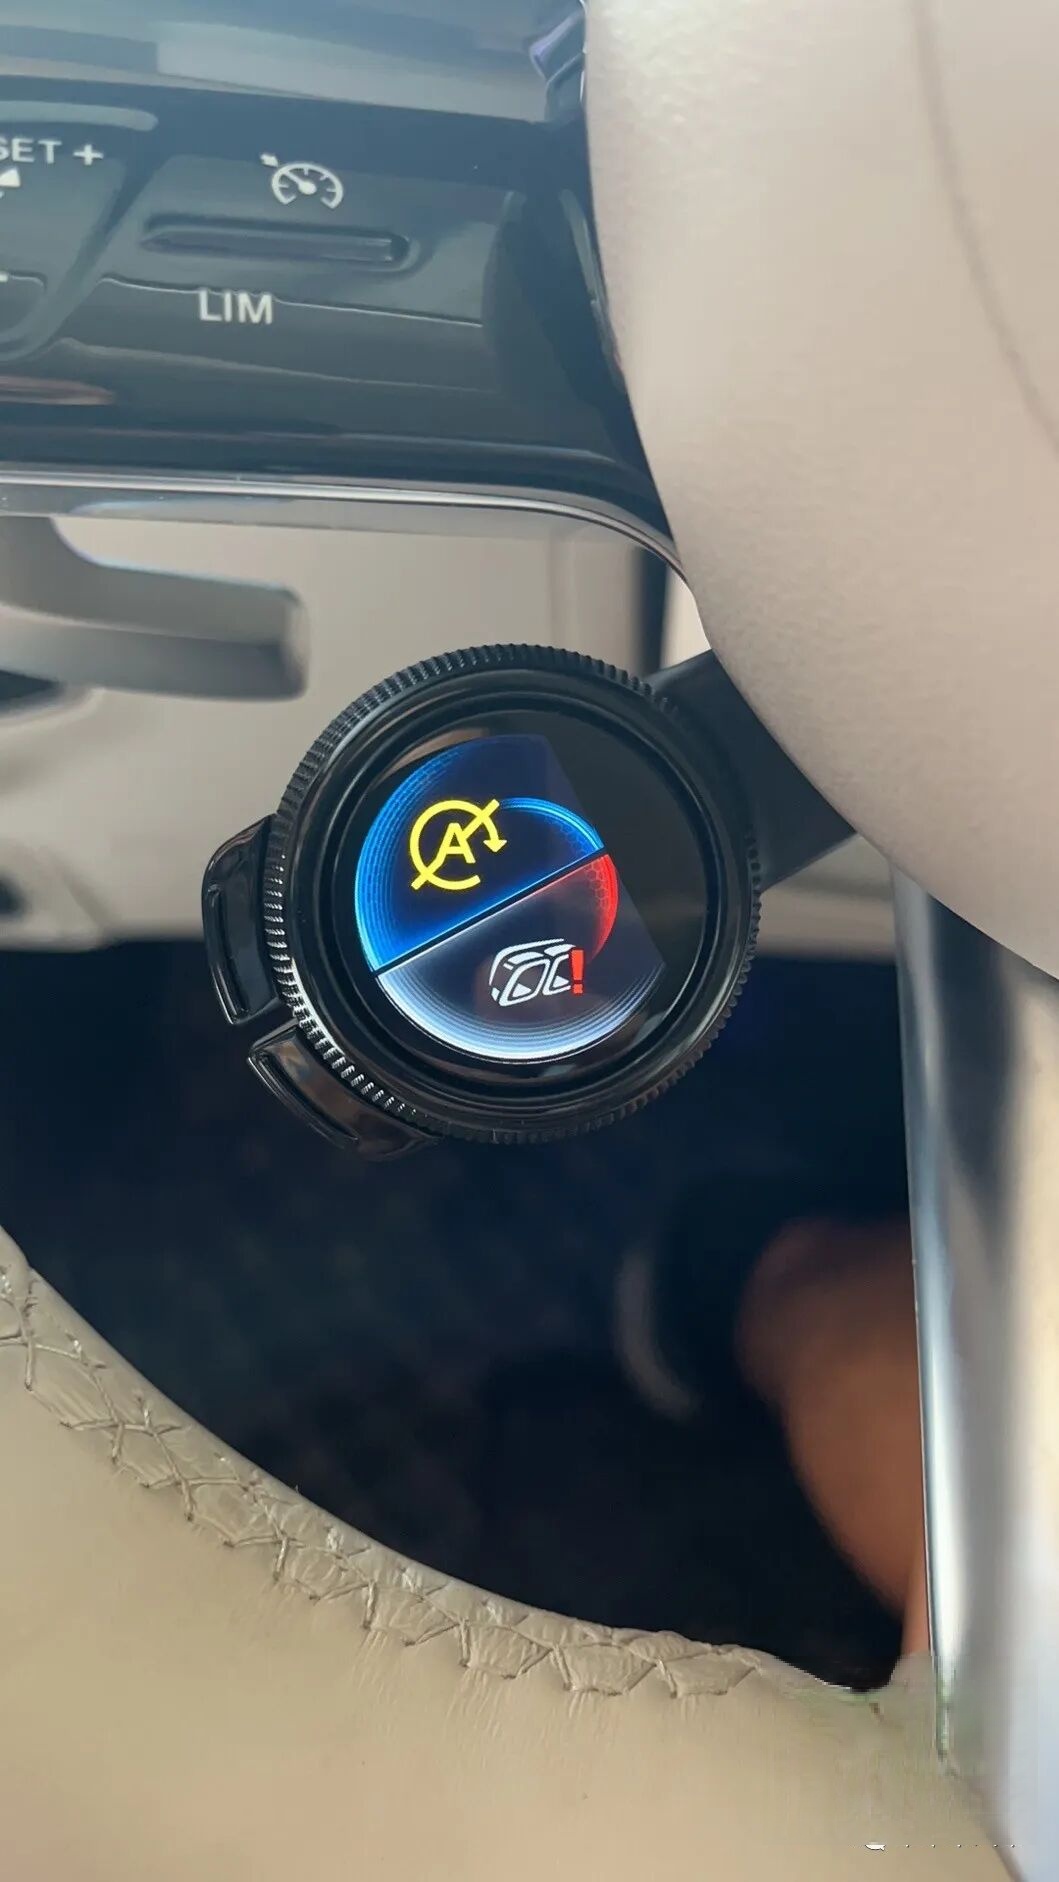
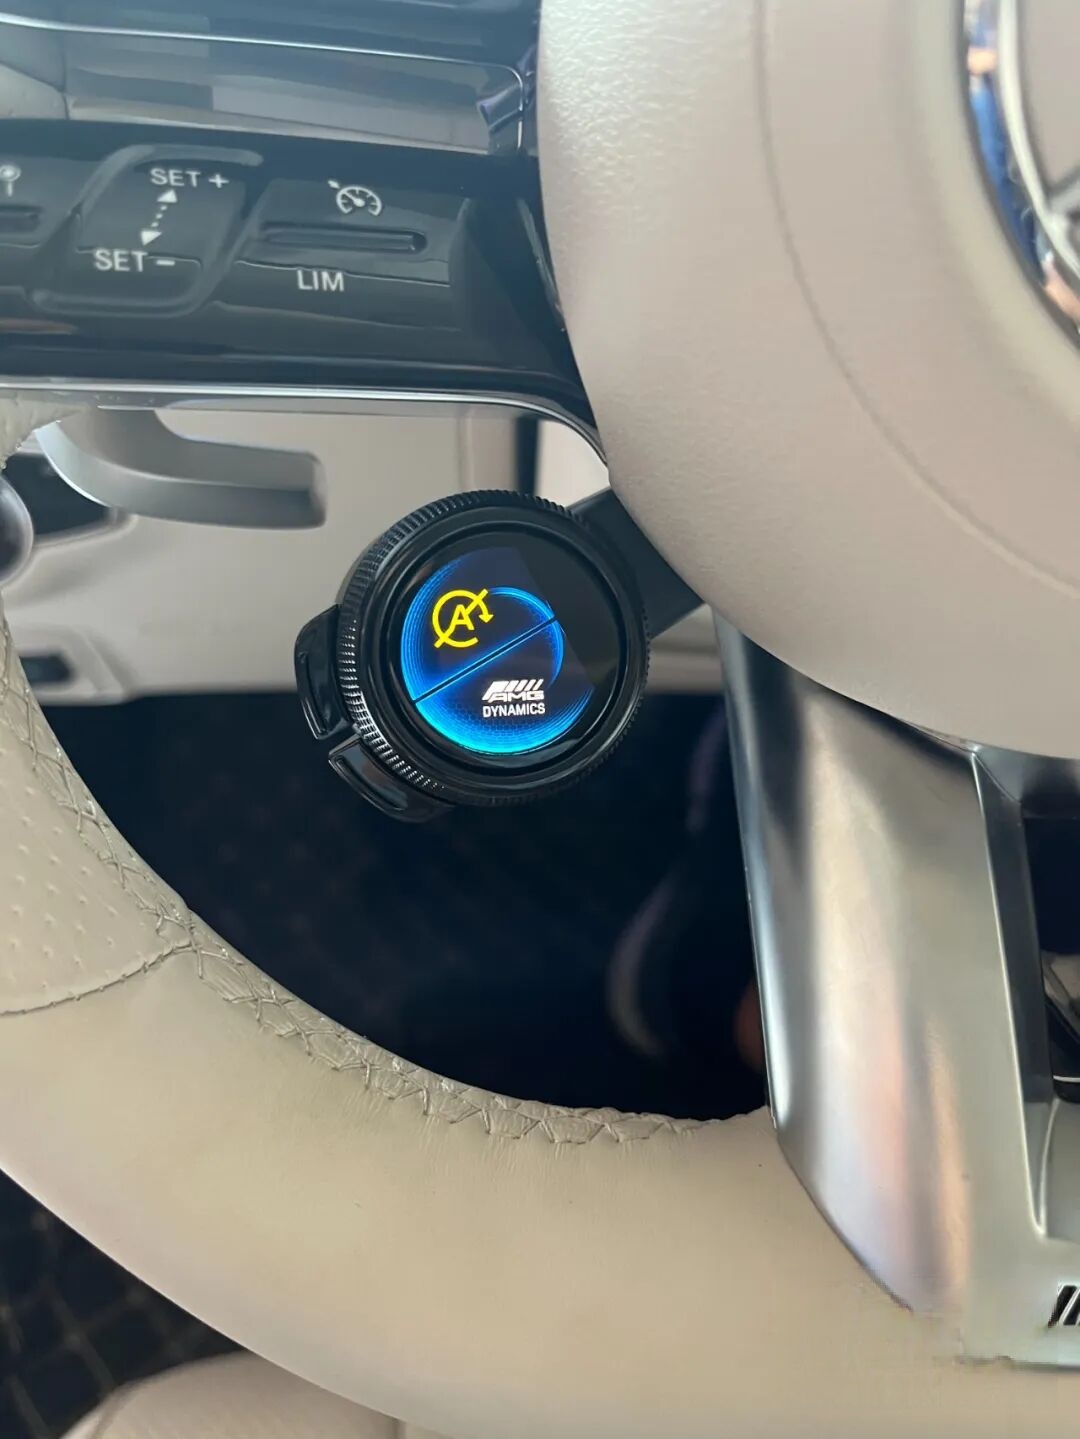
Final Notes & Recommendations
- Always use genuine MB parts: Aftermarket “AMG-style” wheels lack proper airbag compatibility, clockspring interface, and CAN message structure.
- Verify firmware versions: If S163/1 firmware is older than your vehicle’s production date, update it via XENTRY before coding.
- No shortcuts on wiring: Skipping CAN bus expansion or misrouting the N145/1 harness causes intermittent faults or permanent module rejection.
- Video walkthrough available: See full installation and coding demo at the end of this article.
Video demonstration (Embedded video placeholder — see original source)