Component details omitted
All disassembly and reassembly procedures omitted
I’m only sharing the parts I personally enjoyed
Upon receiving the amplifier, remove the felt trim panels on both sides of the trunk
Save a photo of this location (shown in the image below) if you’ve never installed one before—it’ll help you locate the factory-prepared mounting position later.
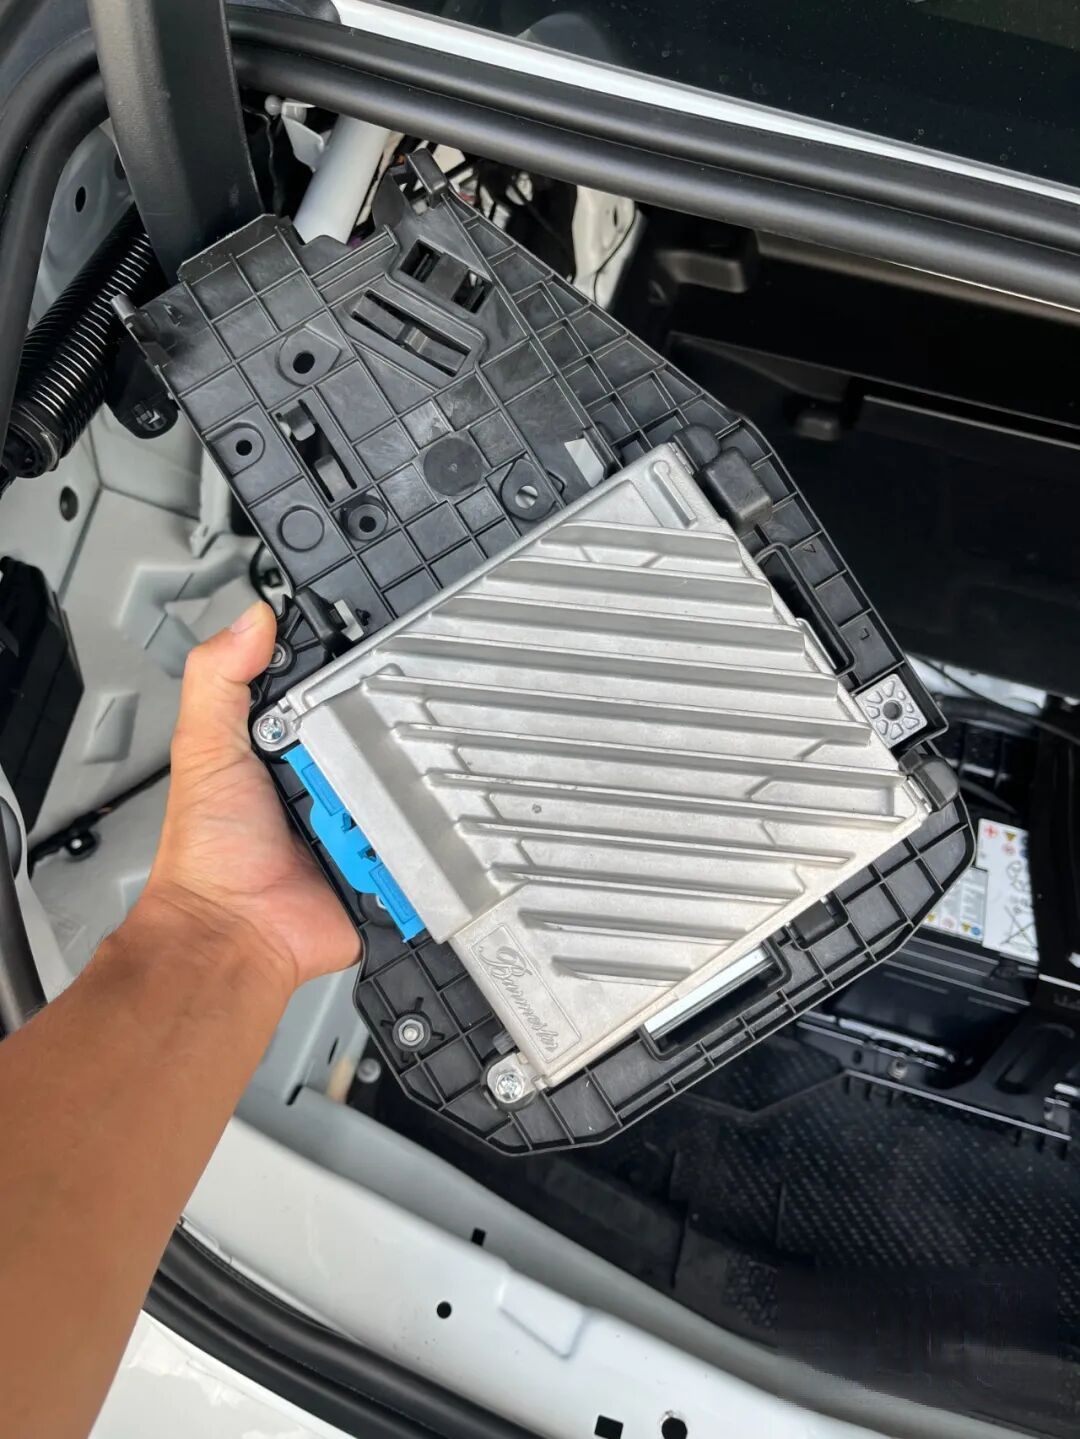
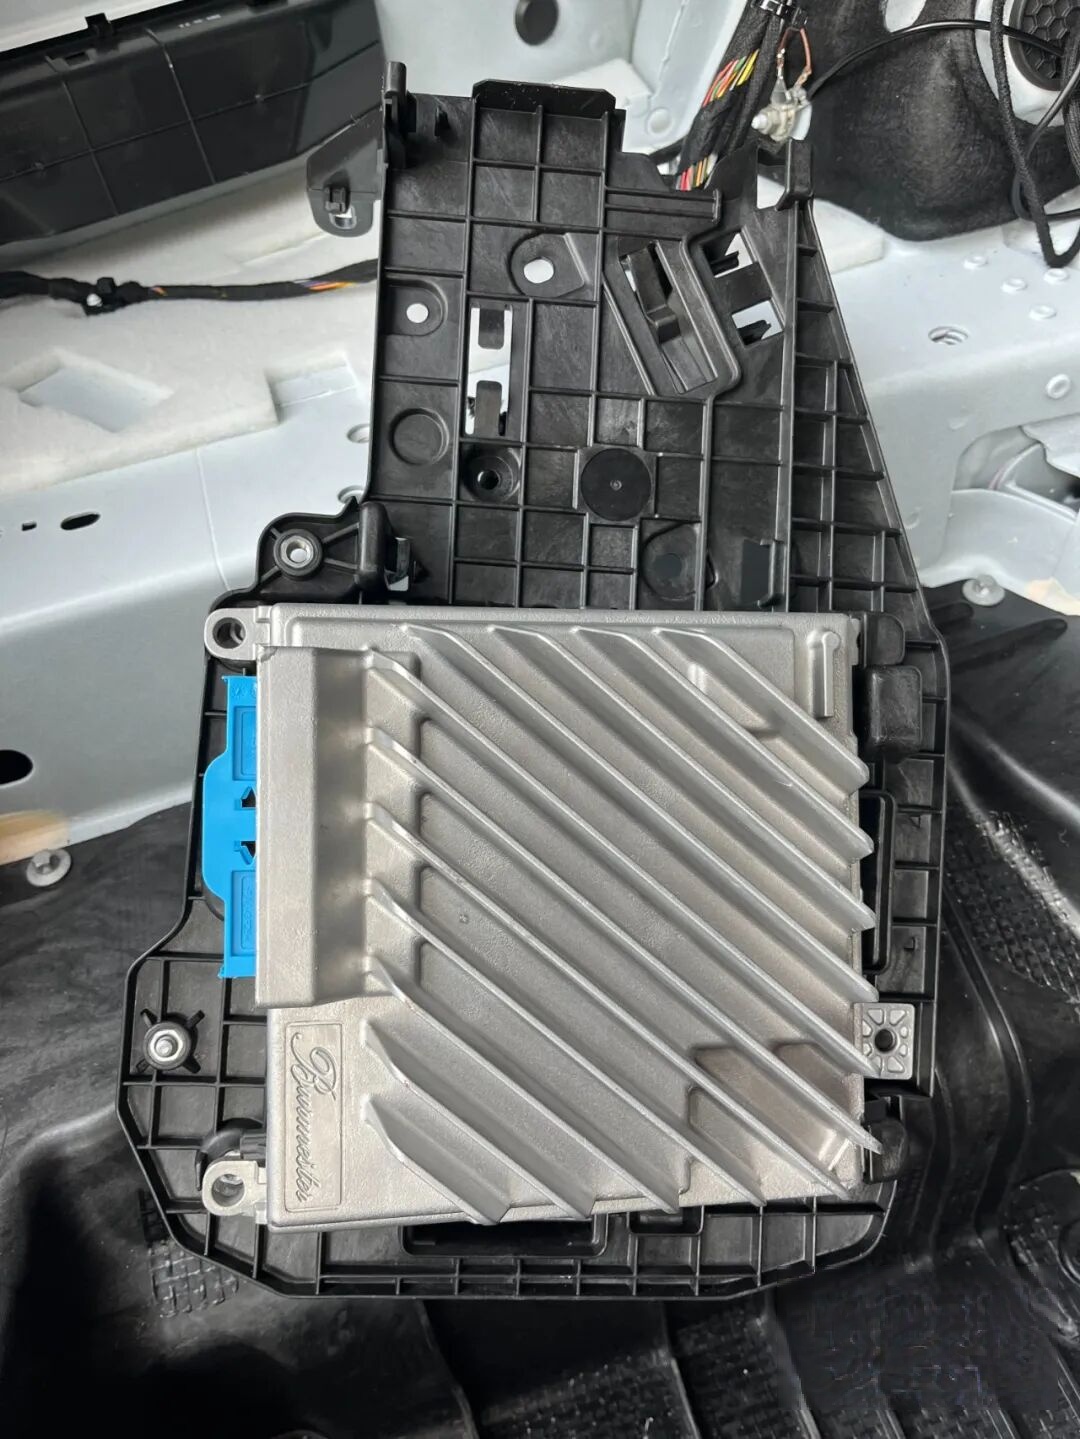
The amplifier is mounted directly onto the vehicle’s original 360° camera module bracket
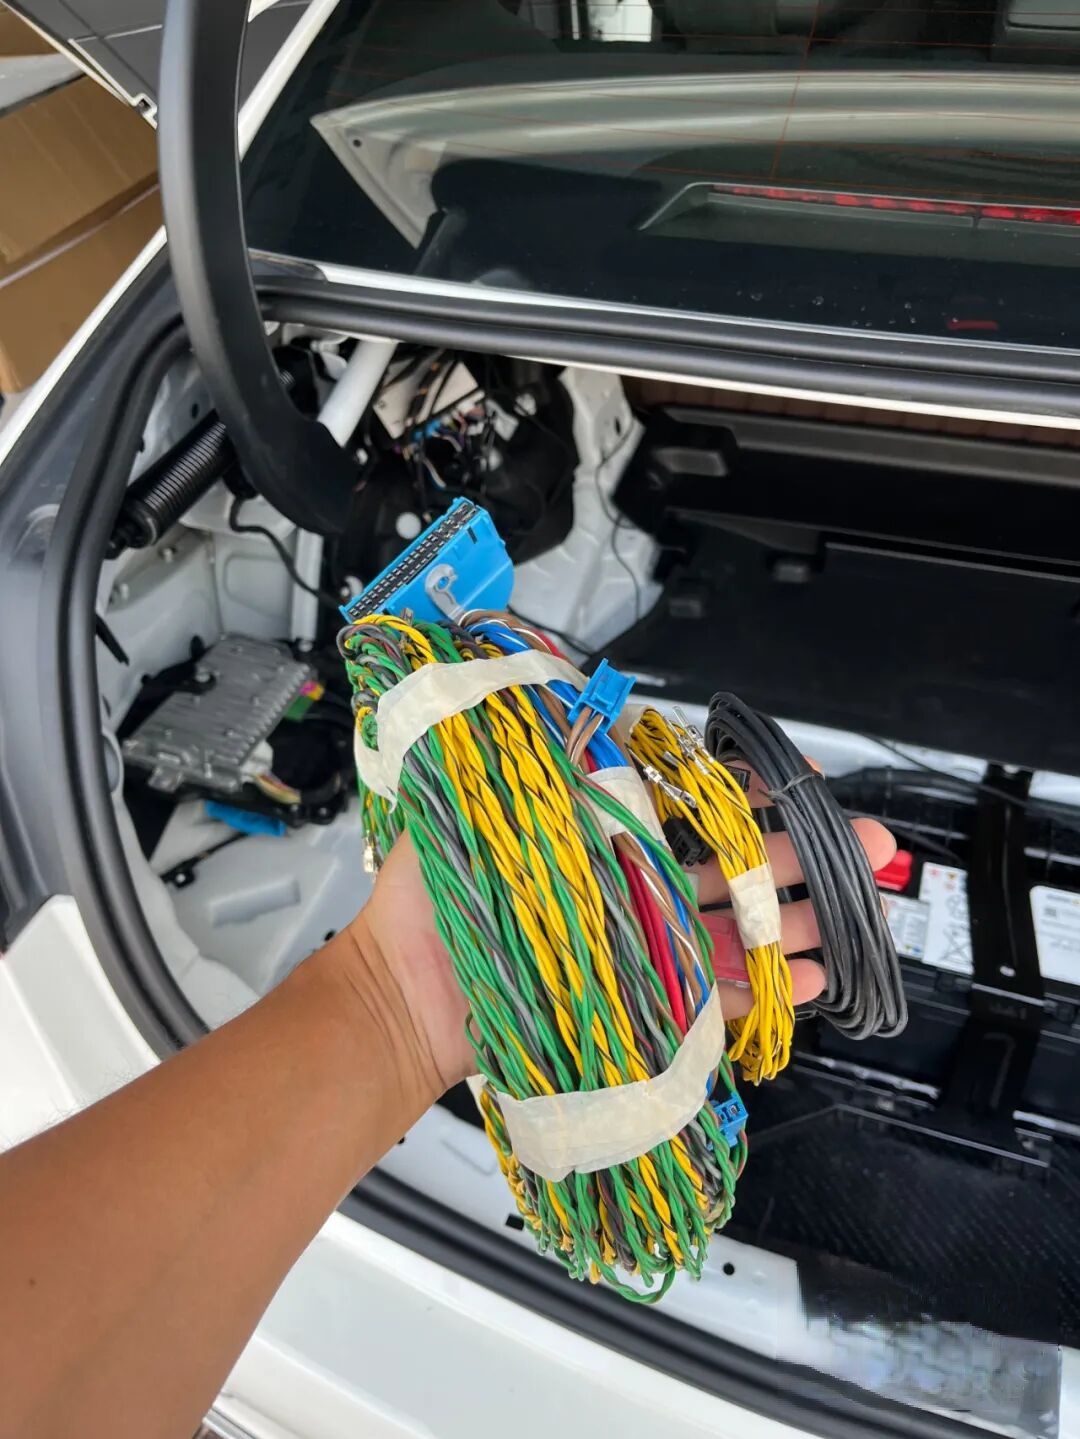
Unroll this large harness—estimated time to complete the full standard installation: ~10 hours
Re-mount and secure the amplifier; route and secure ground wiring to the vehicle’s original grounding point
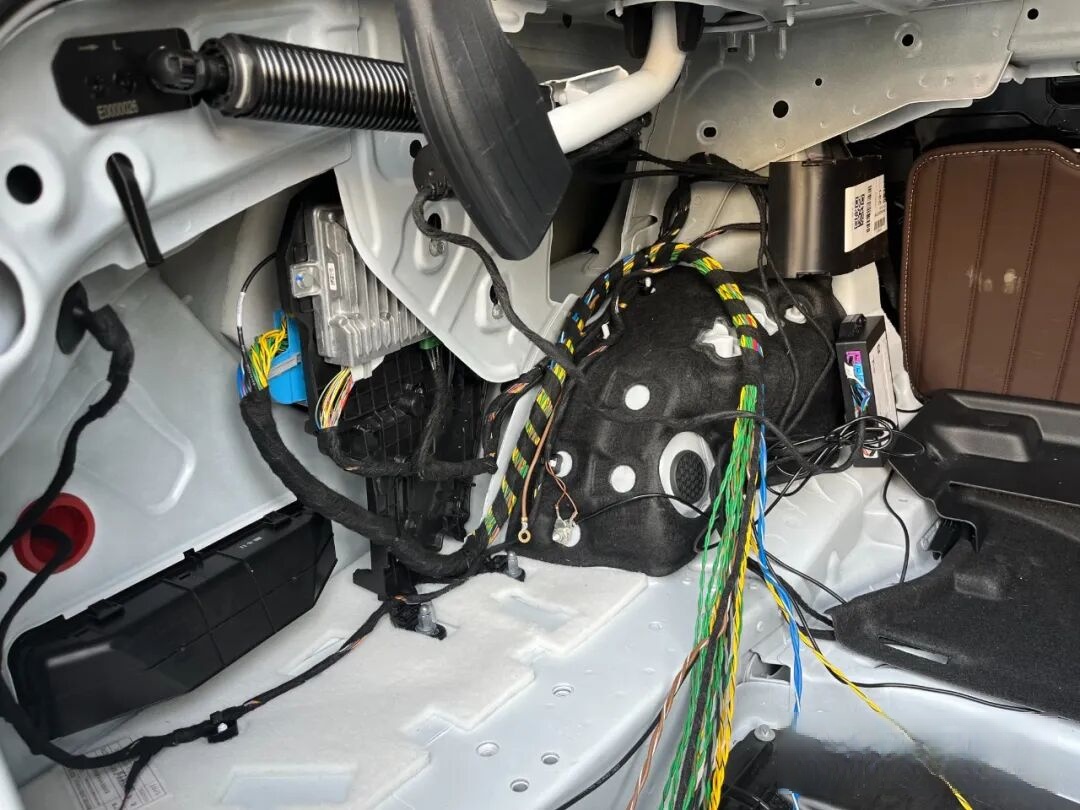
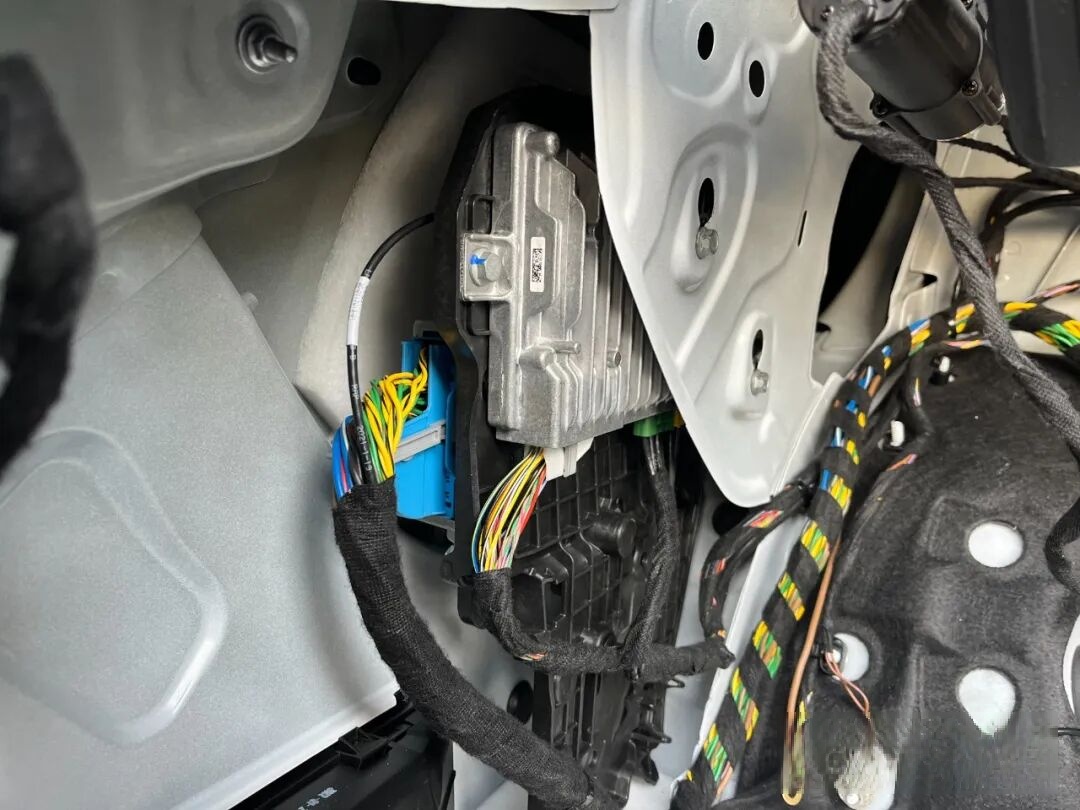
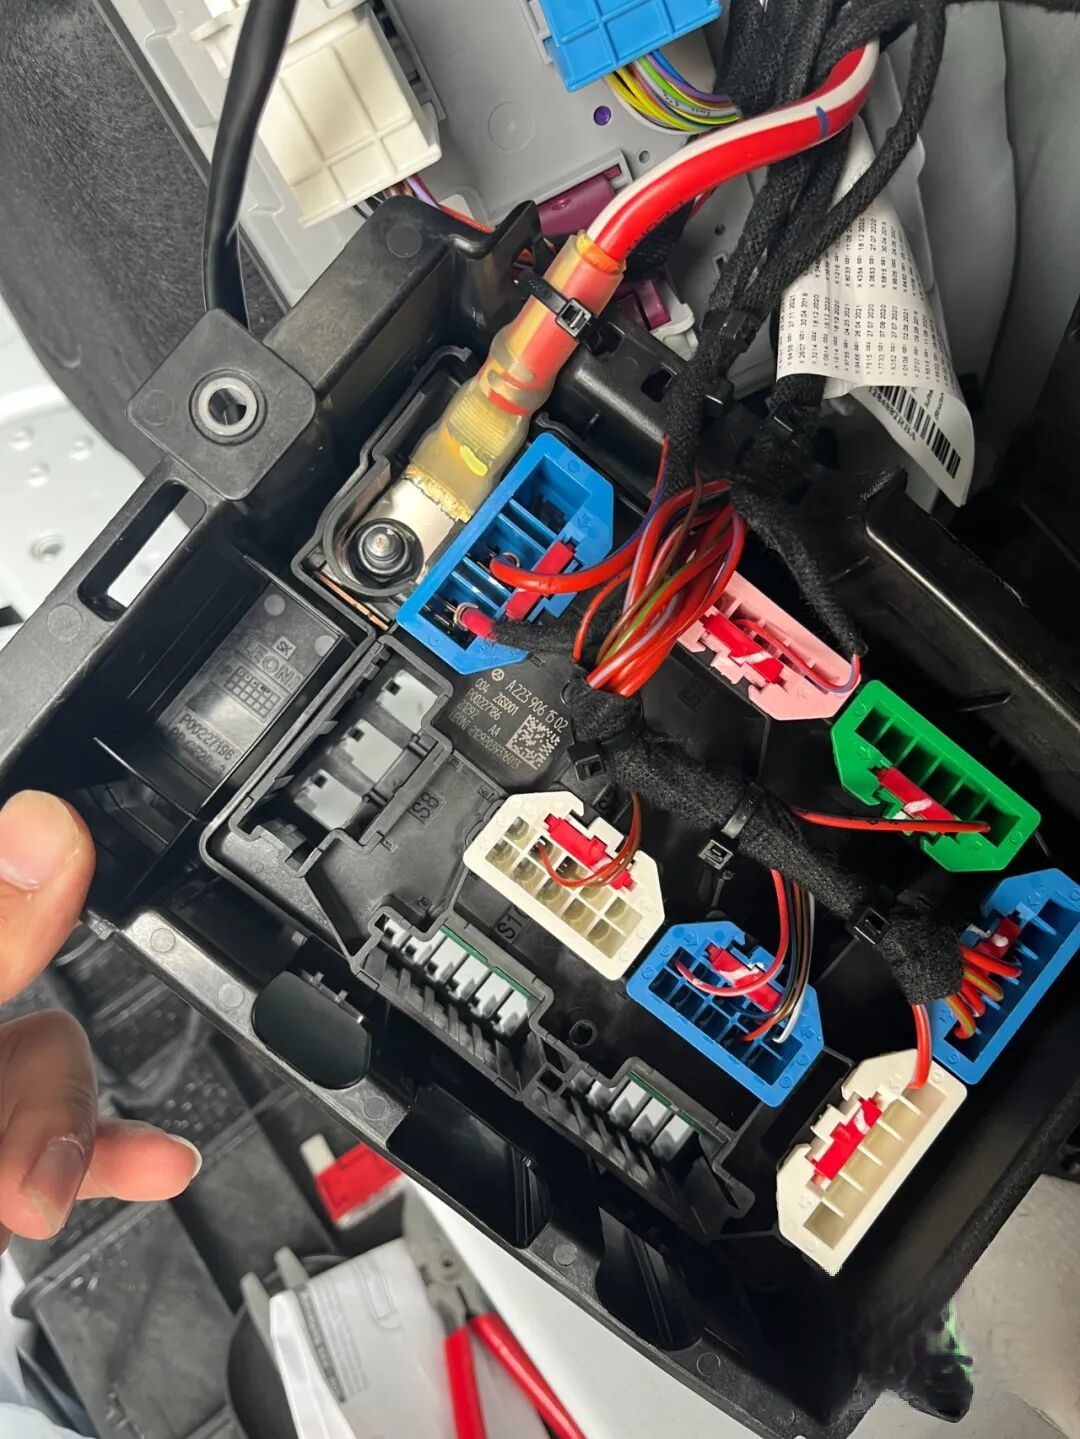
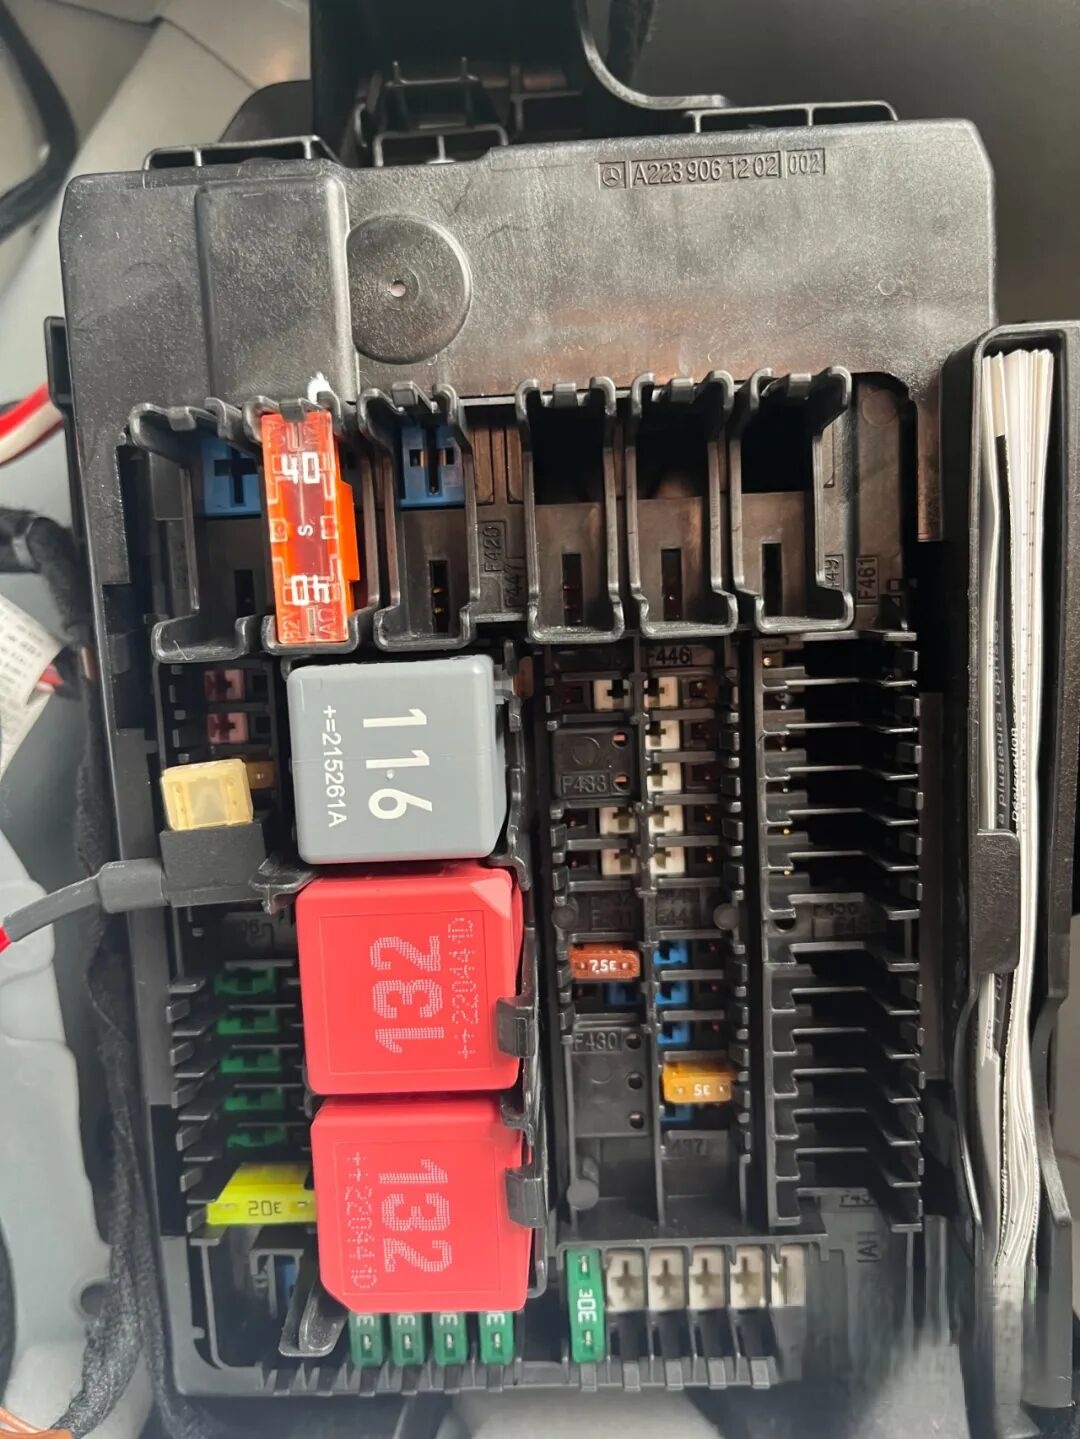
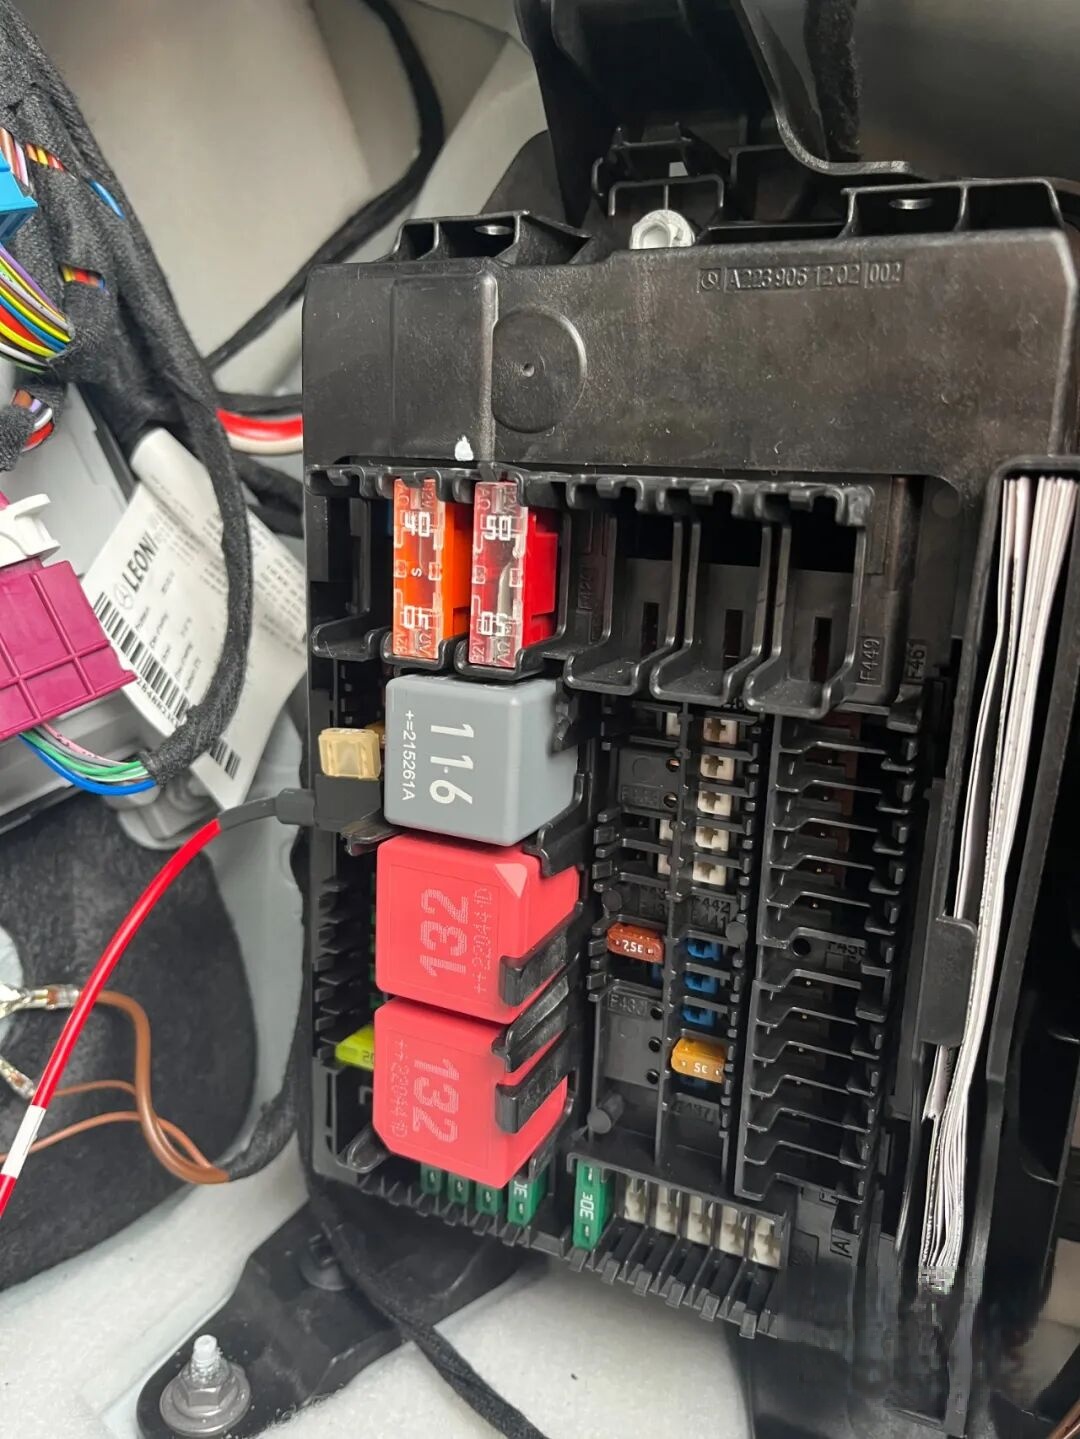
Power is drawn from the right-side fuse box—ignore any aftermarket tailgate wiring
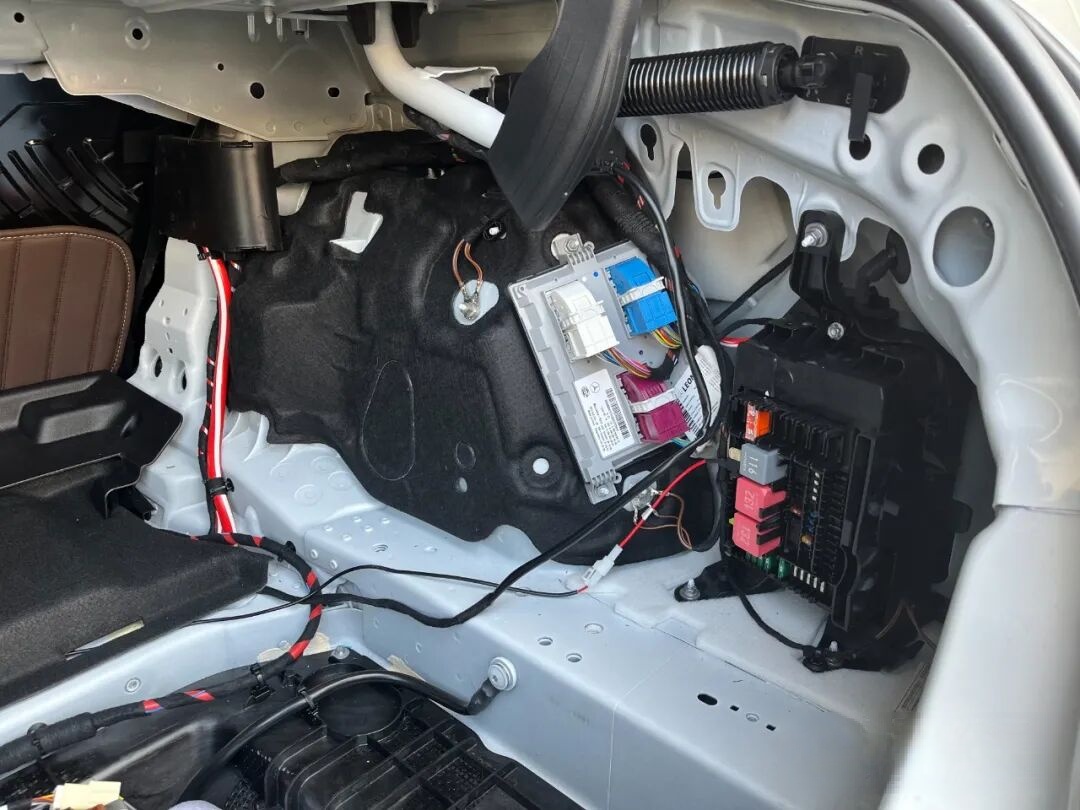
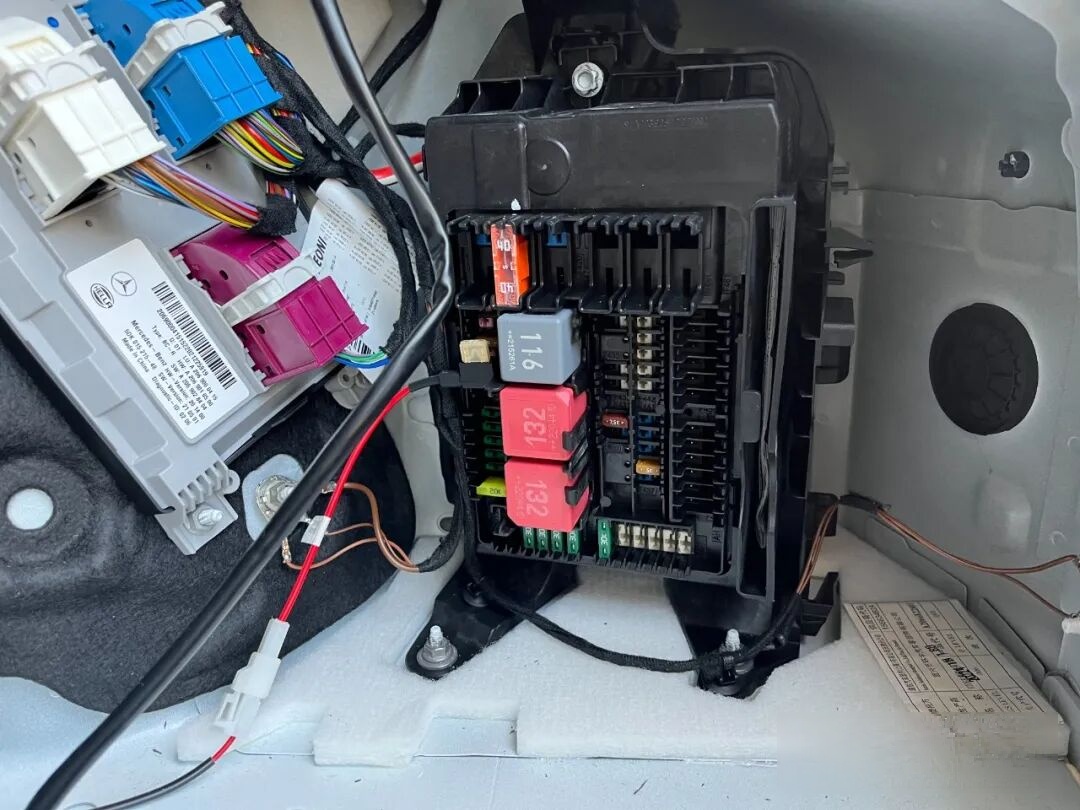
Route the main power cable to the fuse box and secure it in place, ready for connection
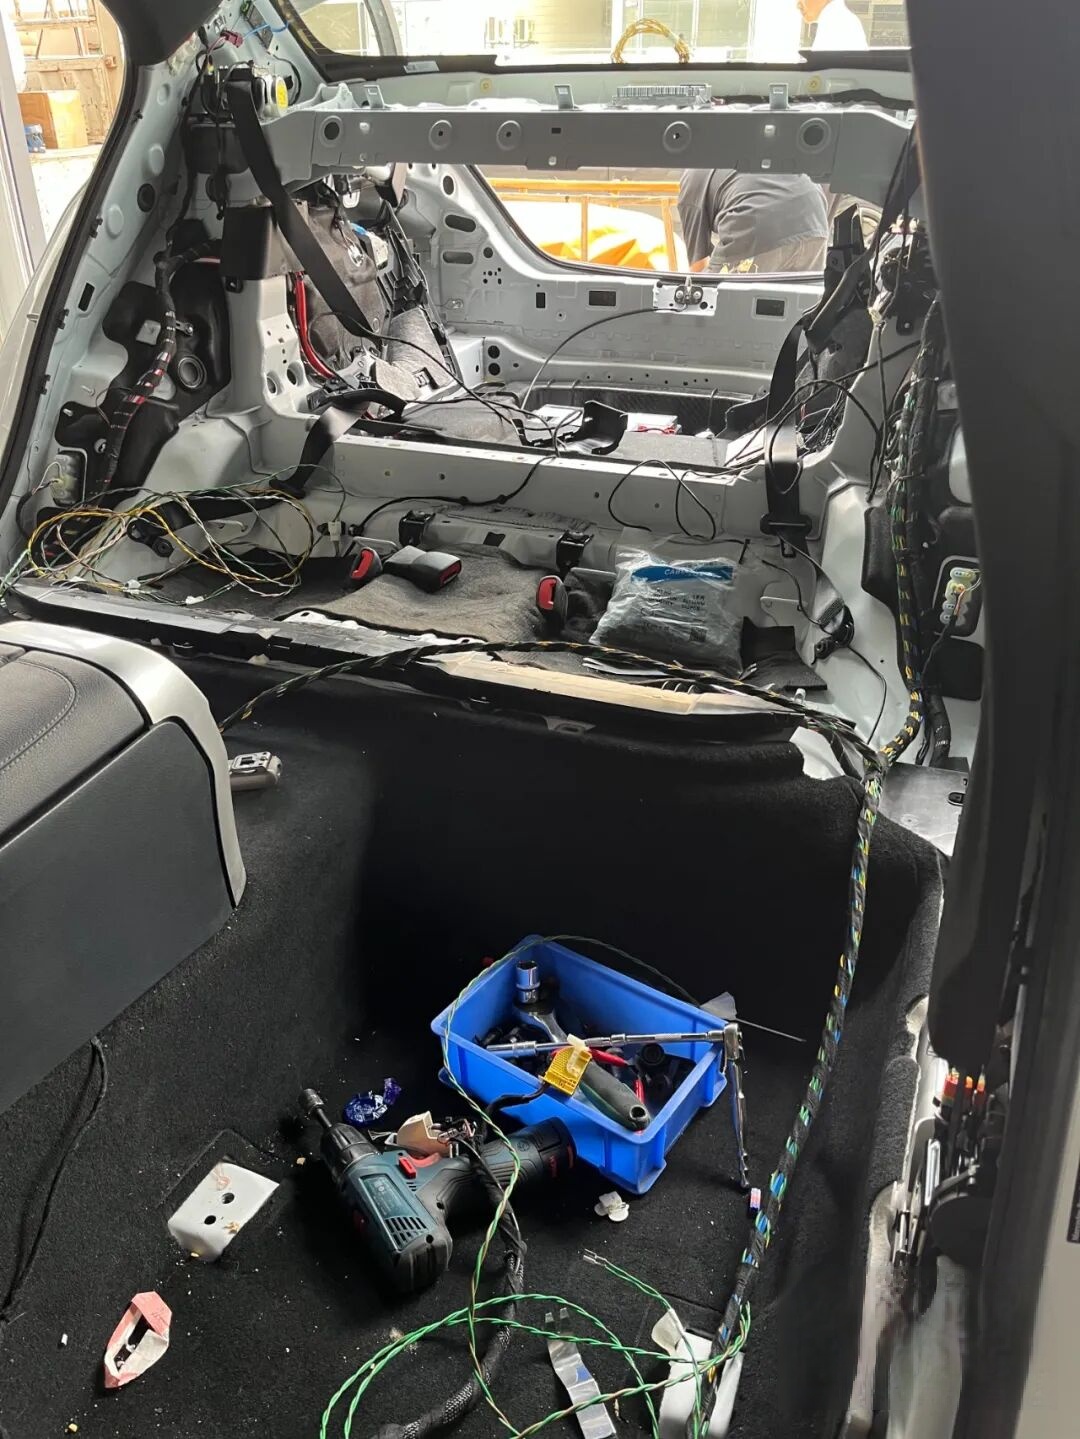
Remove the entire rear seat assembly—including D-pillar trims and rear parcel shelf—to organize and group the wiring harnesses
Route and secure wiring according to its designated path and final installation points
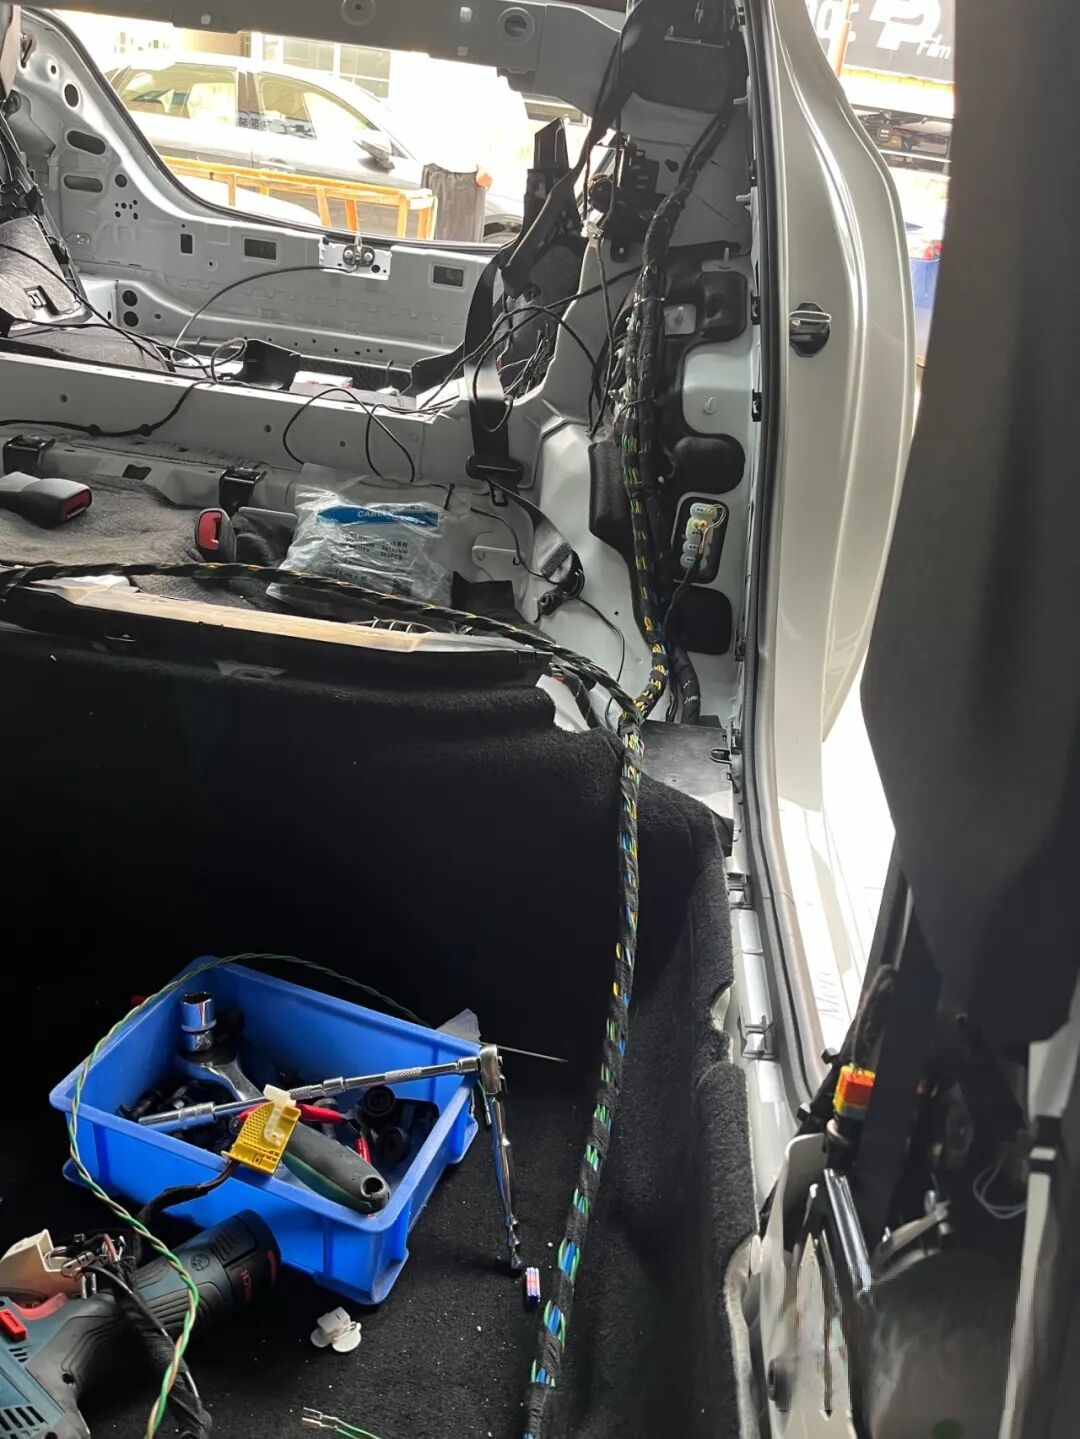
Bundle and label all wiring harnesses—this step takes approximately two hours
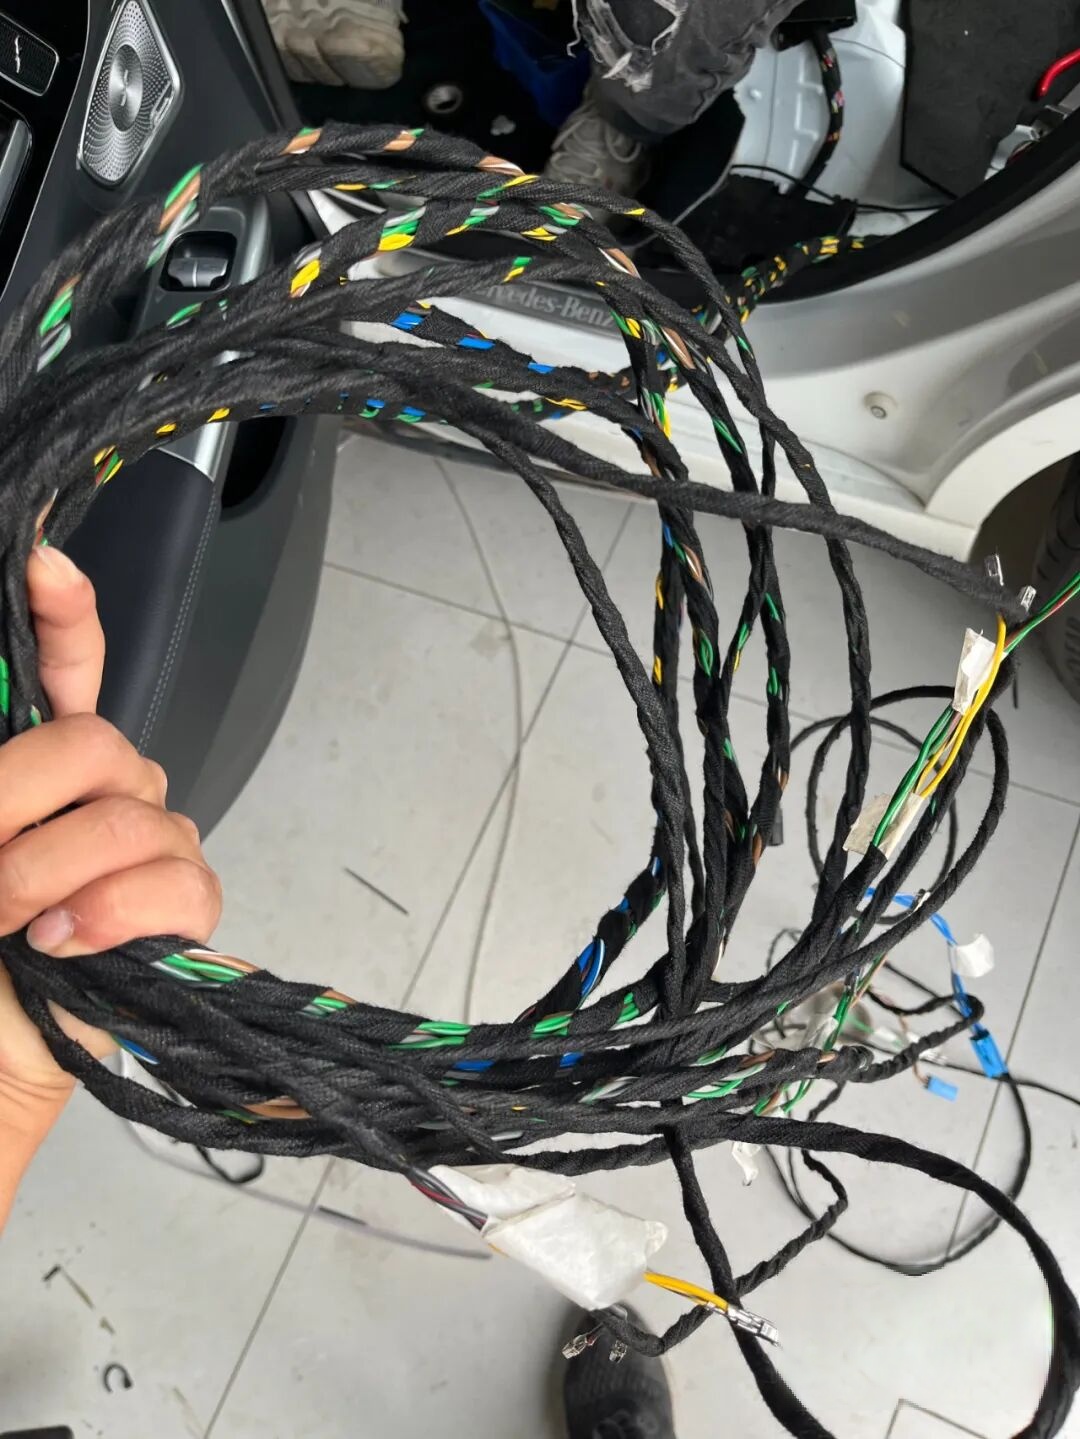
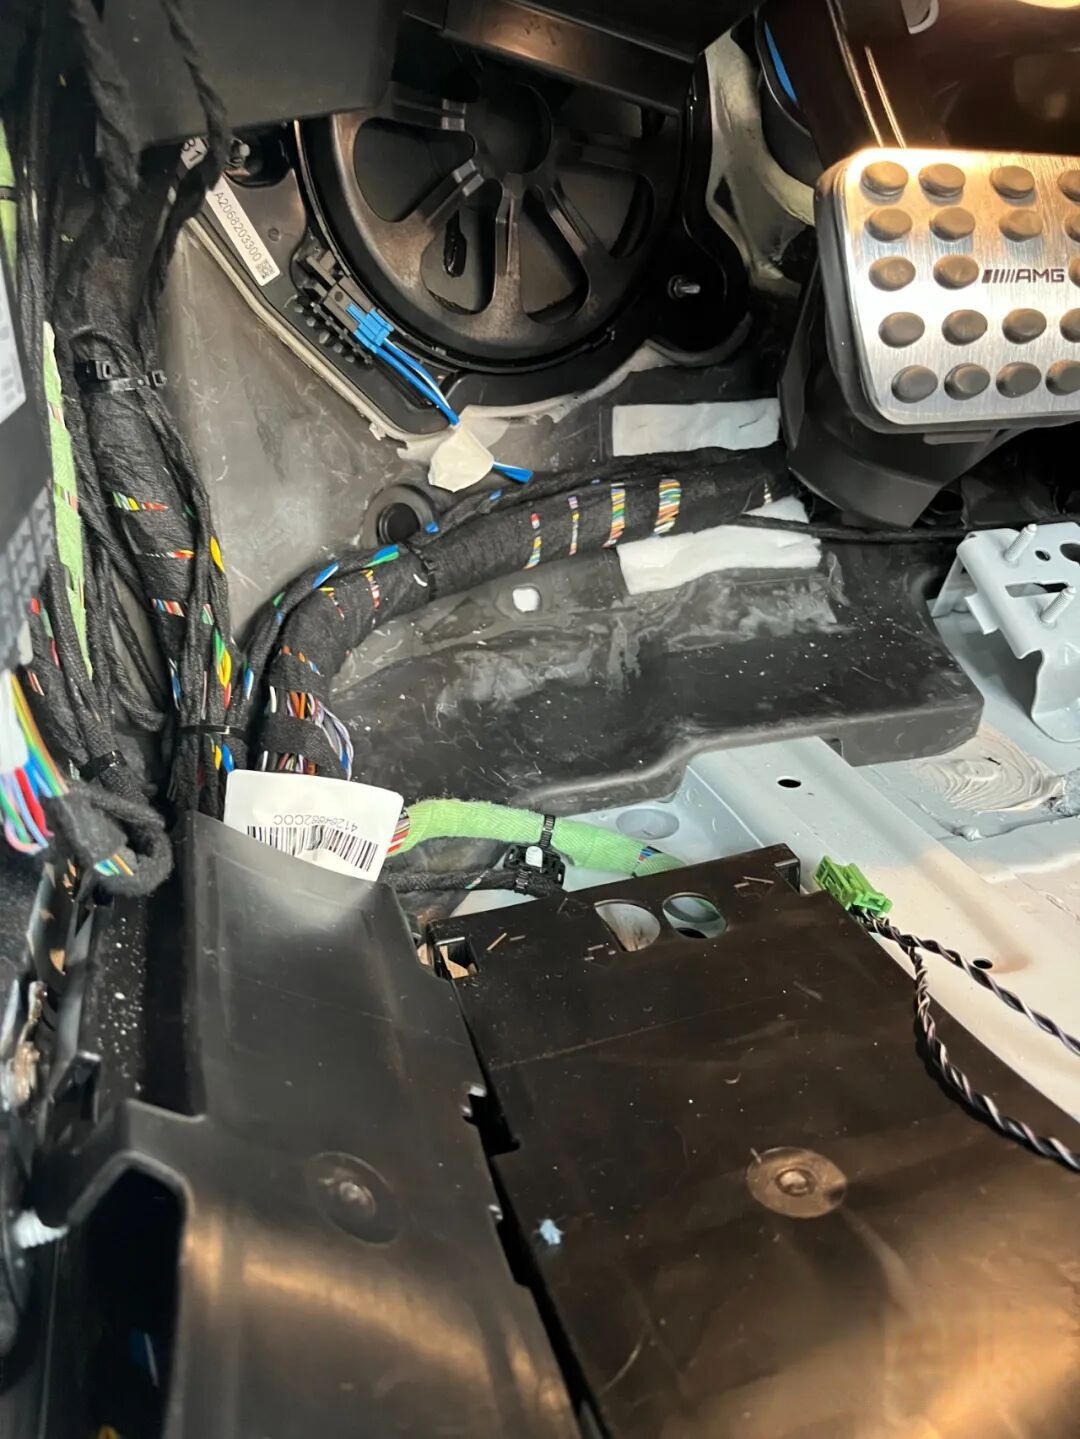
Install the front-driver-side subwoofer and route its associated wiring
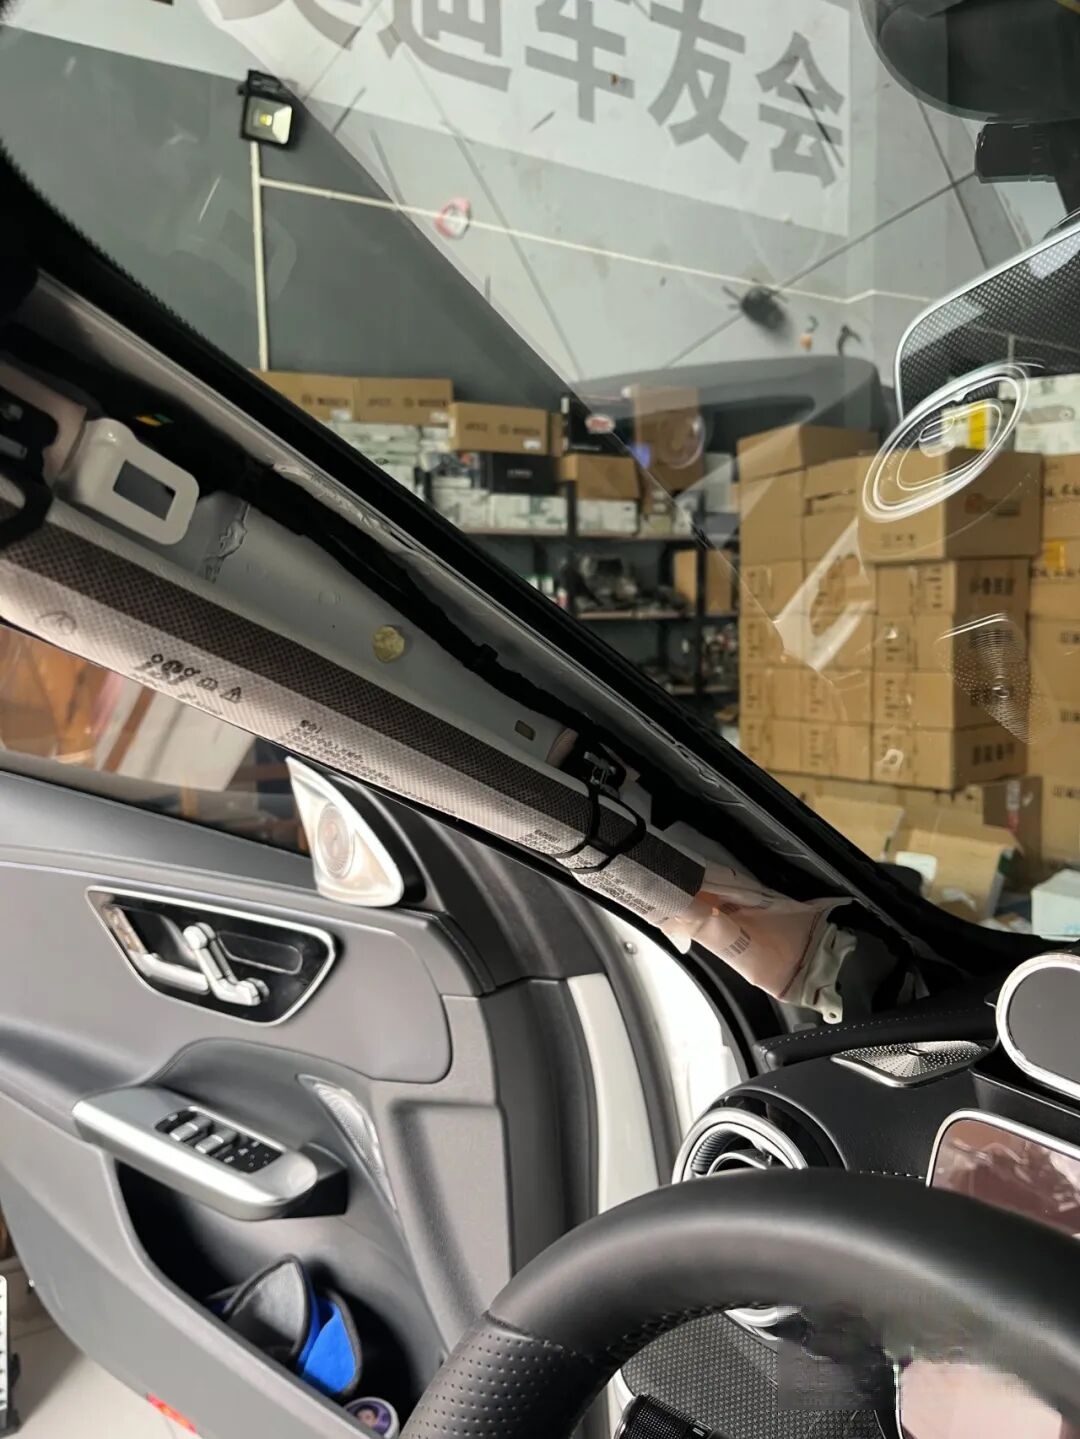
Remove the A-pillar trim to route wiring for the roof-mounted speakers
Remove the reading light switch panel—you’ll see the factory mounting points for the roof speakers
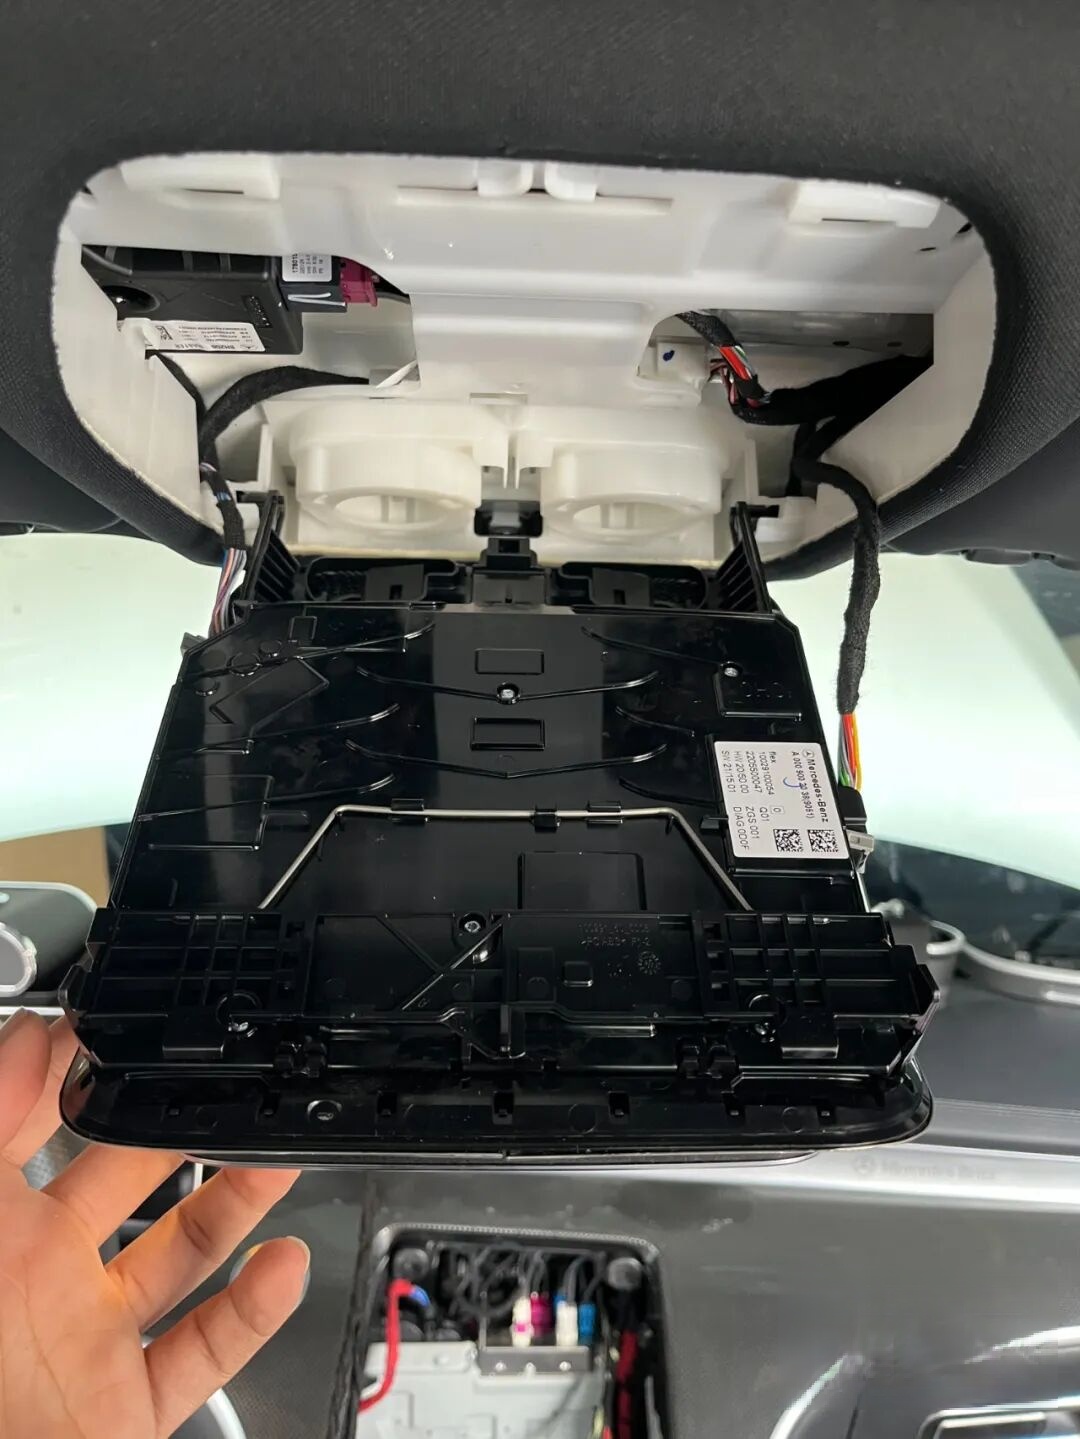
Mount the speaker using three differently sized plastic clips—inserted from the backside of the mounting base
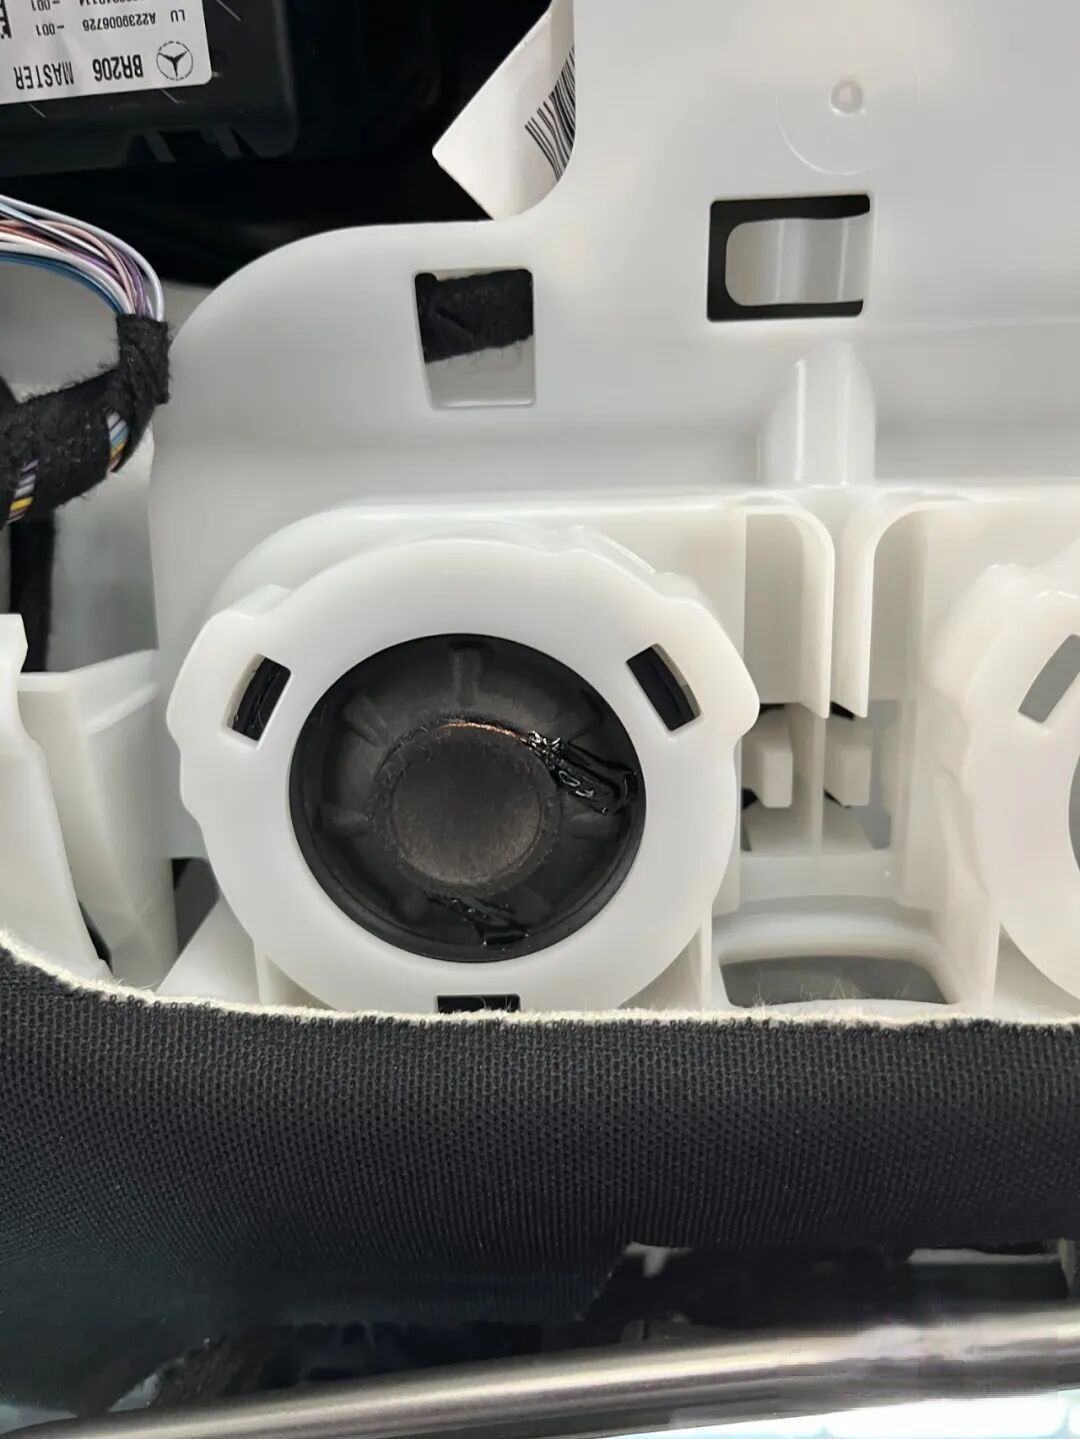
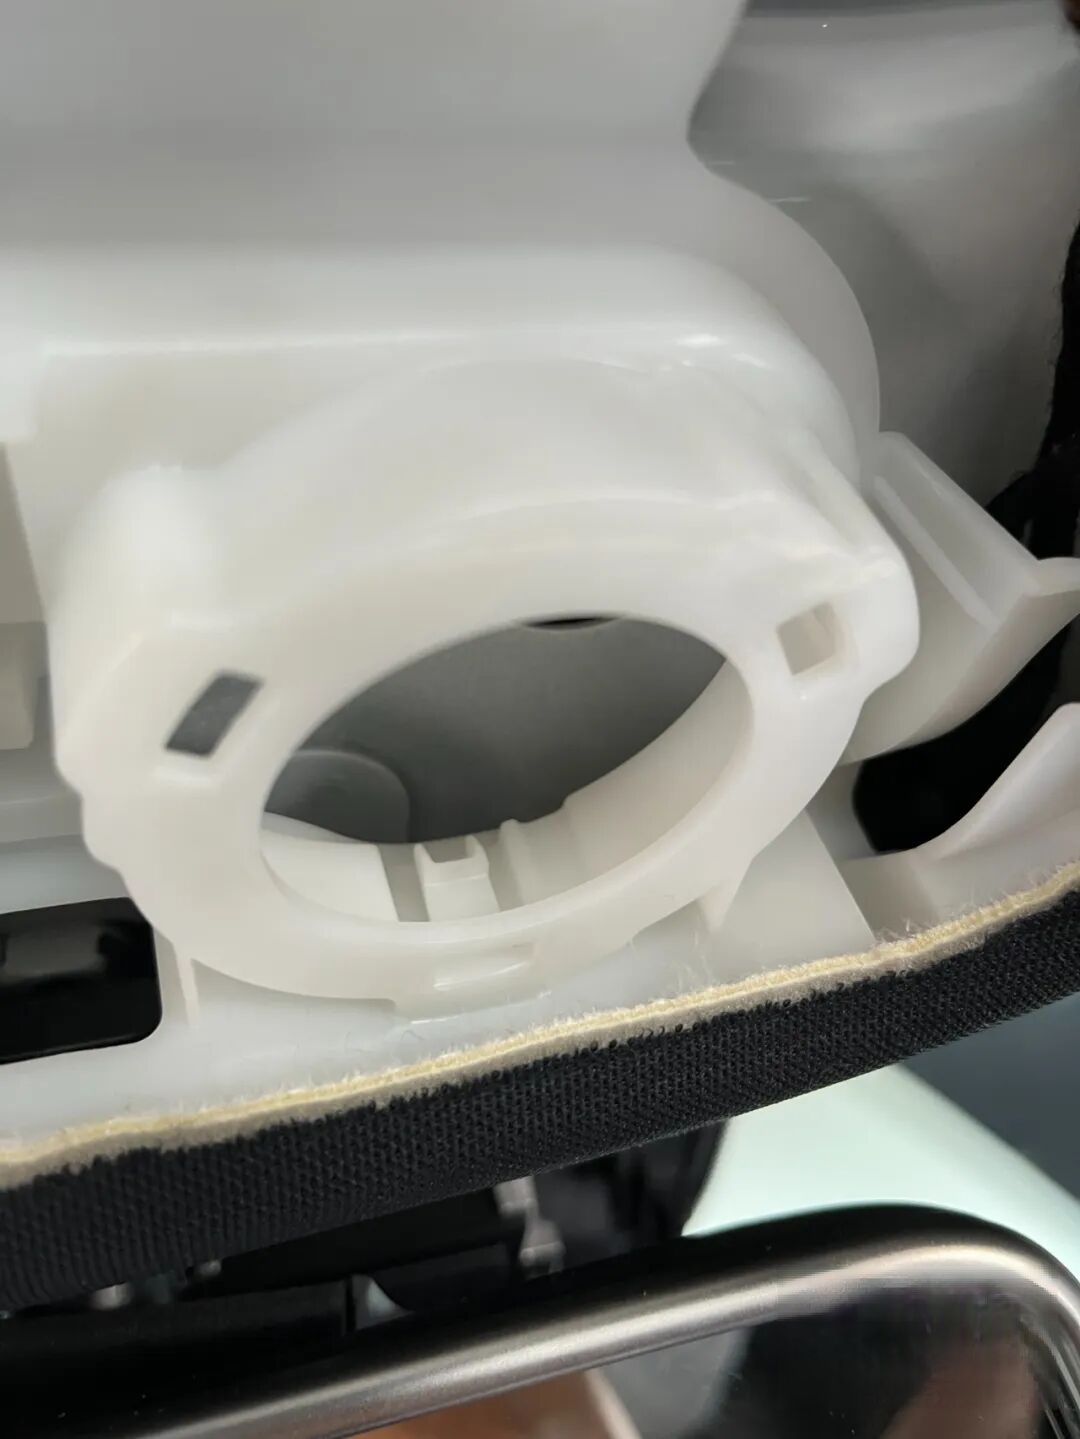
The speaker mounting bracket attaches to the body via plastic clips—damaging them may cause rattles or squeaks
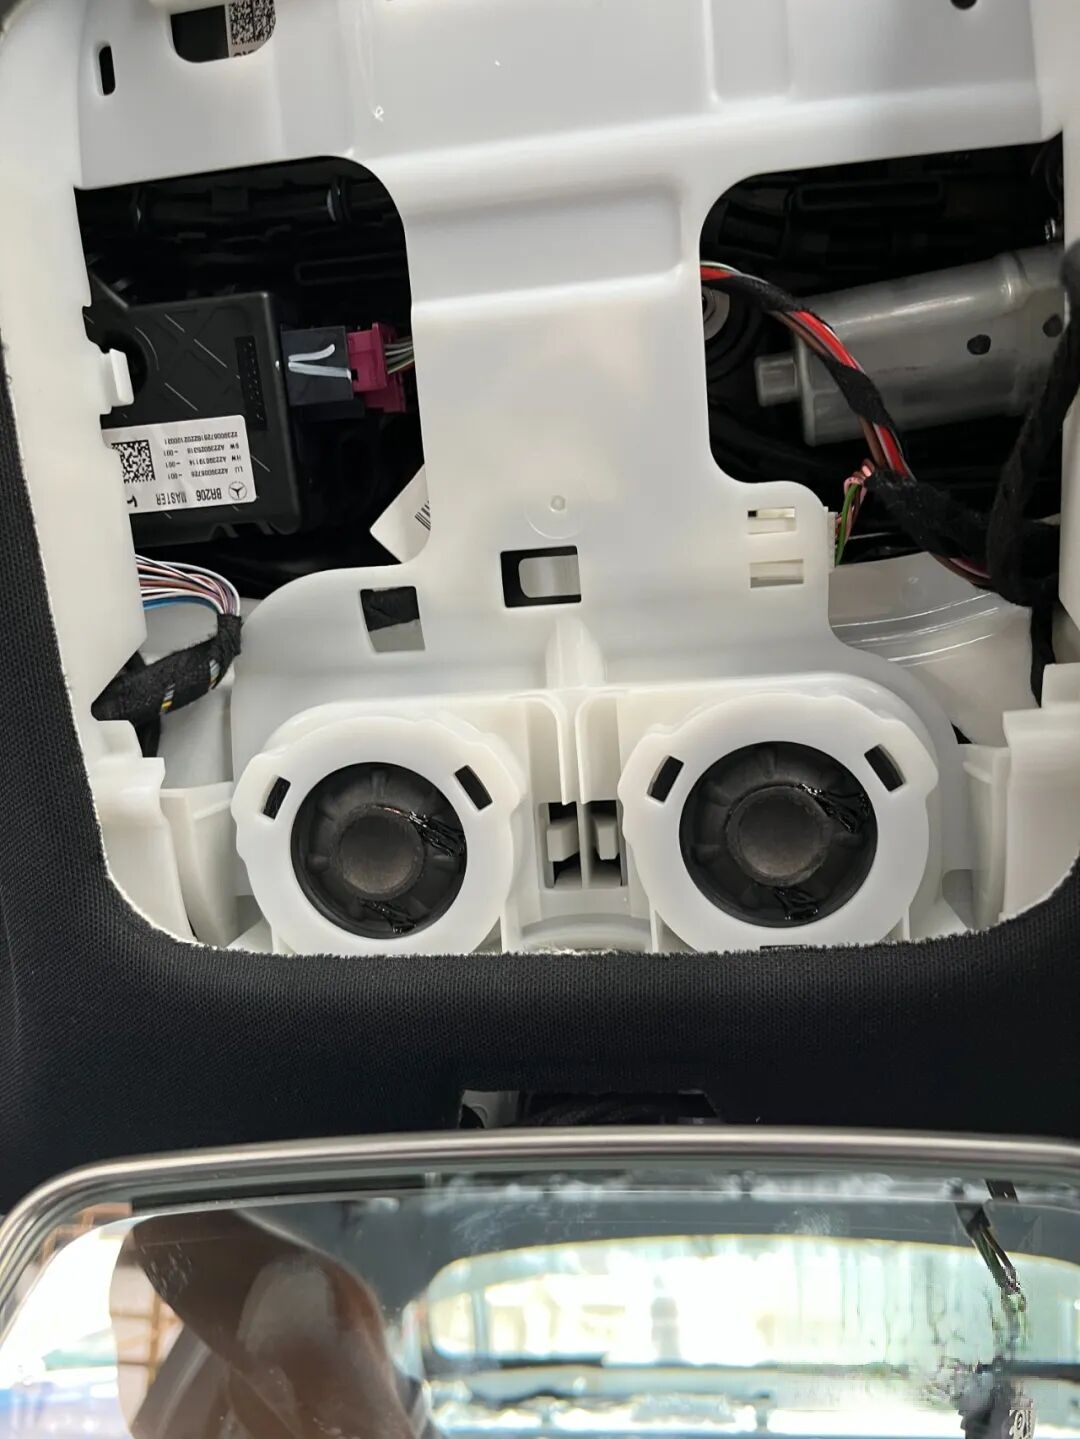
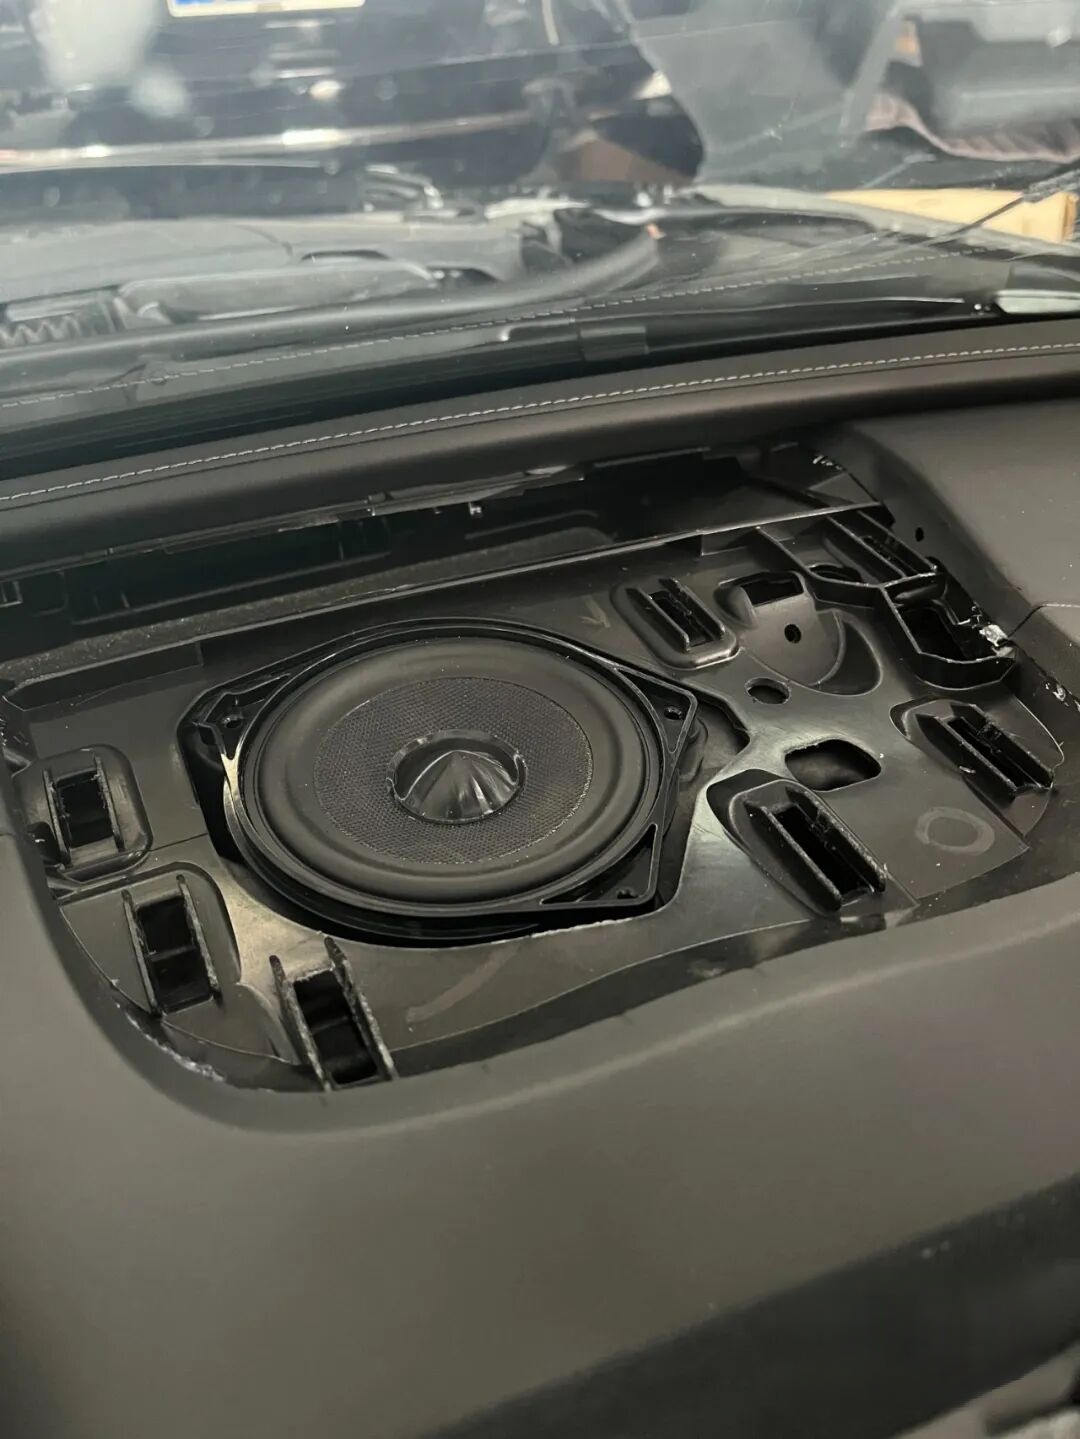
Install the center-dash speaker—the design differs from older models: previous versions included a tweeter in the center unit, while the new model relocates the tweeter to the reading light housing, increasing the total number of tweeters to two
Route the head unit harness—note: not all factory head units include the Burmester interface. If yours lacks it, the head unit must first be upgraded to support the factory Burmester system
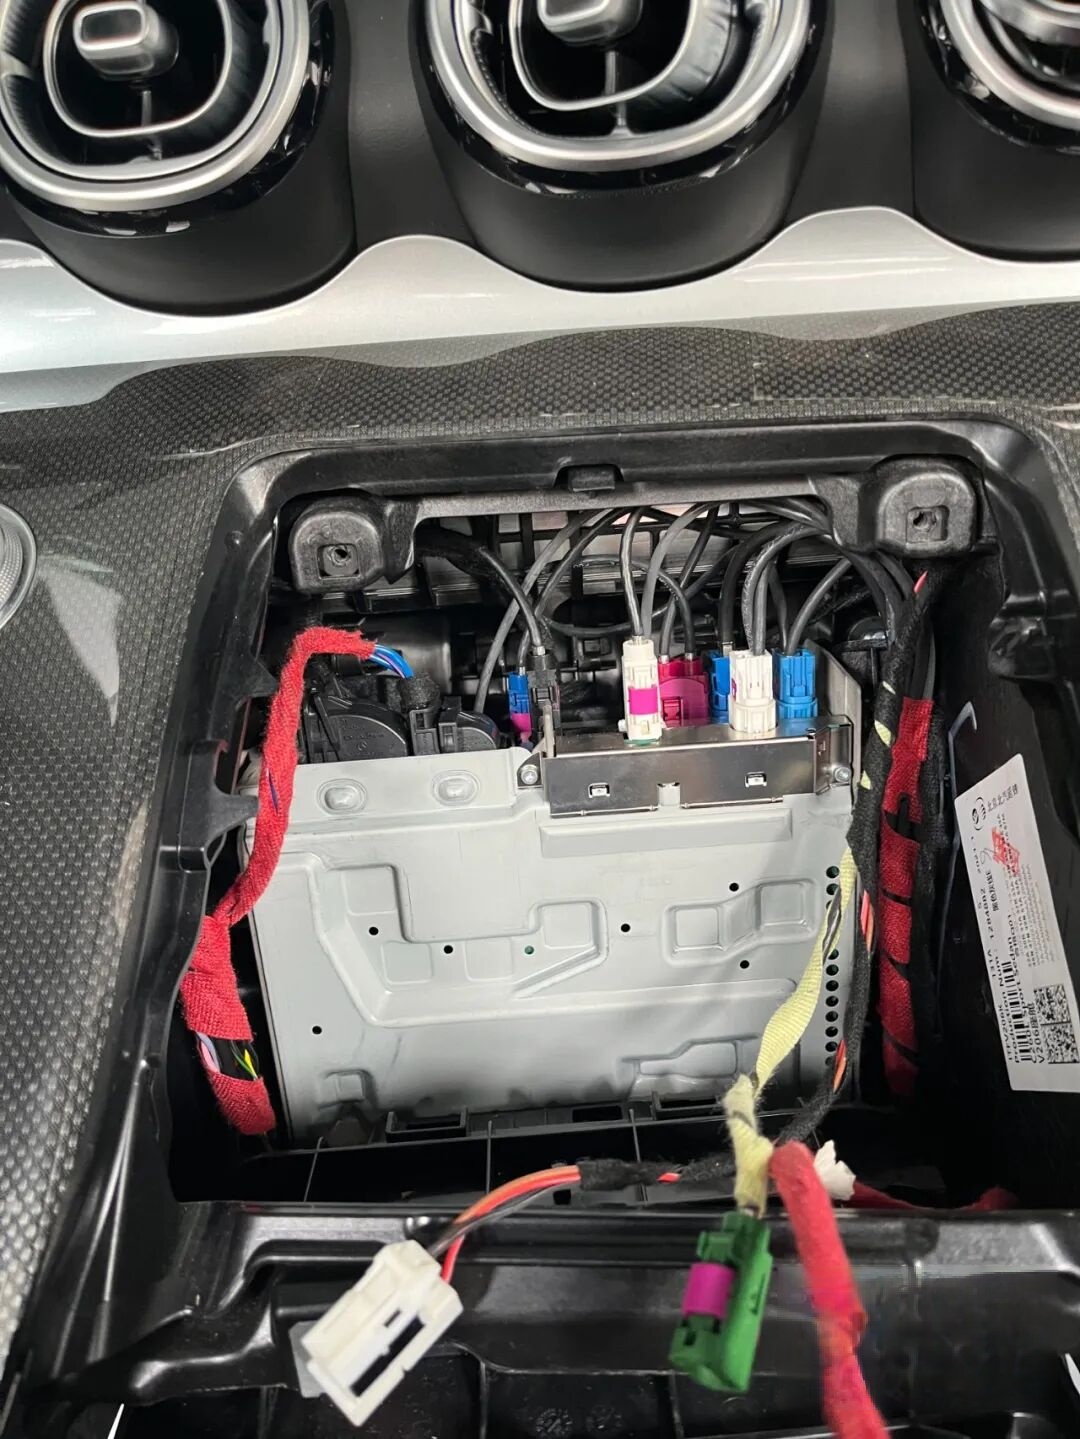
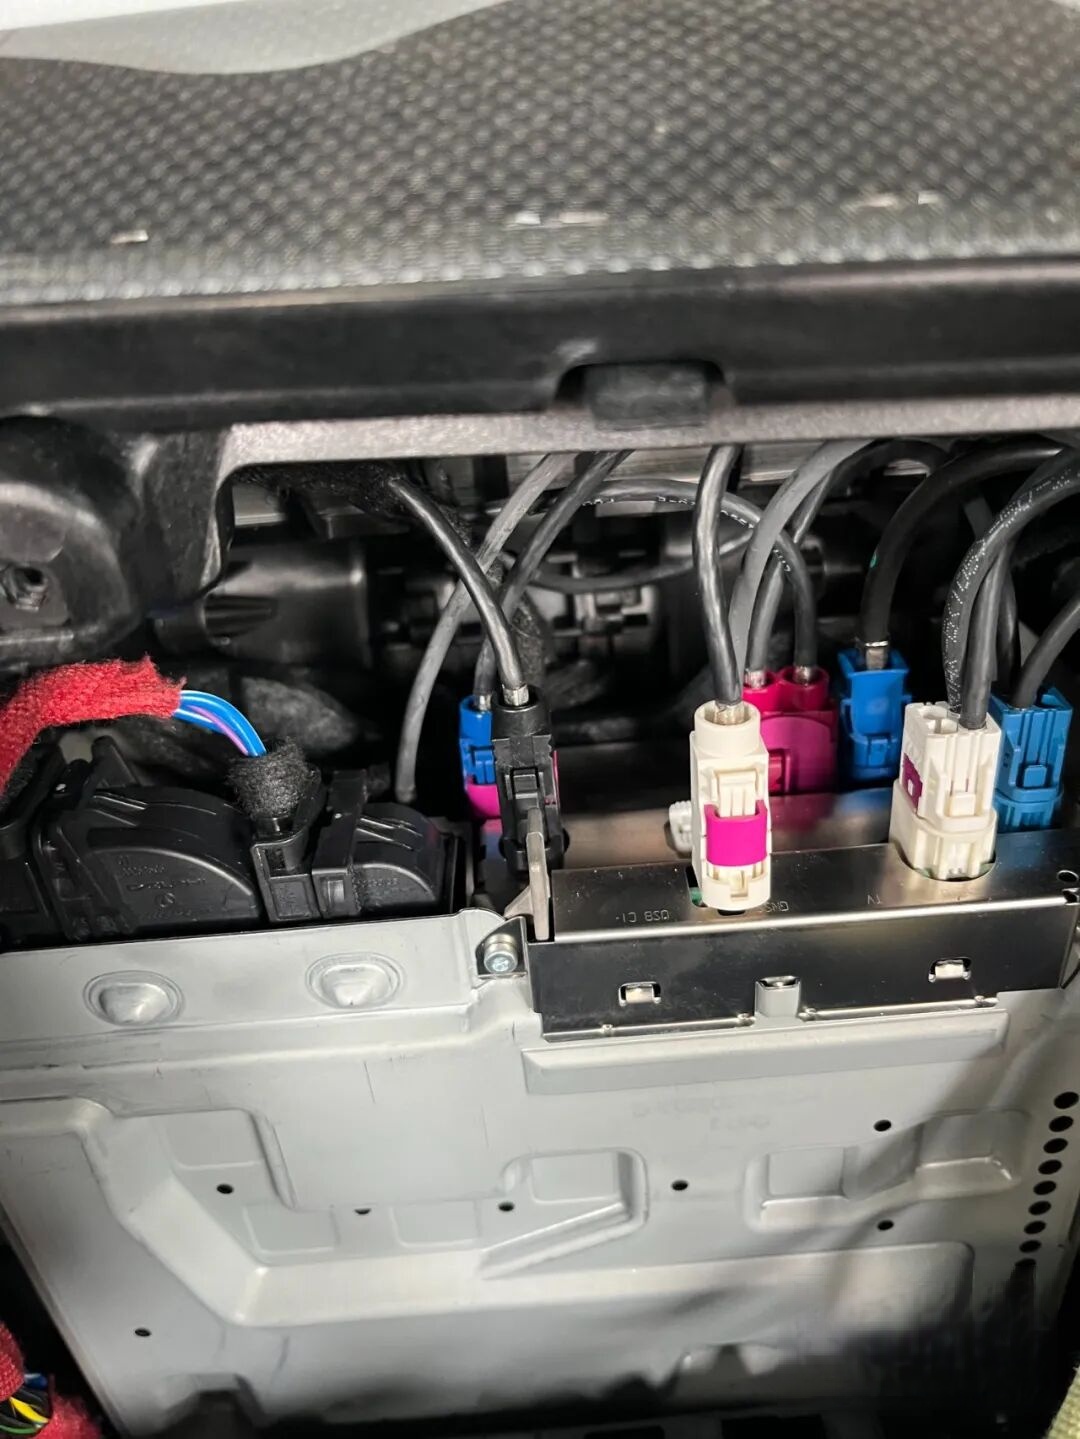
Close-up of the head unit’s black Burmester interface port
General reference images of full-vehicle wiring routing
Left-side sill reinforcement beam area
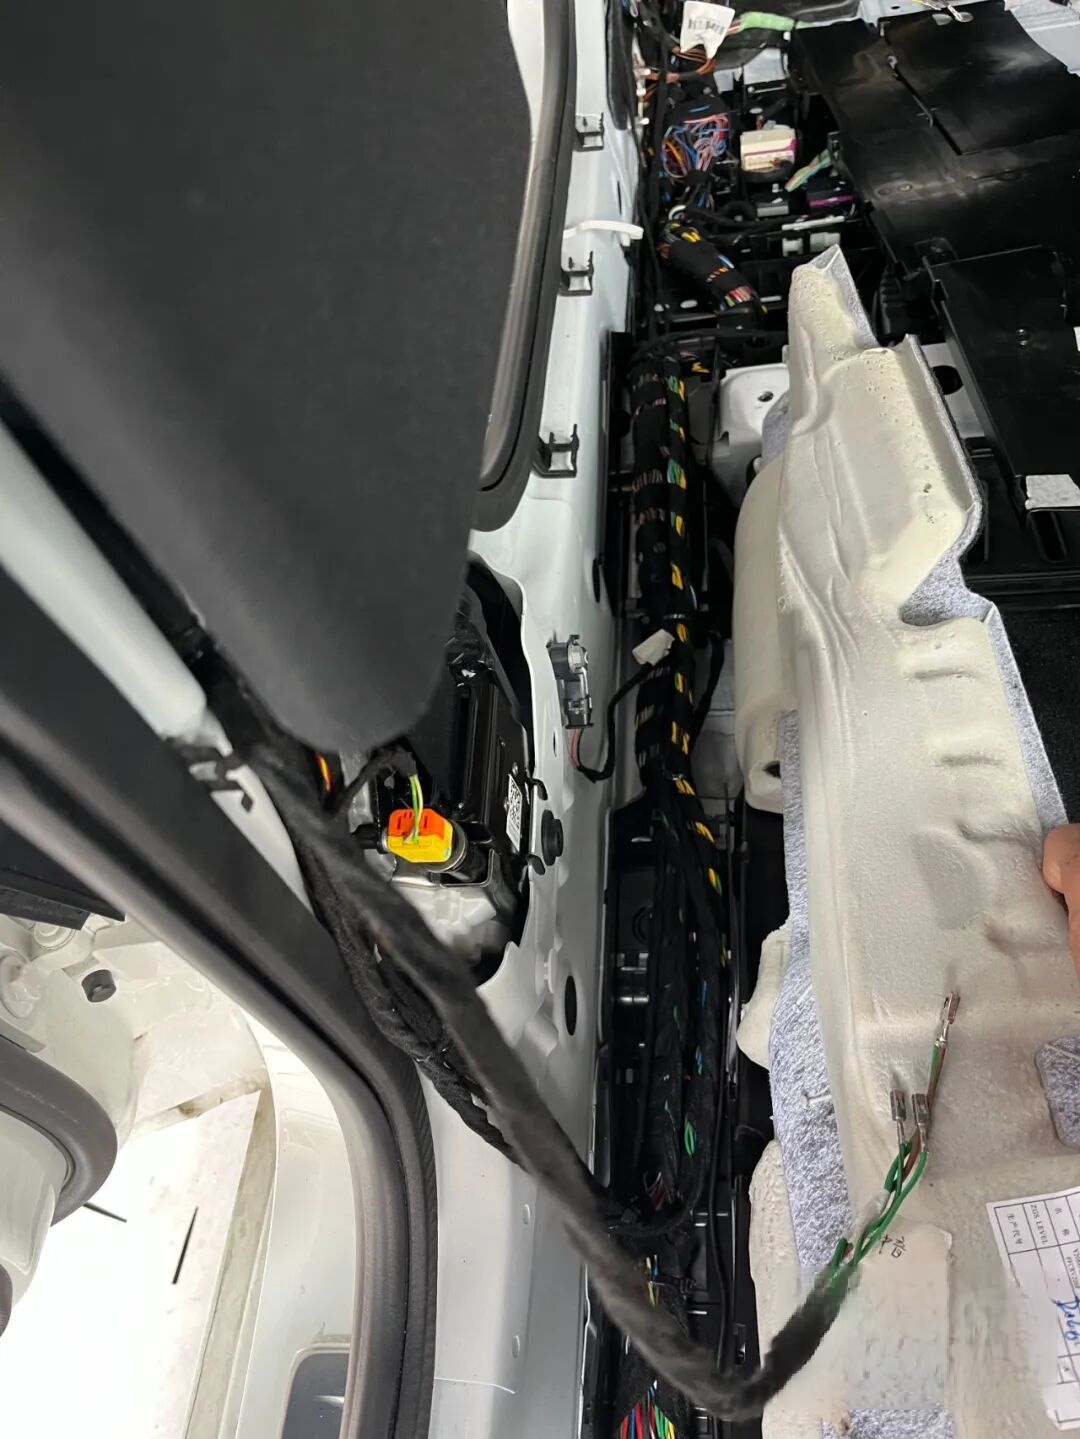
Rear seat cushion wiring channel
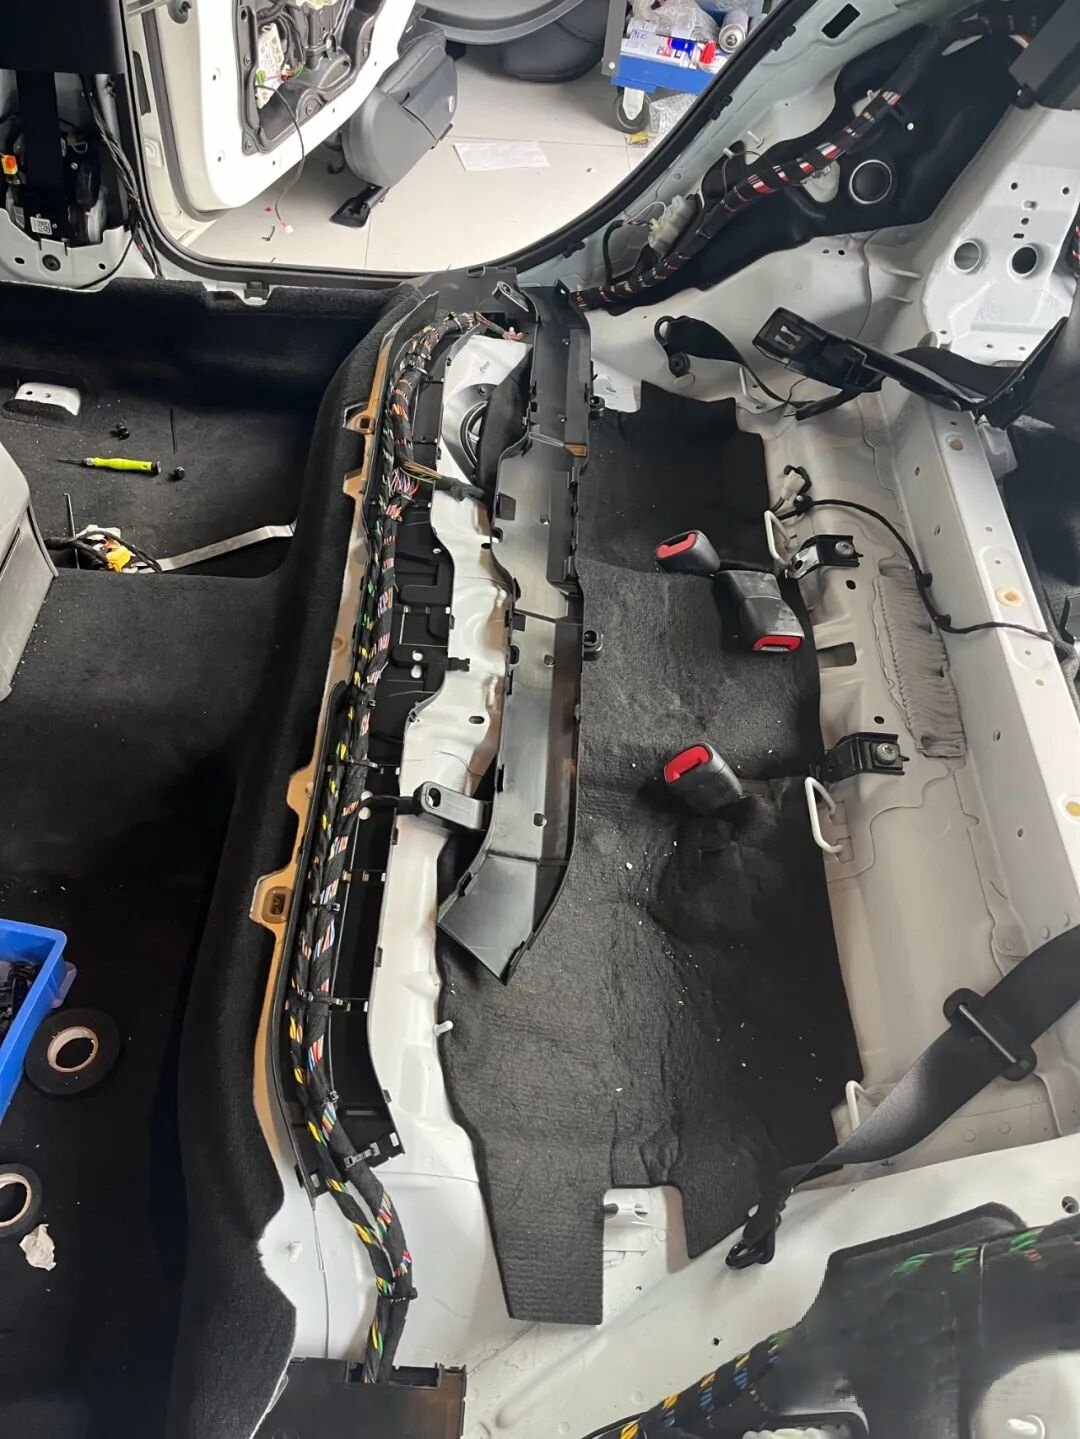
Here, silence speaks louder than words
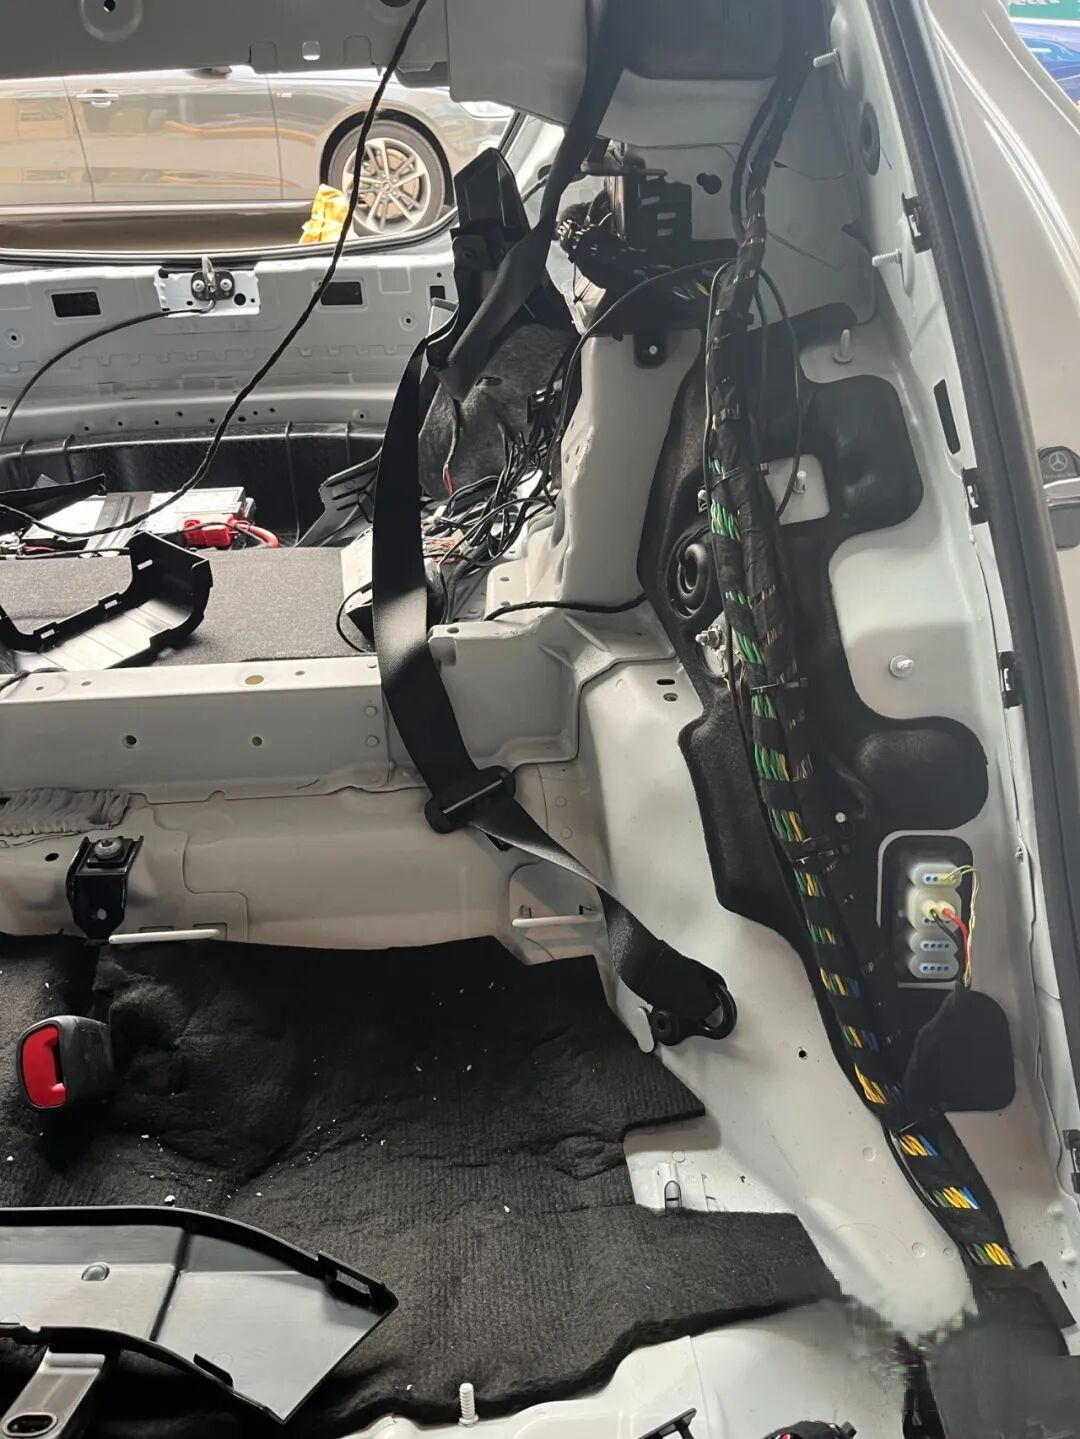
Double-check that all wiring is fully routed and correctly connected. Then connect the main power cable to the pre-wired slot in the fuse box. This power connection took ~20 minutes here—but with proper preparation, it can be completed in as little as two seconds
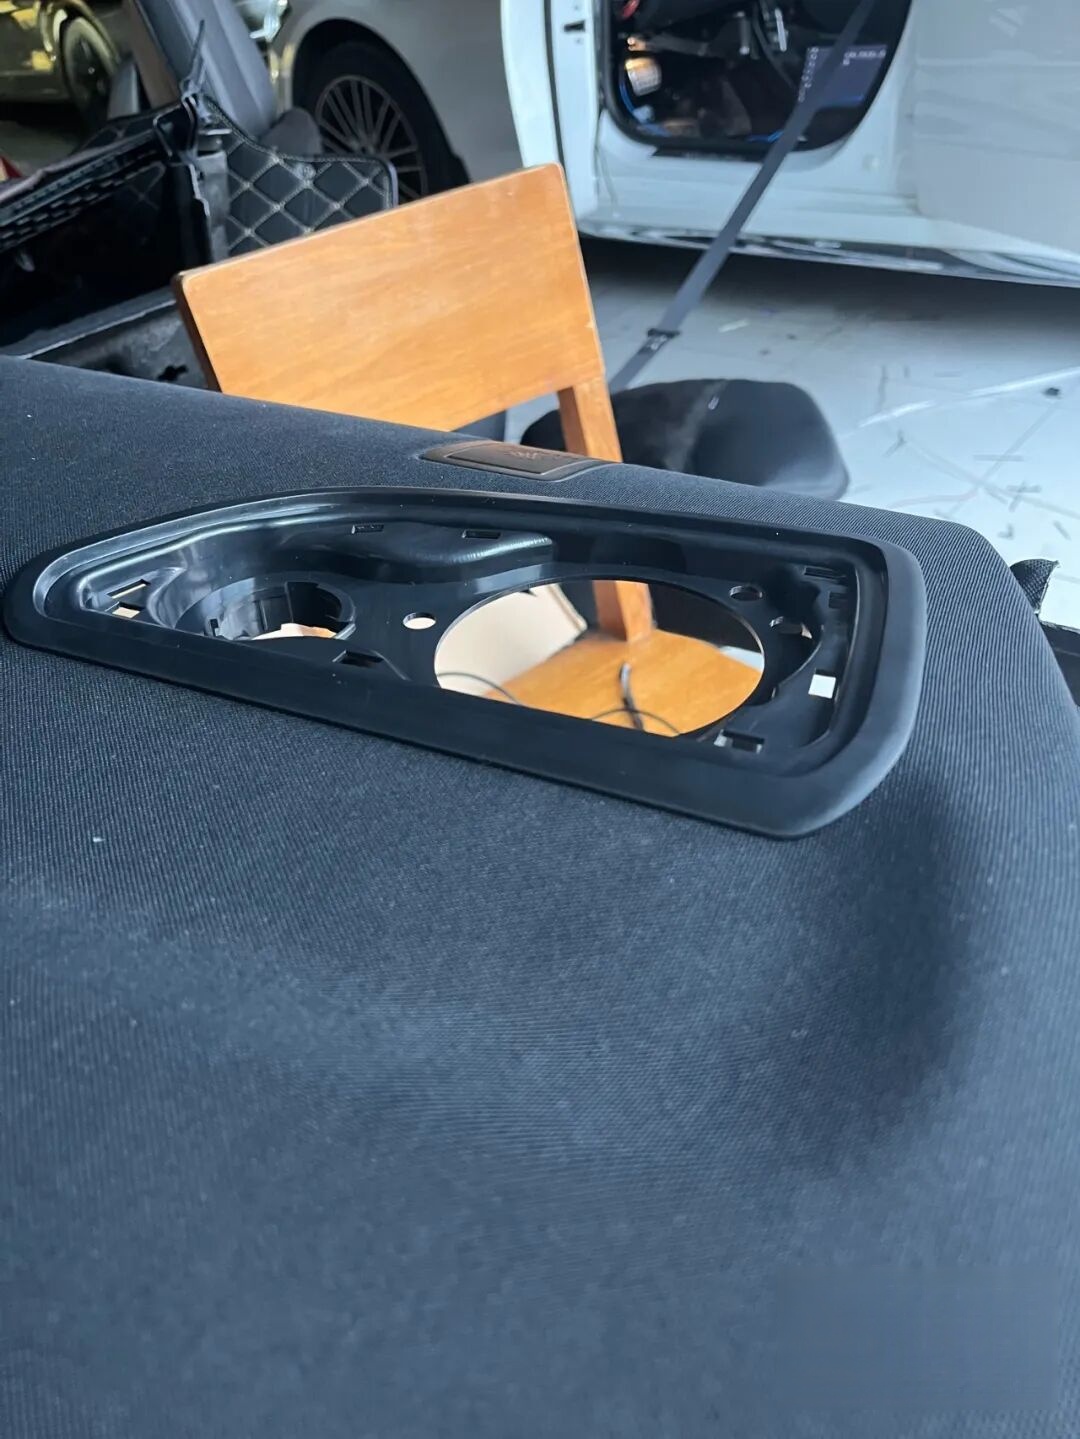
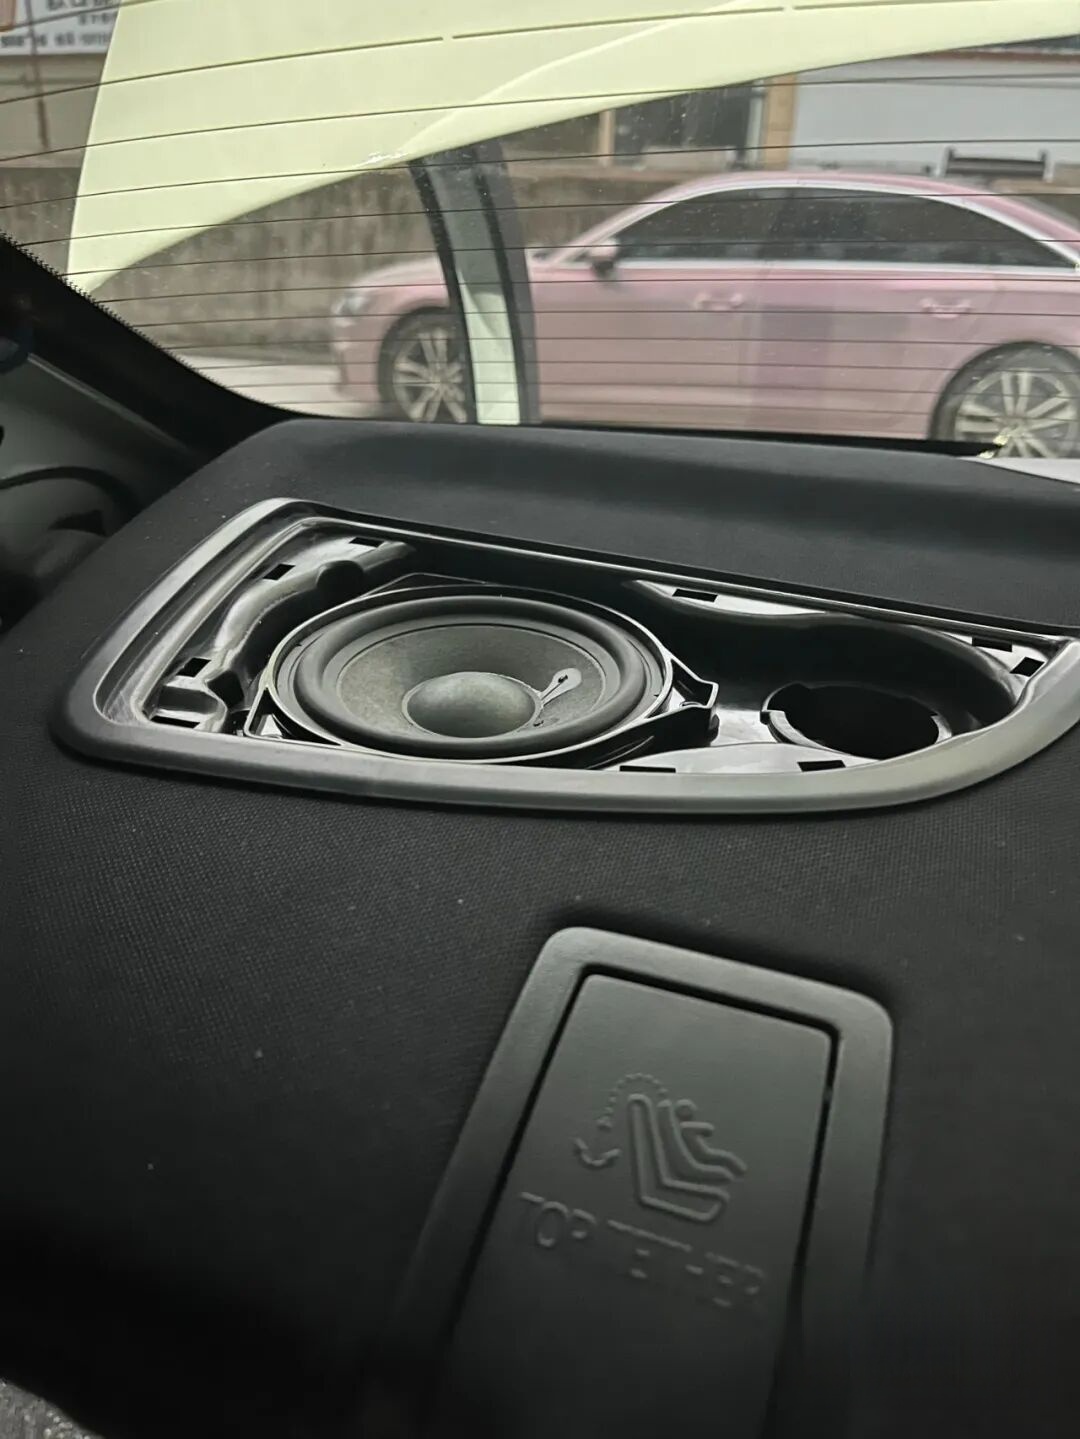
Cut mounting holes in the rear parcel shelf trim for the surround speakers
No template provided—entirely reliant on installer skill and feel
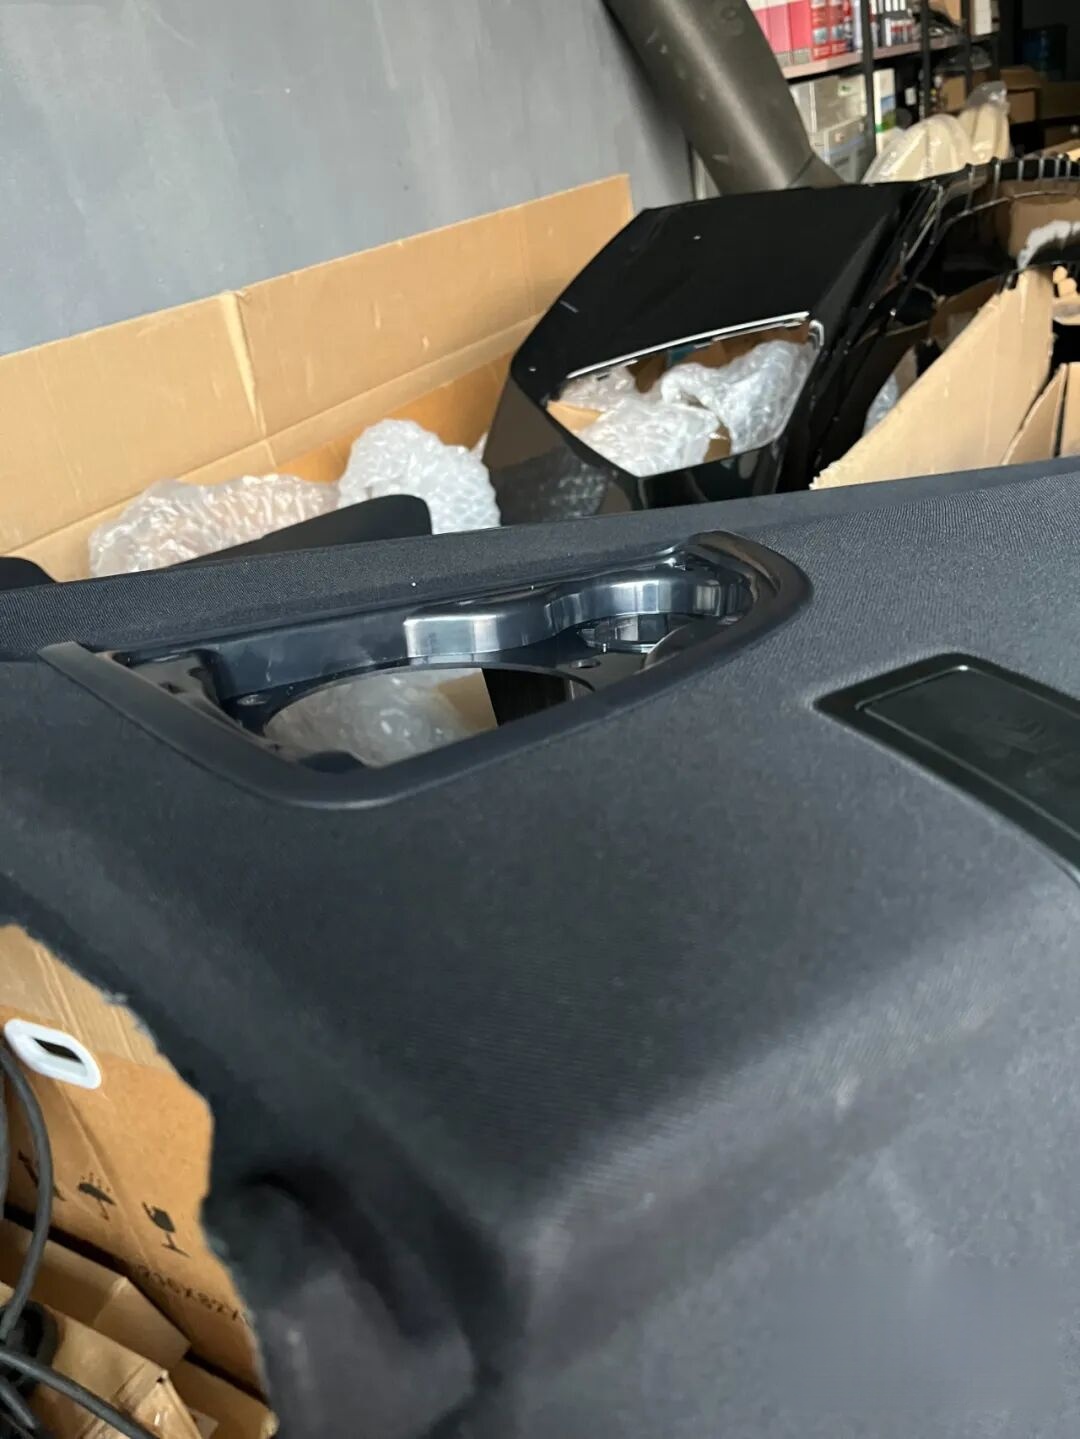
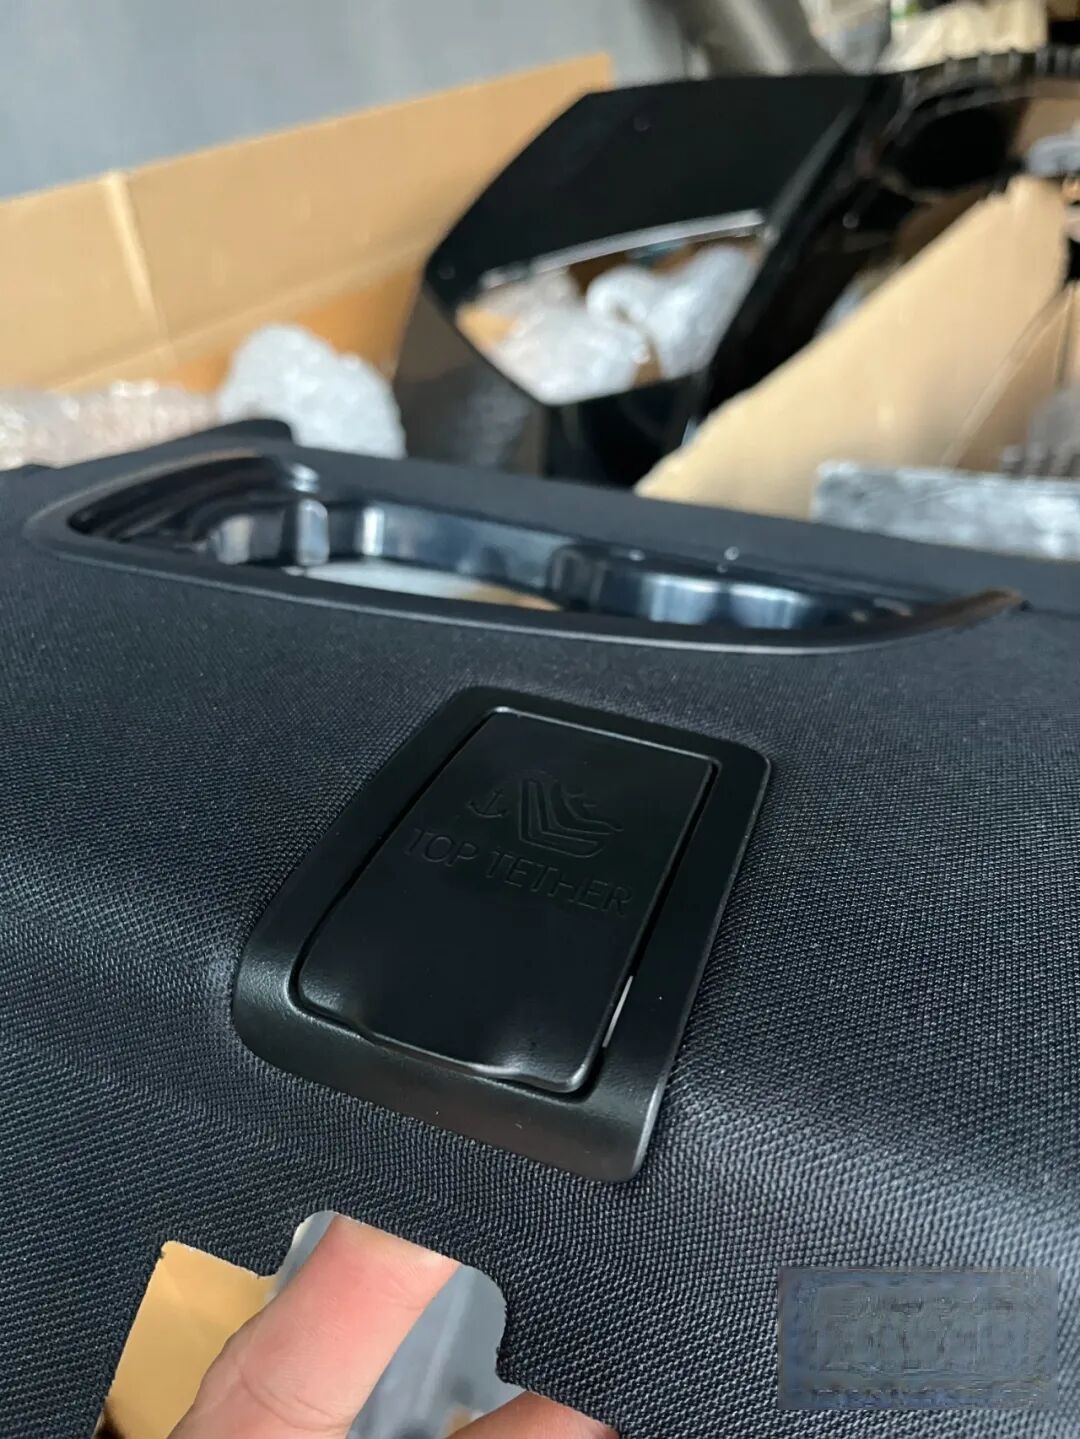
Final vehicle integration and functional testing
Programming and activation
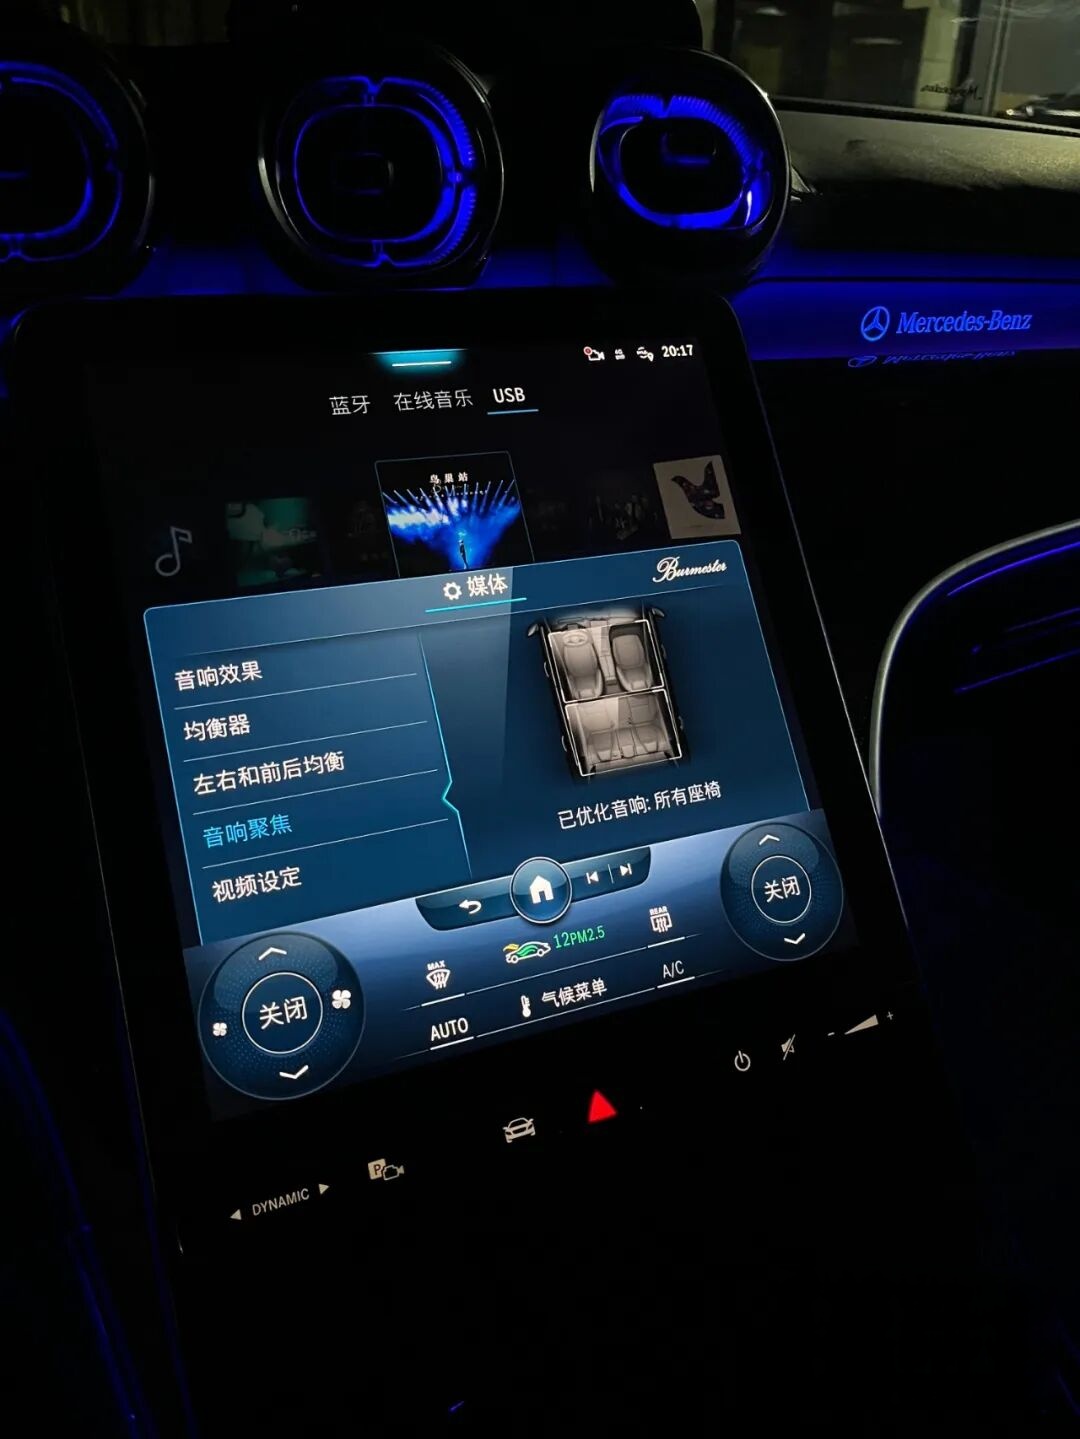
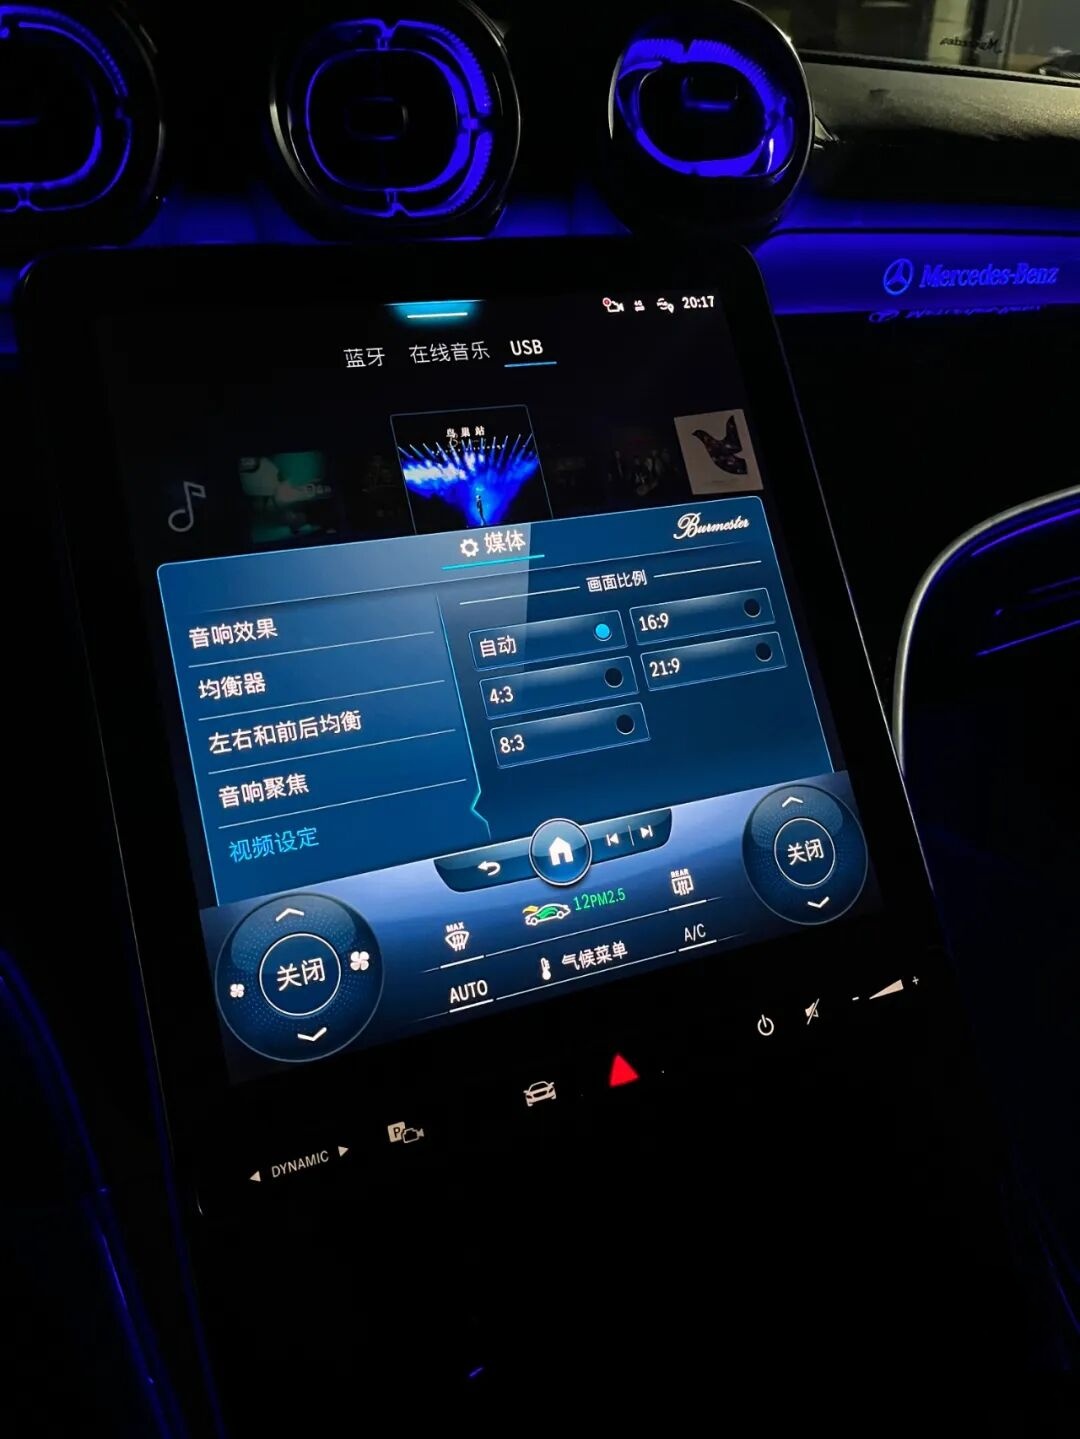
Success confirmed when the following control menu appears
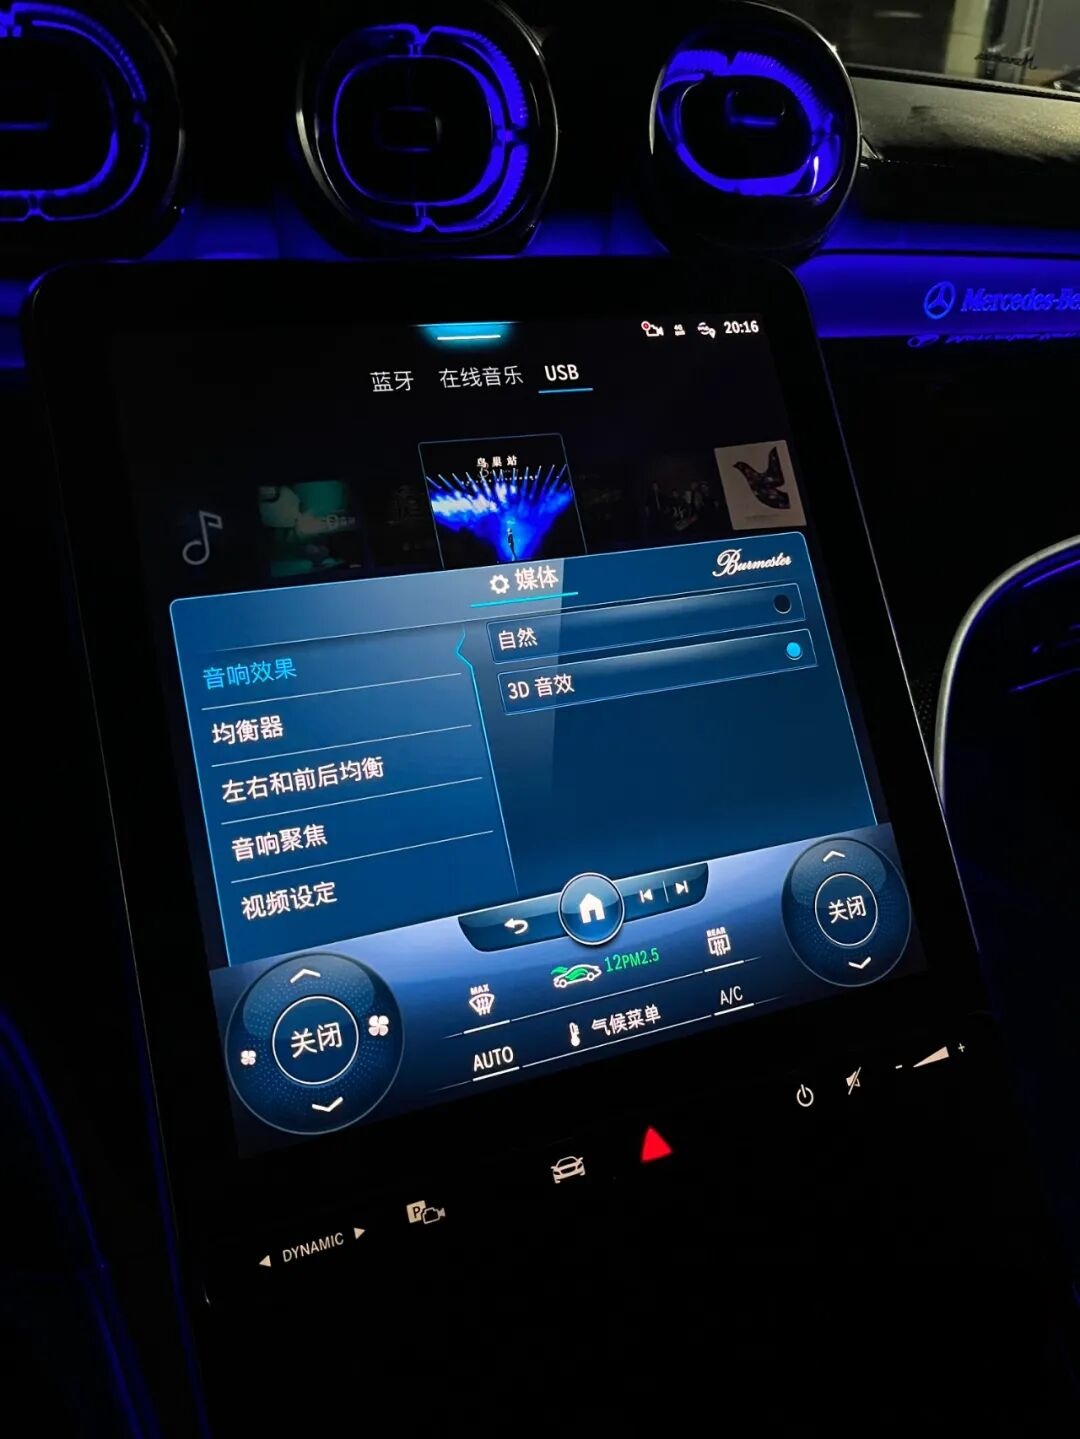
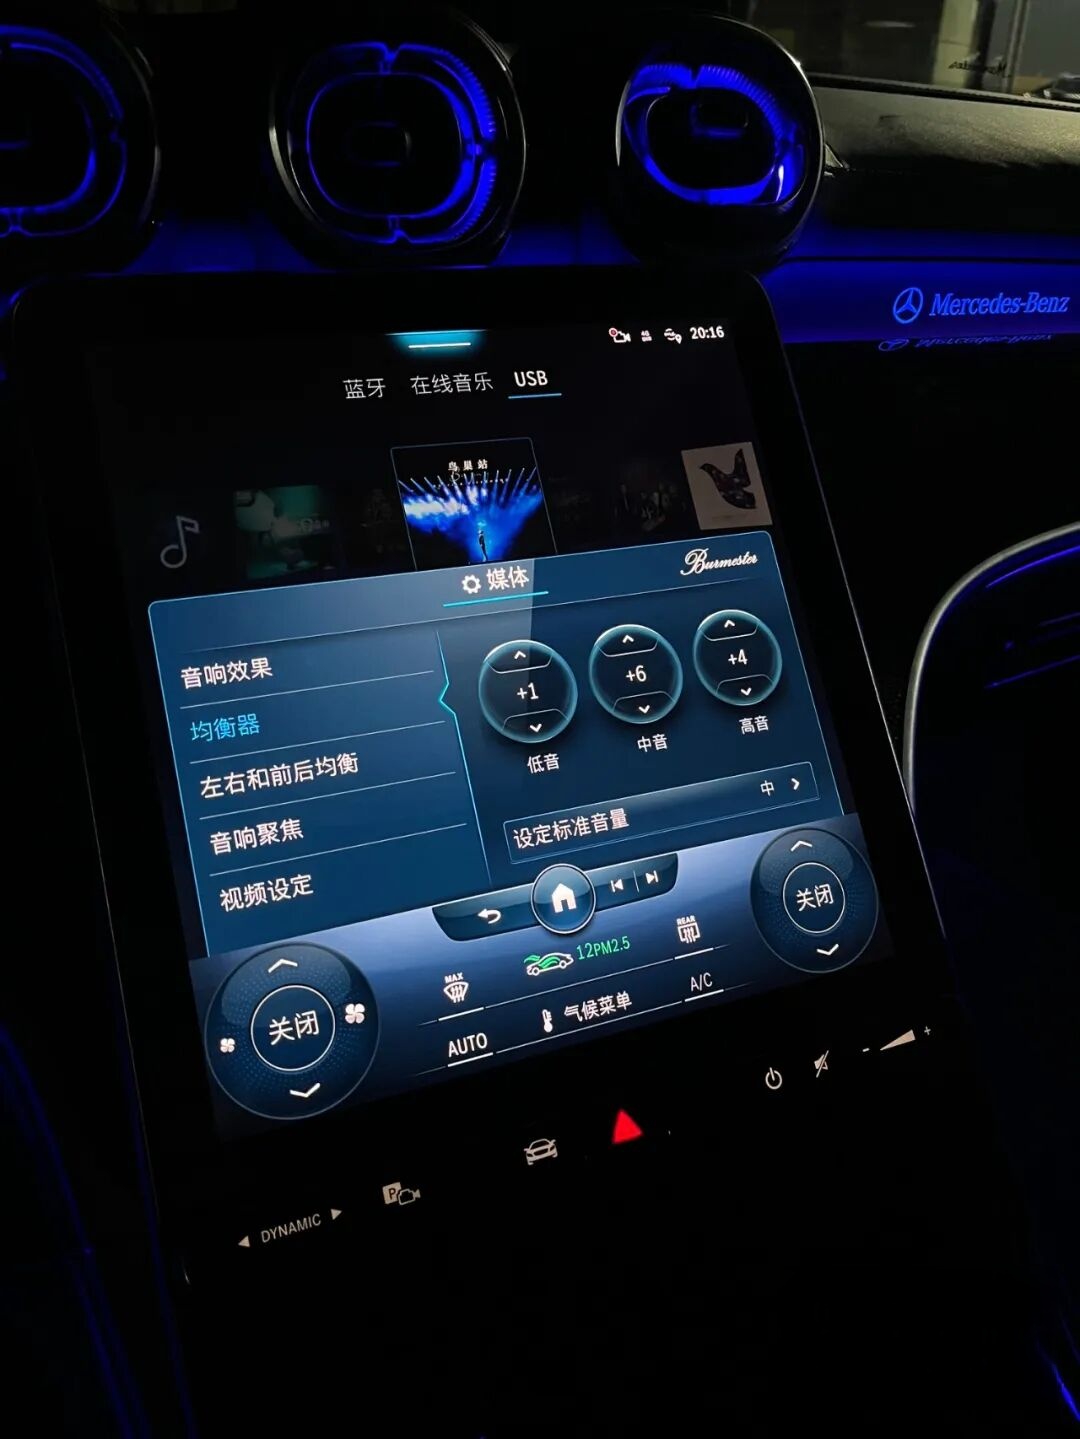
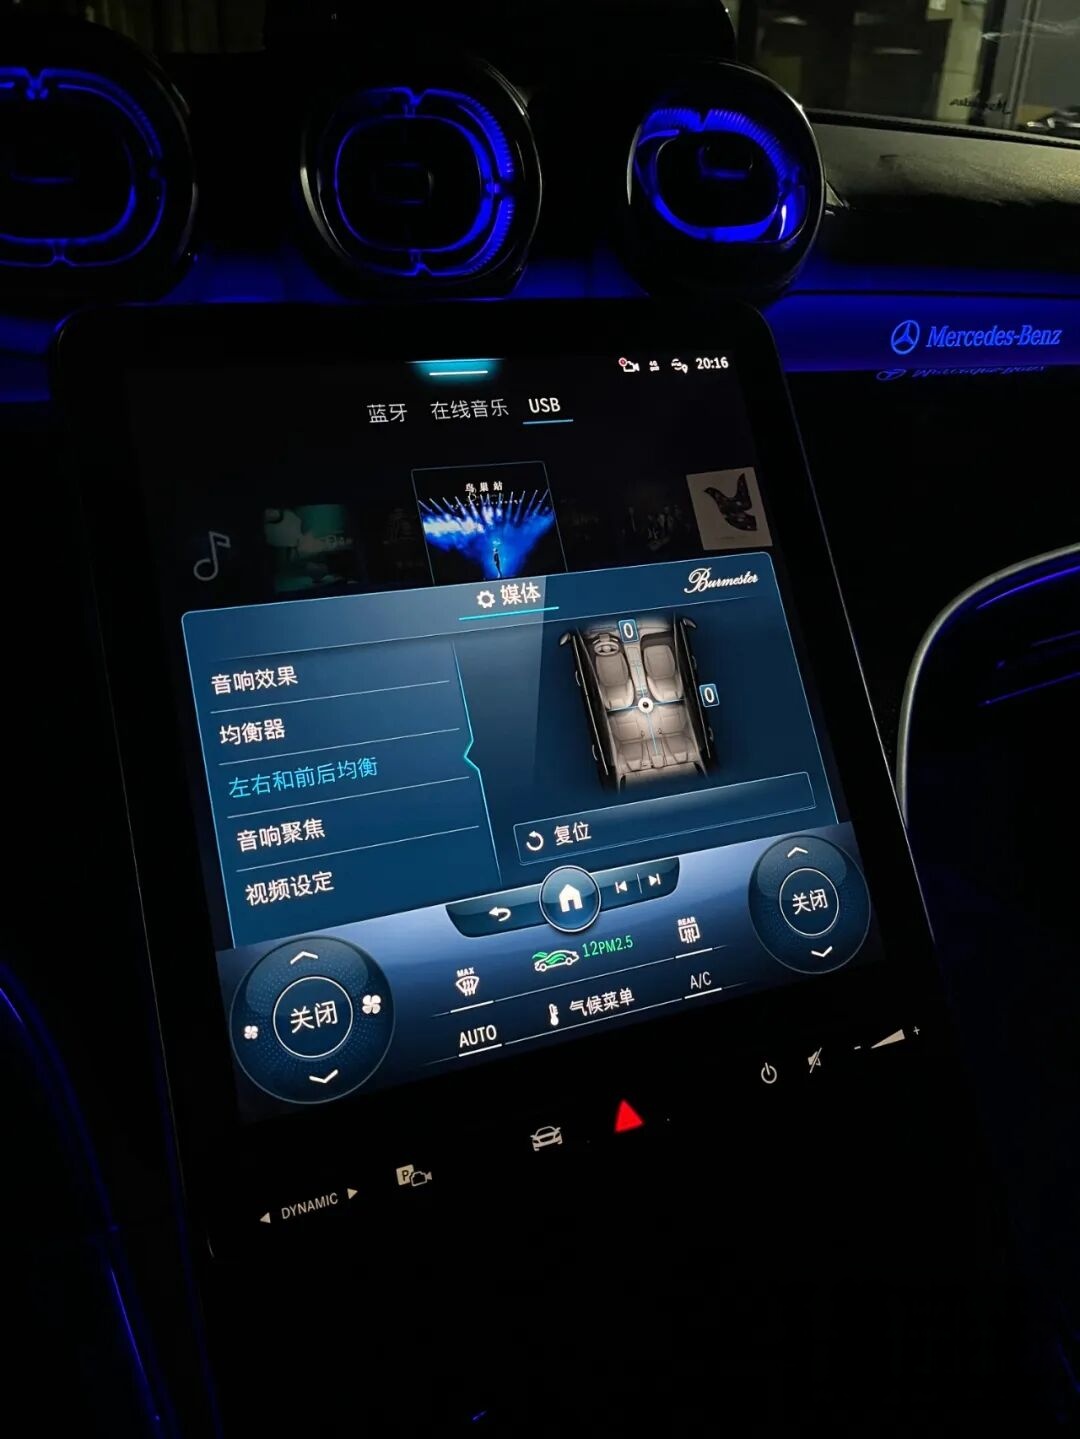
Video demonstration